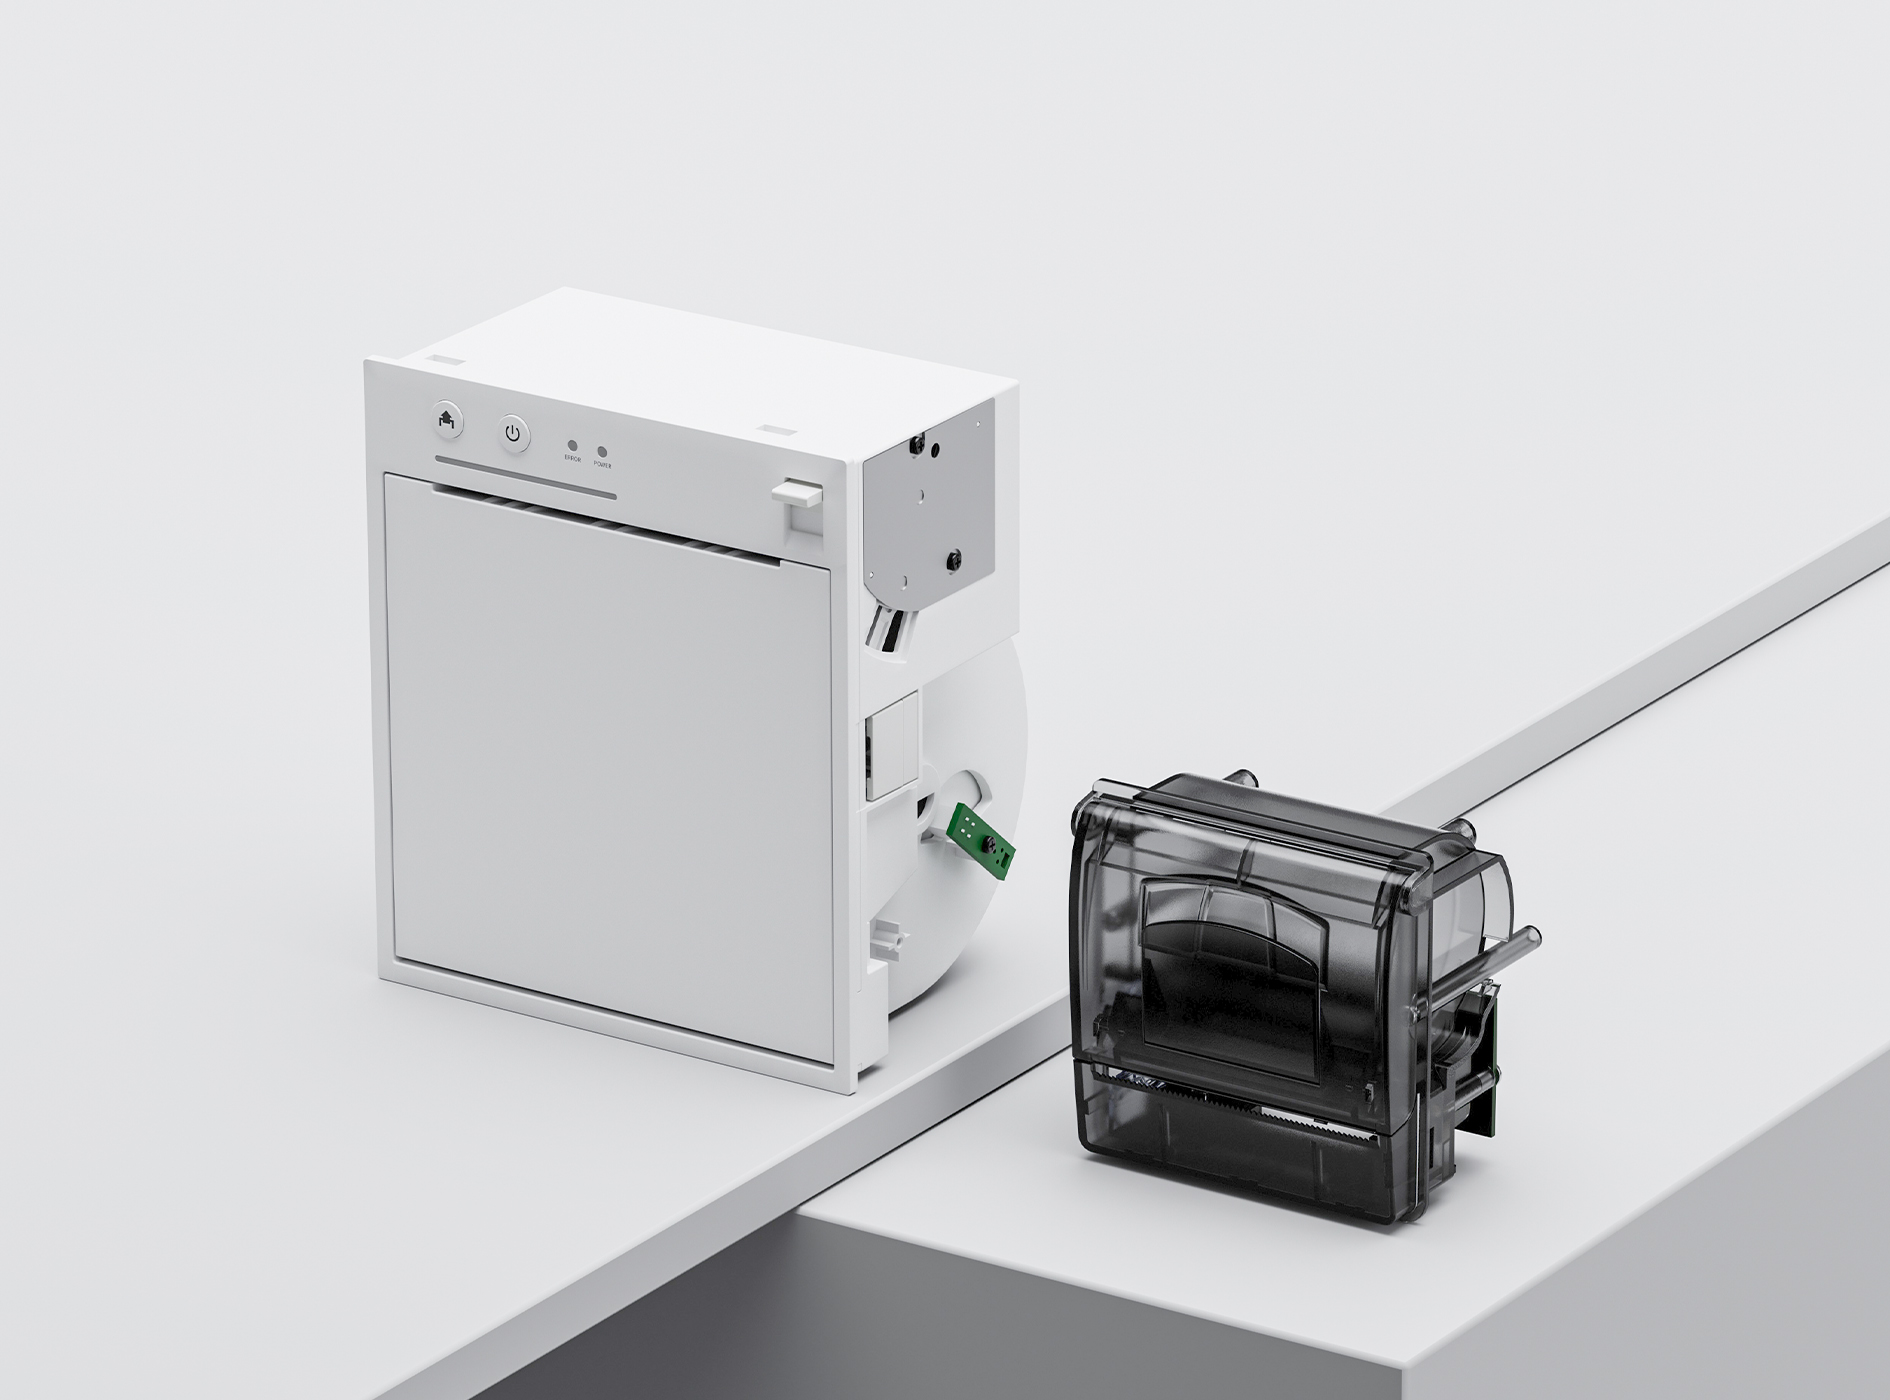
 80mm Receipt Printer
 ACE H2 Receipt Printer
 RP337 Receipt Printer
 RP336S Dual-Color Receipt Printer
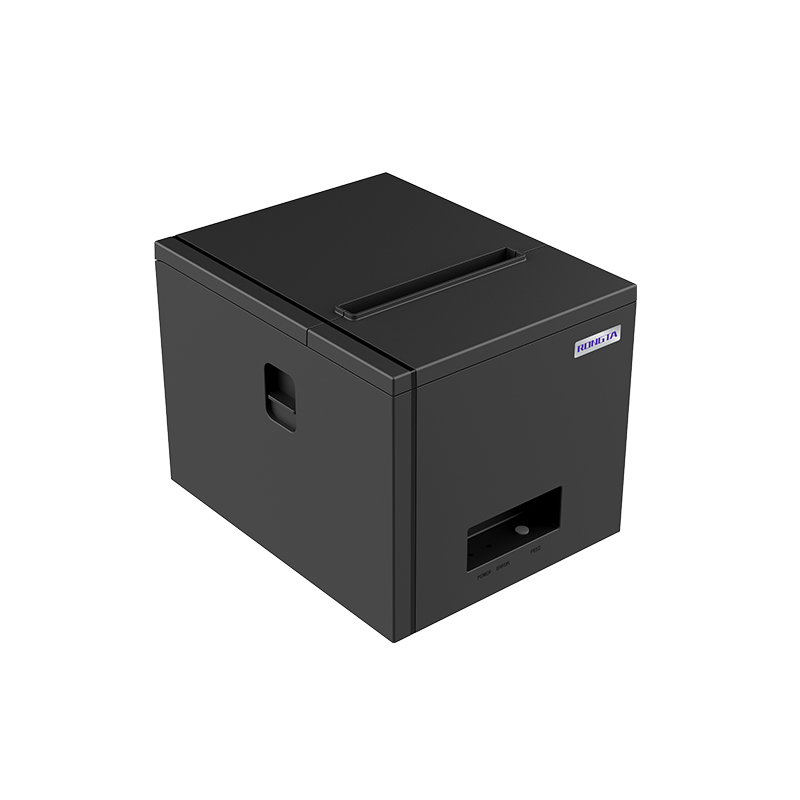 RP350 Receipt Printer
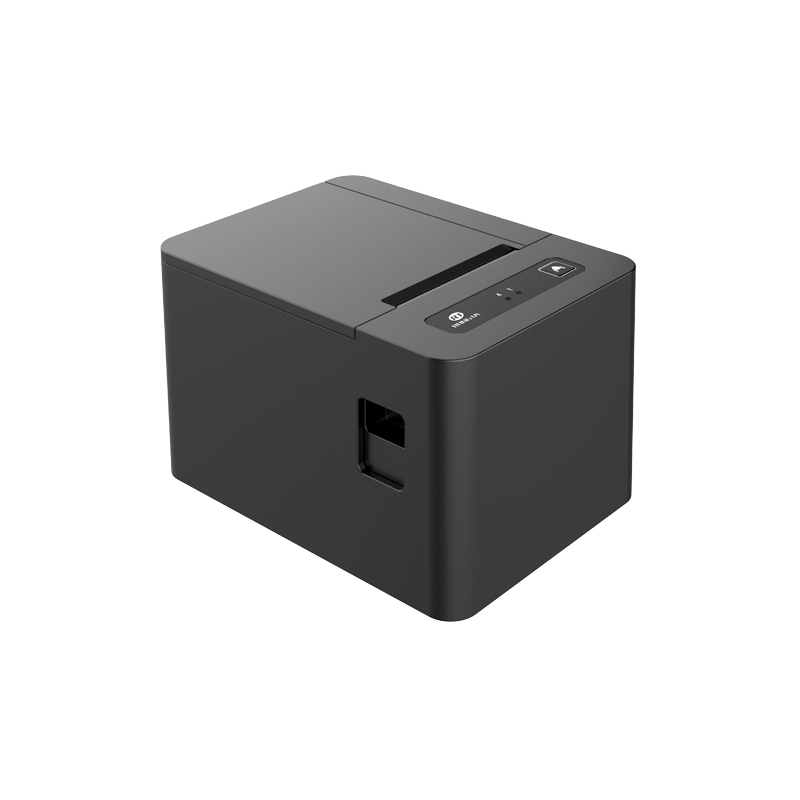 RP582 Receipt Printer
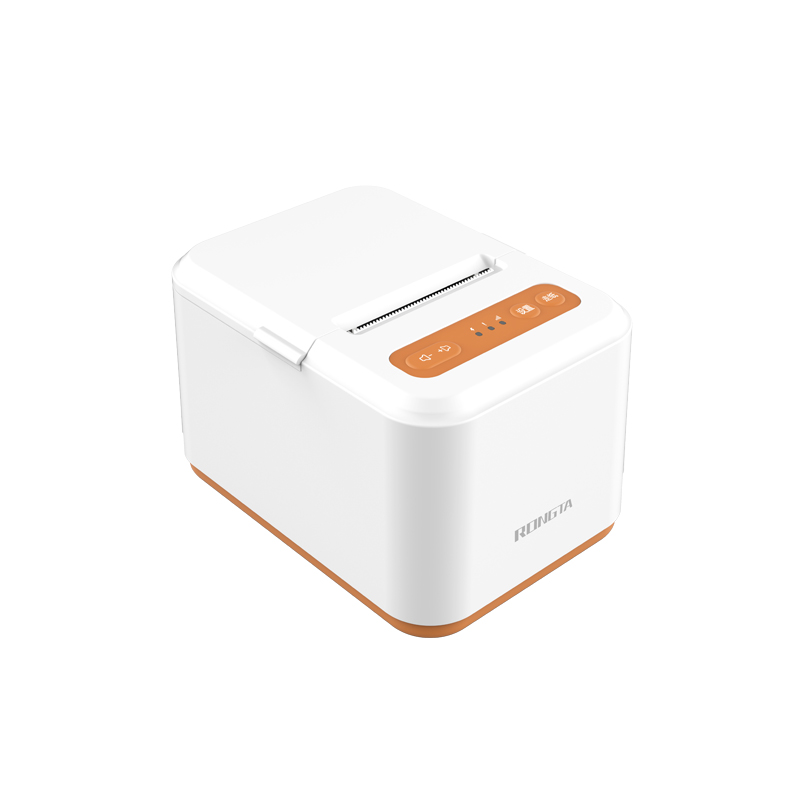 RP581 Receipt Printer
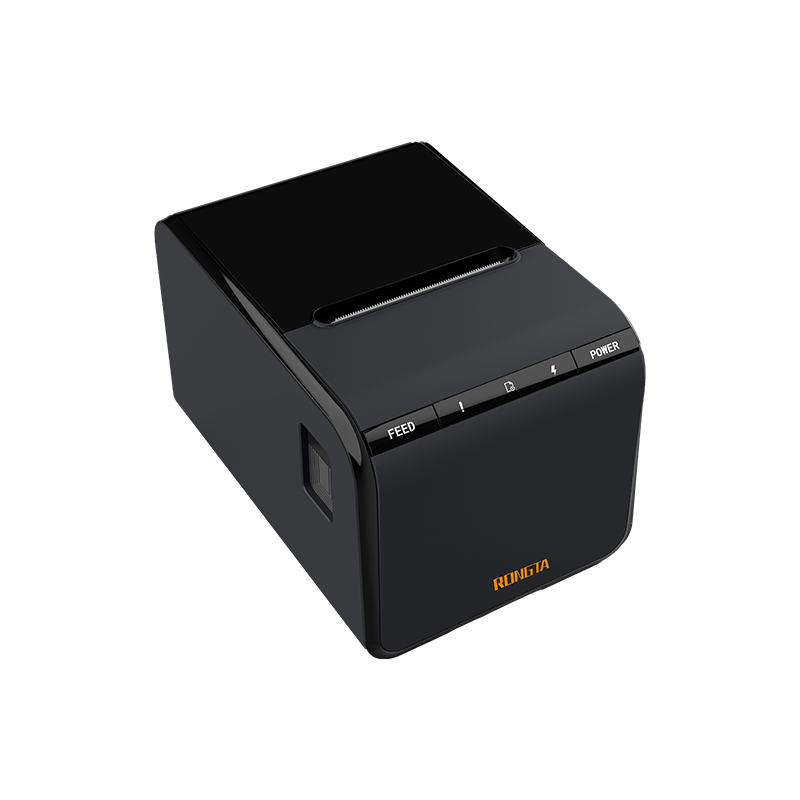 ACE G1Y Receipt Printer
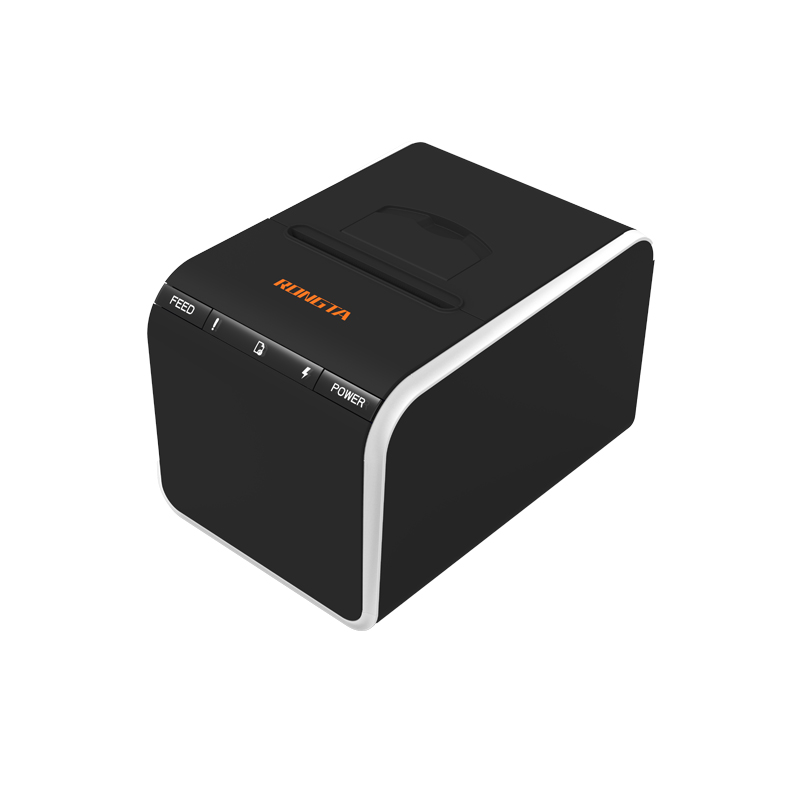 ACE G1YP Cloud Printer
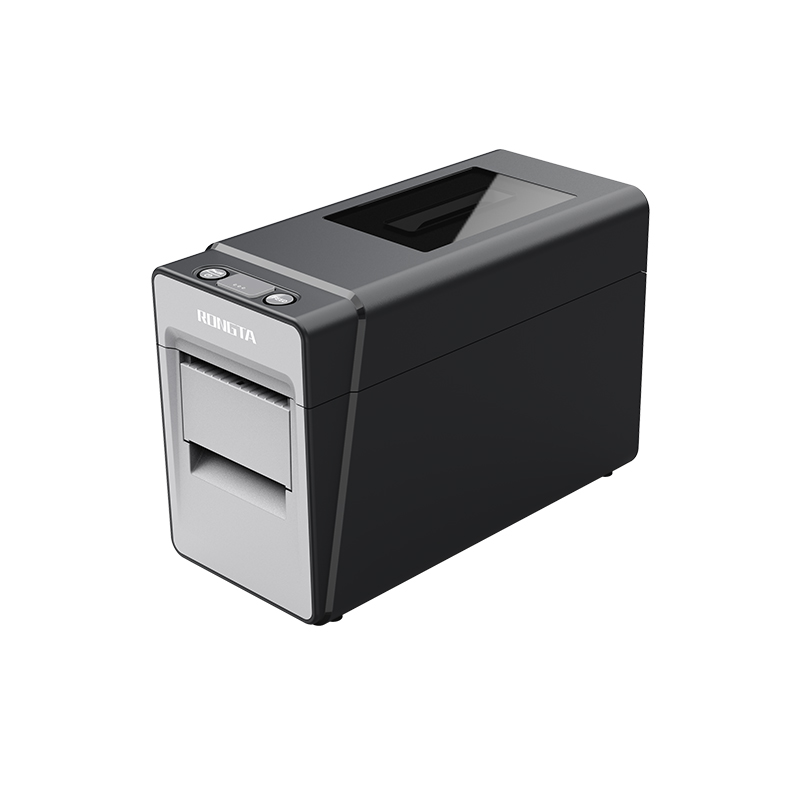 RP216 2'' Dual-color High-definition Label Printer
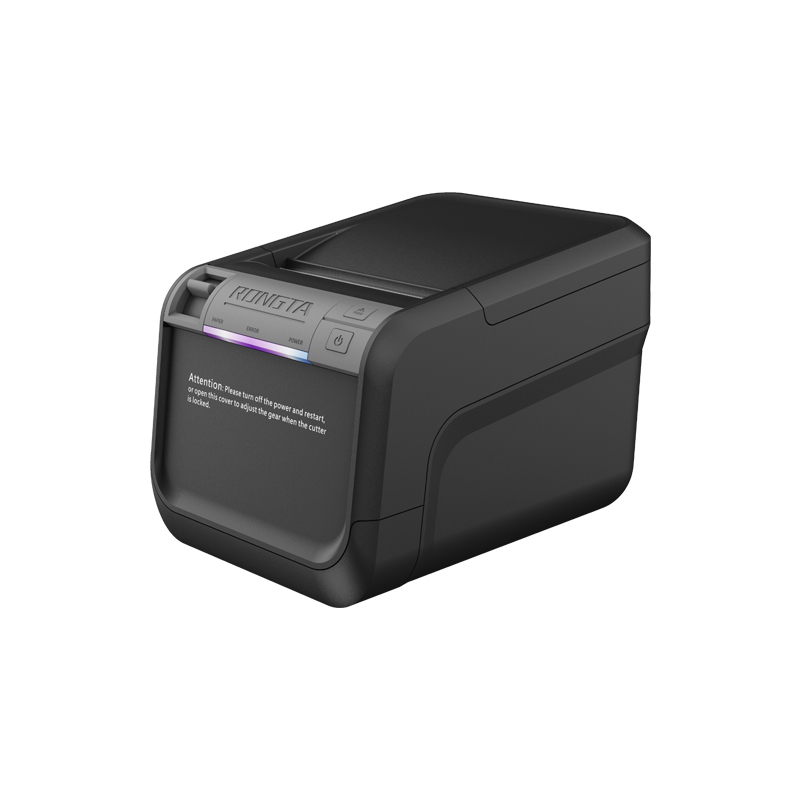 ACE V1S 3'' Backless Label Printer
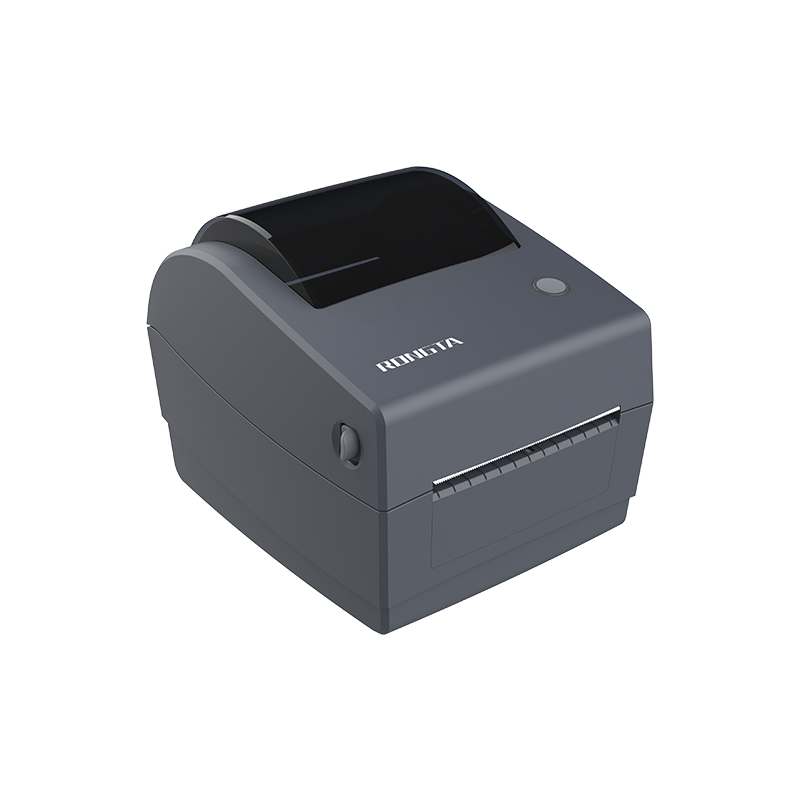 RP310D 3'' Dual-color Label Printer
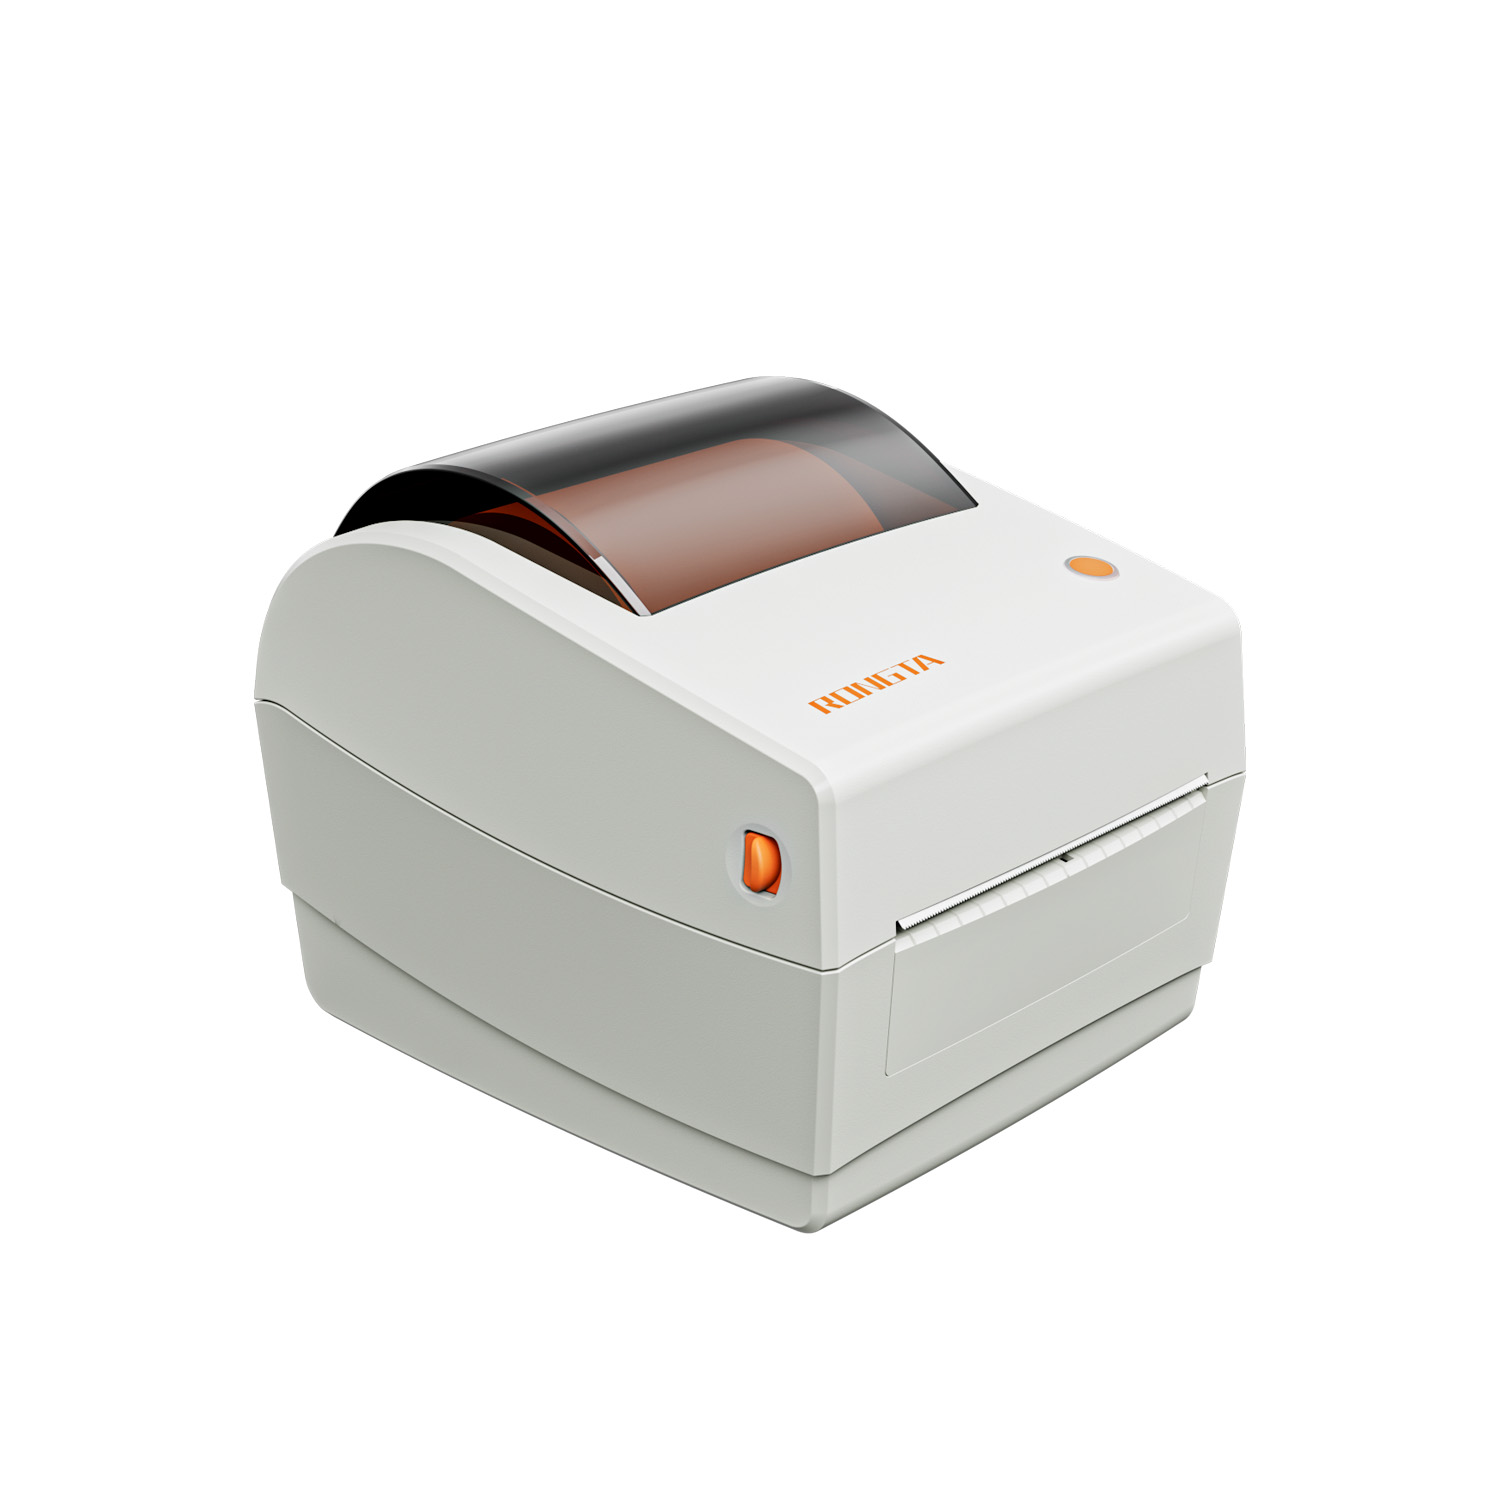 RP410N 4'' Thermal Label Printer
 RP425 4'' Electronic Waybill Printer
 RP422 4'' Electronic Waybill Printer
 RP421A 4'' Electronic Waybill Printer
 RP420 4'' Electronic Waybill Printer
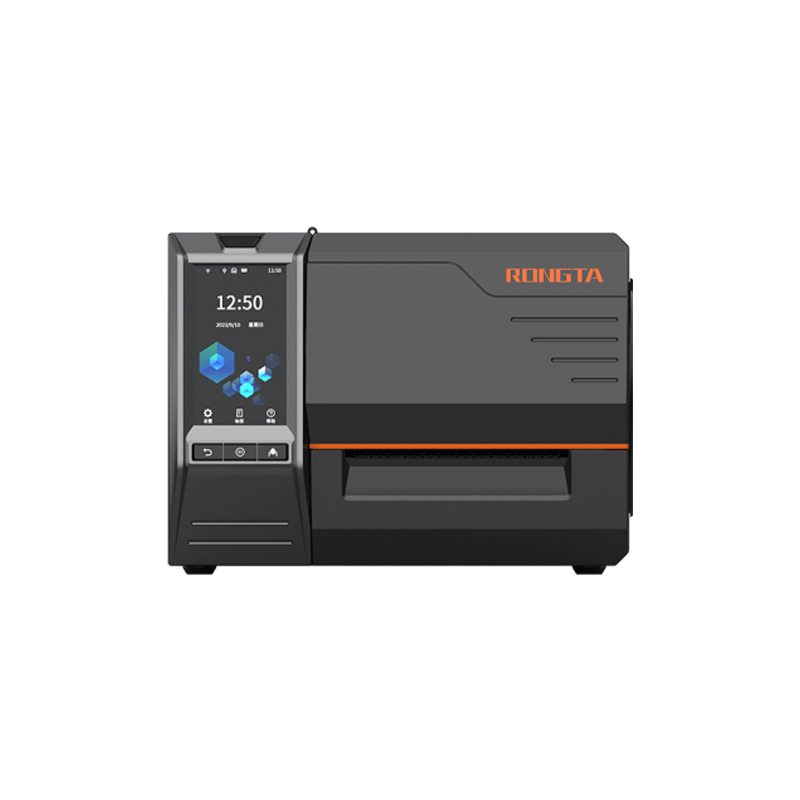 RI463 Series Barcode Printers
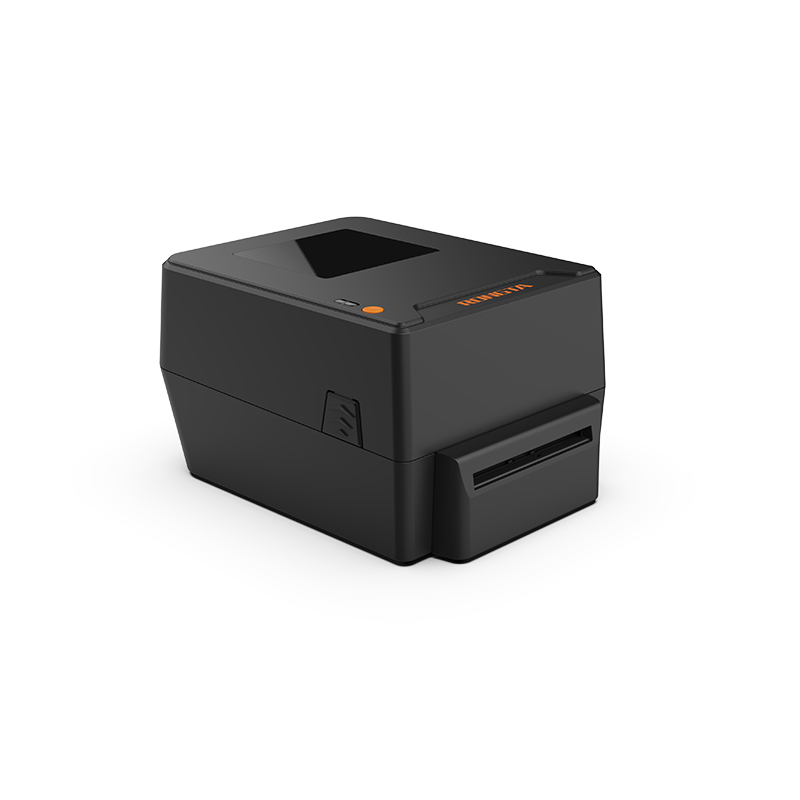 RP400A 4'' Thermal Transfer Tape Cutter Printer
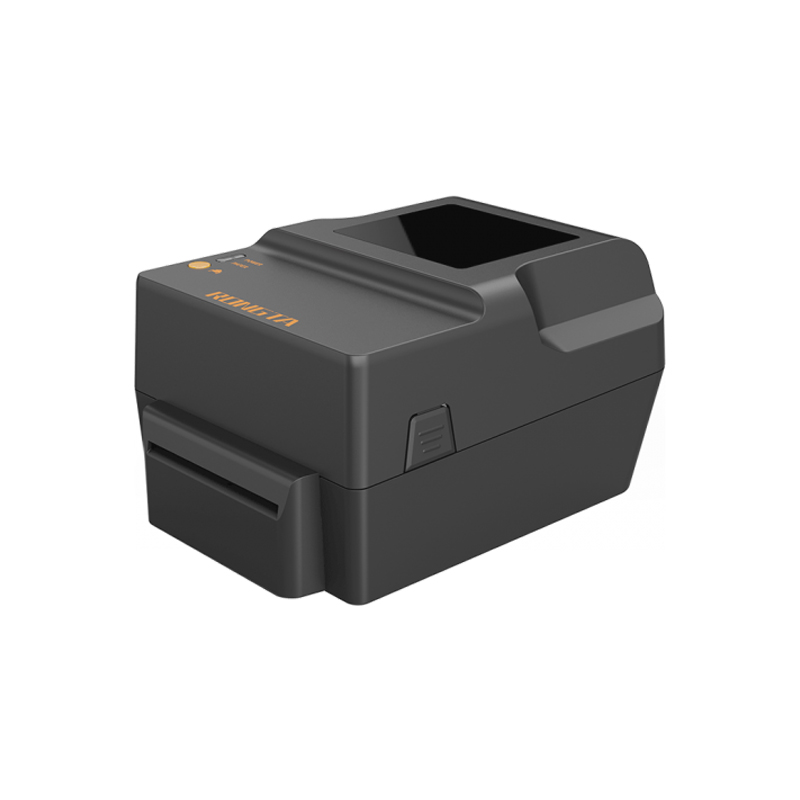 RP400H 4'' Thermal Transfer Tape Cutter Printer
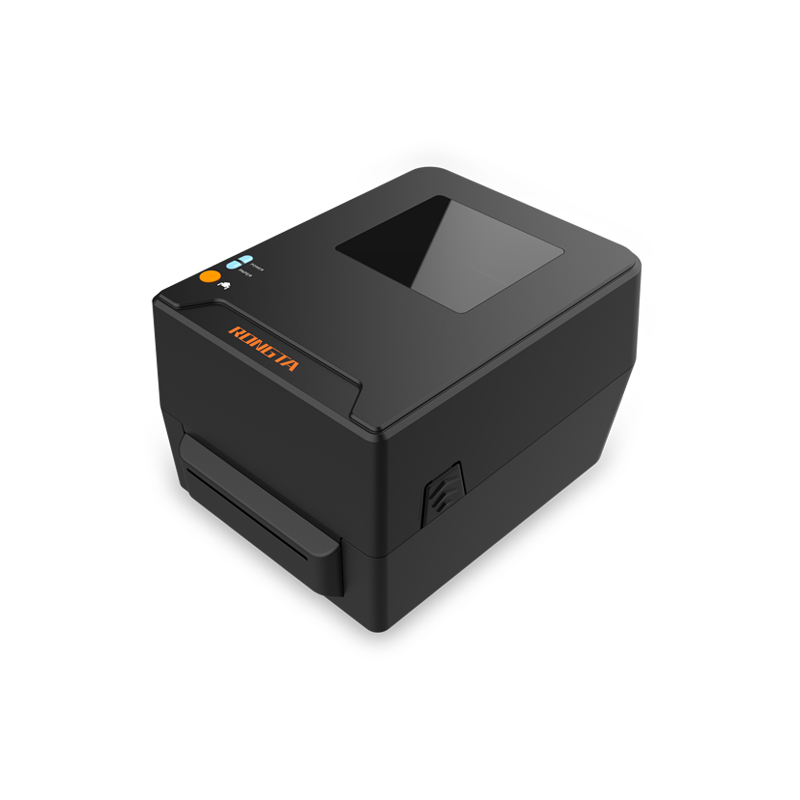 RPF413 300dpi RFID barcode label printer
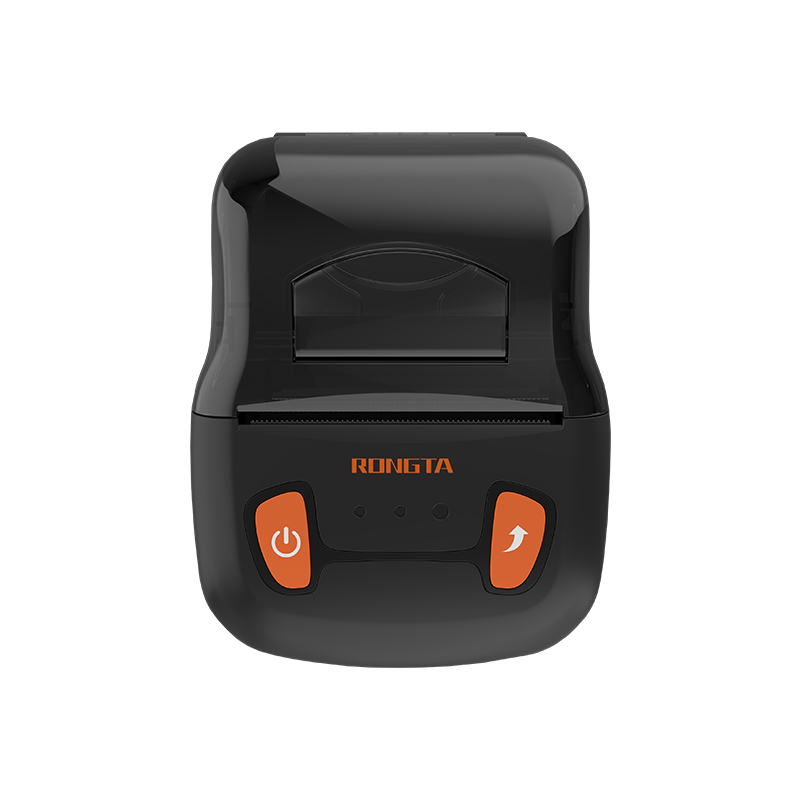 RPP02A Portable Receipt Printer
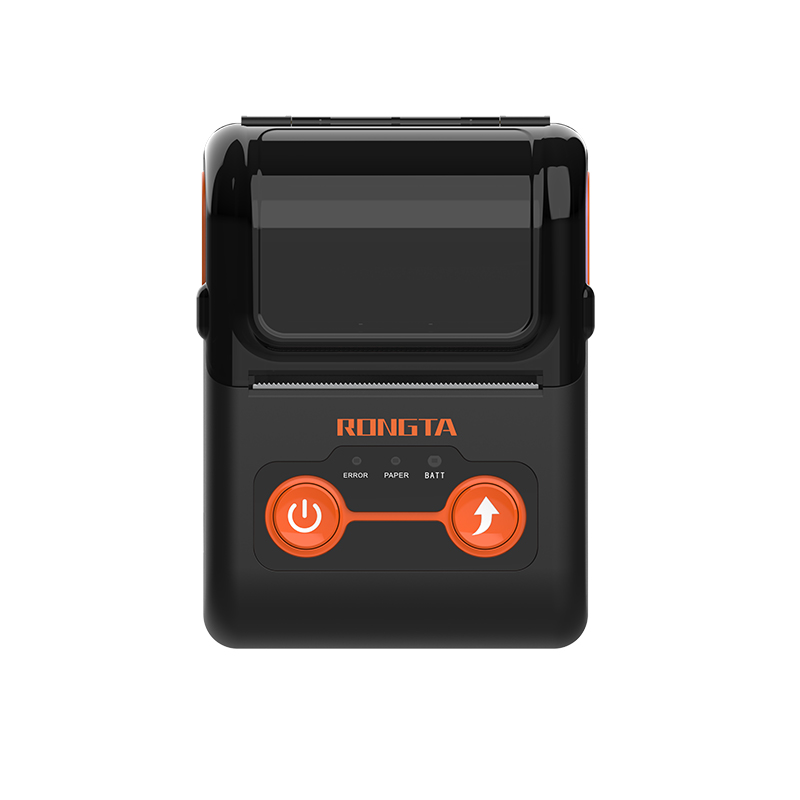 RPP02B Thermal Portable Printer
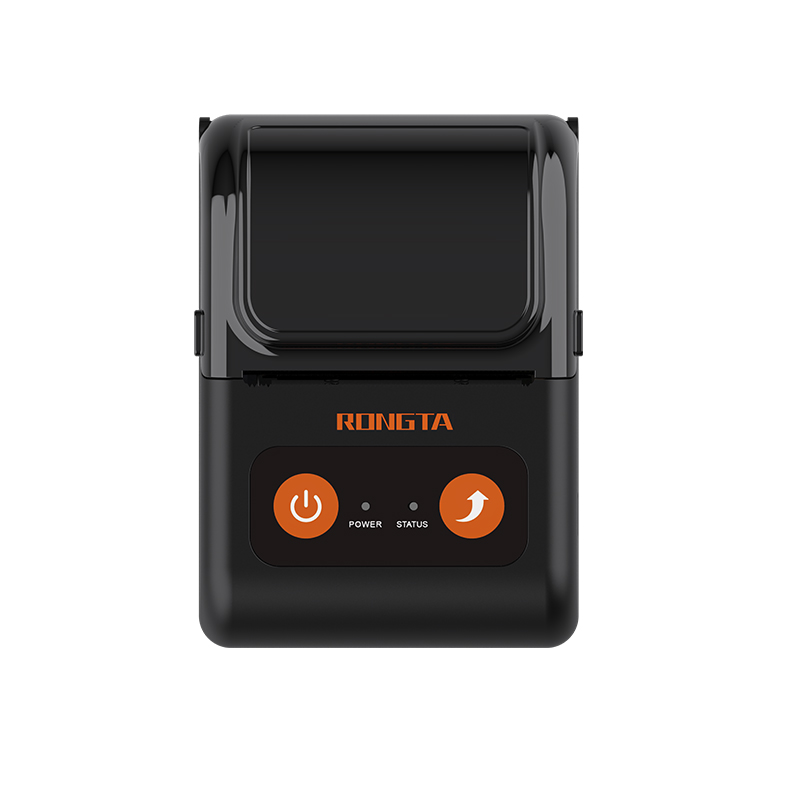 RPP02C Portable Receipt Printer
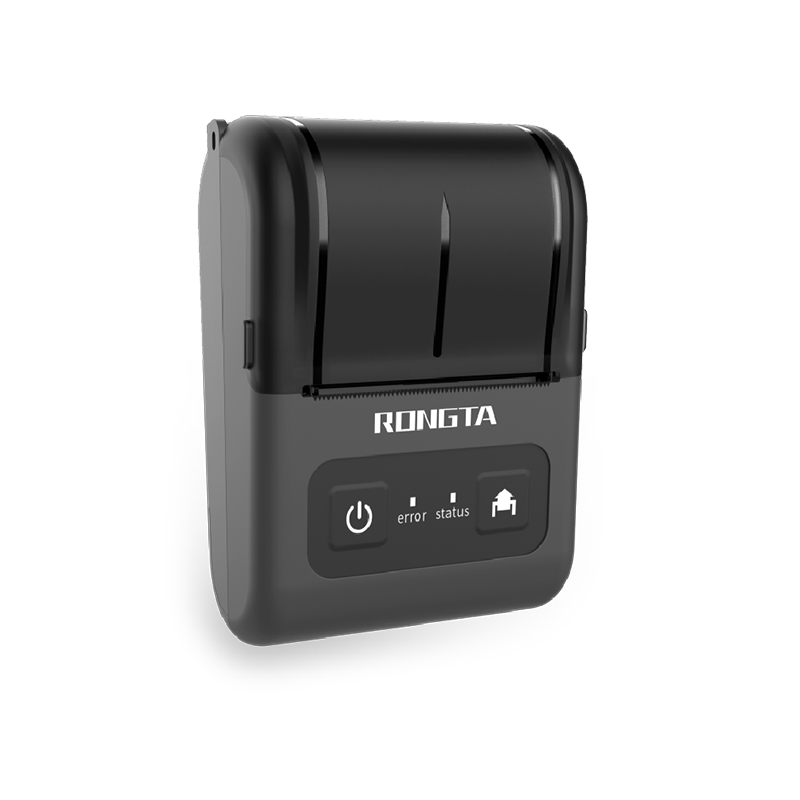 RPP02D Thermal Portable Printer
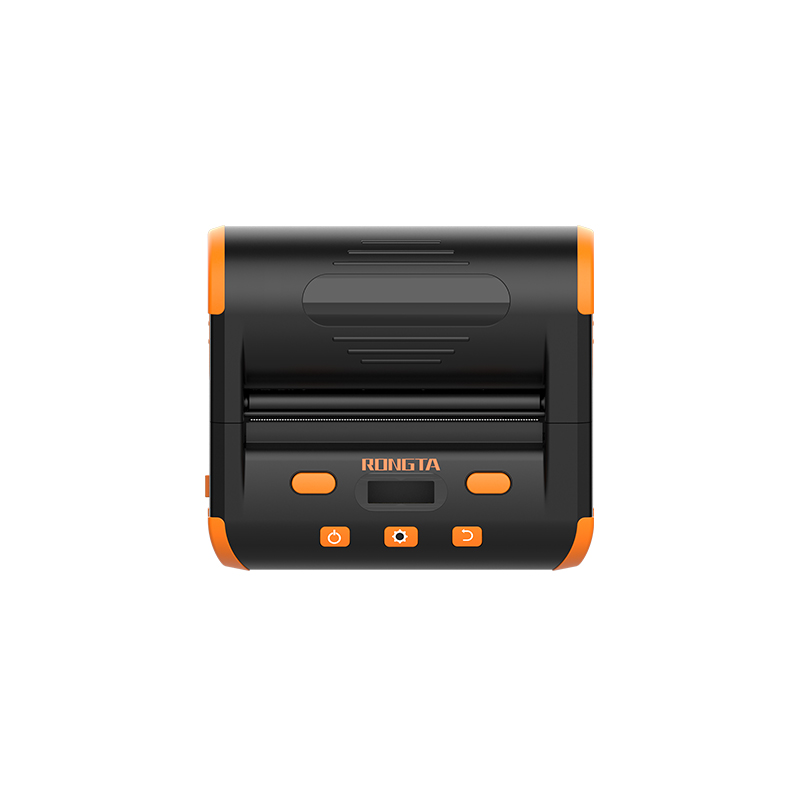 RPP04 4" Portable Label Printer
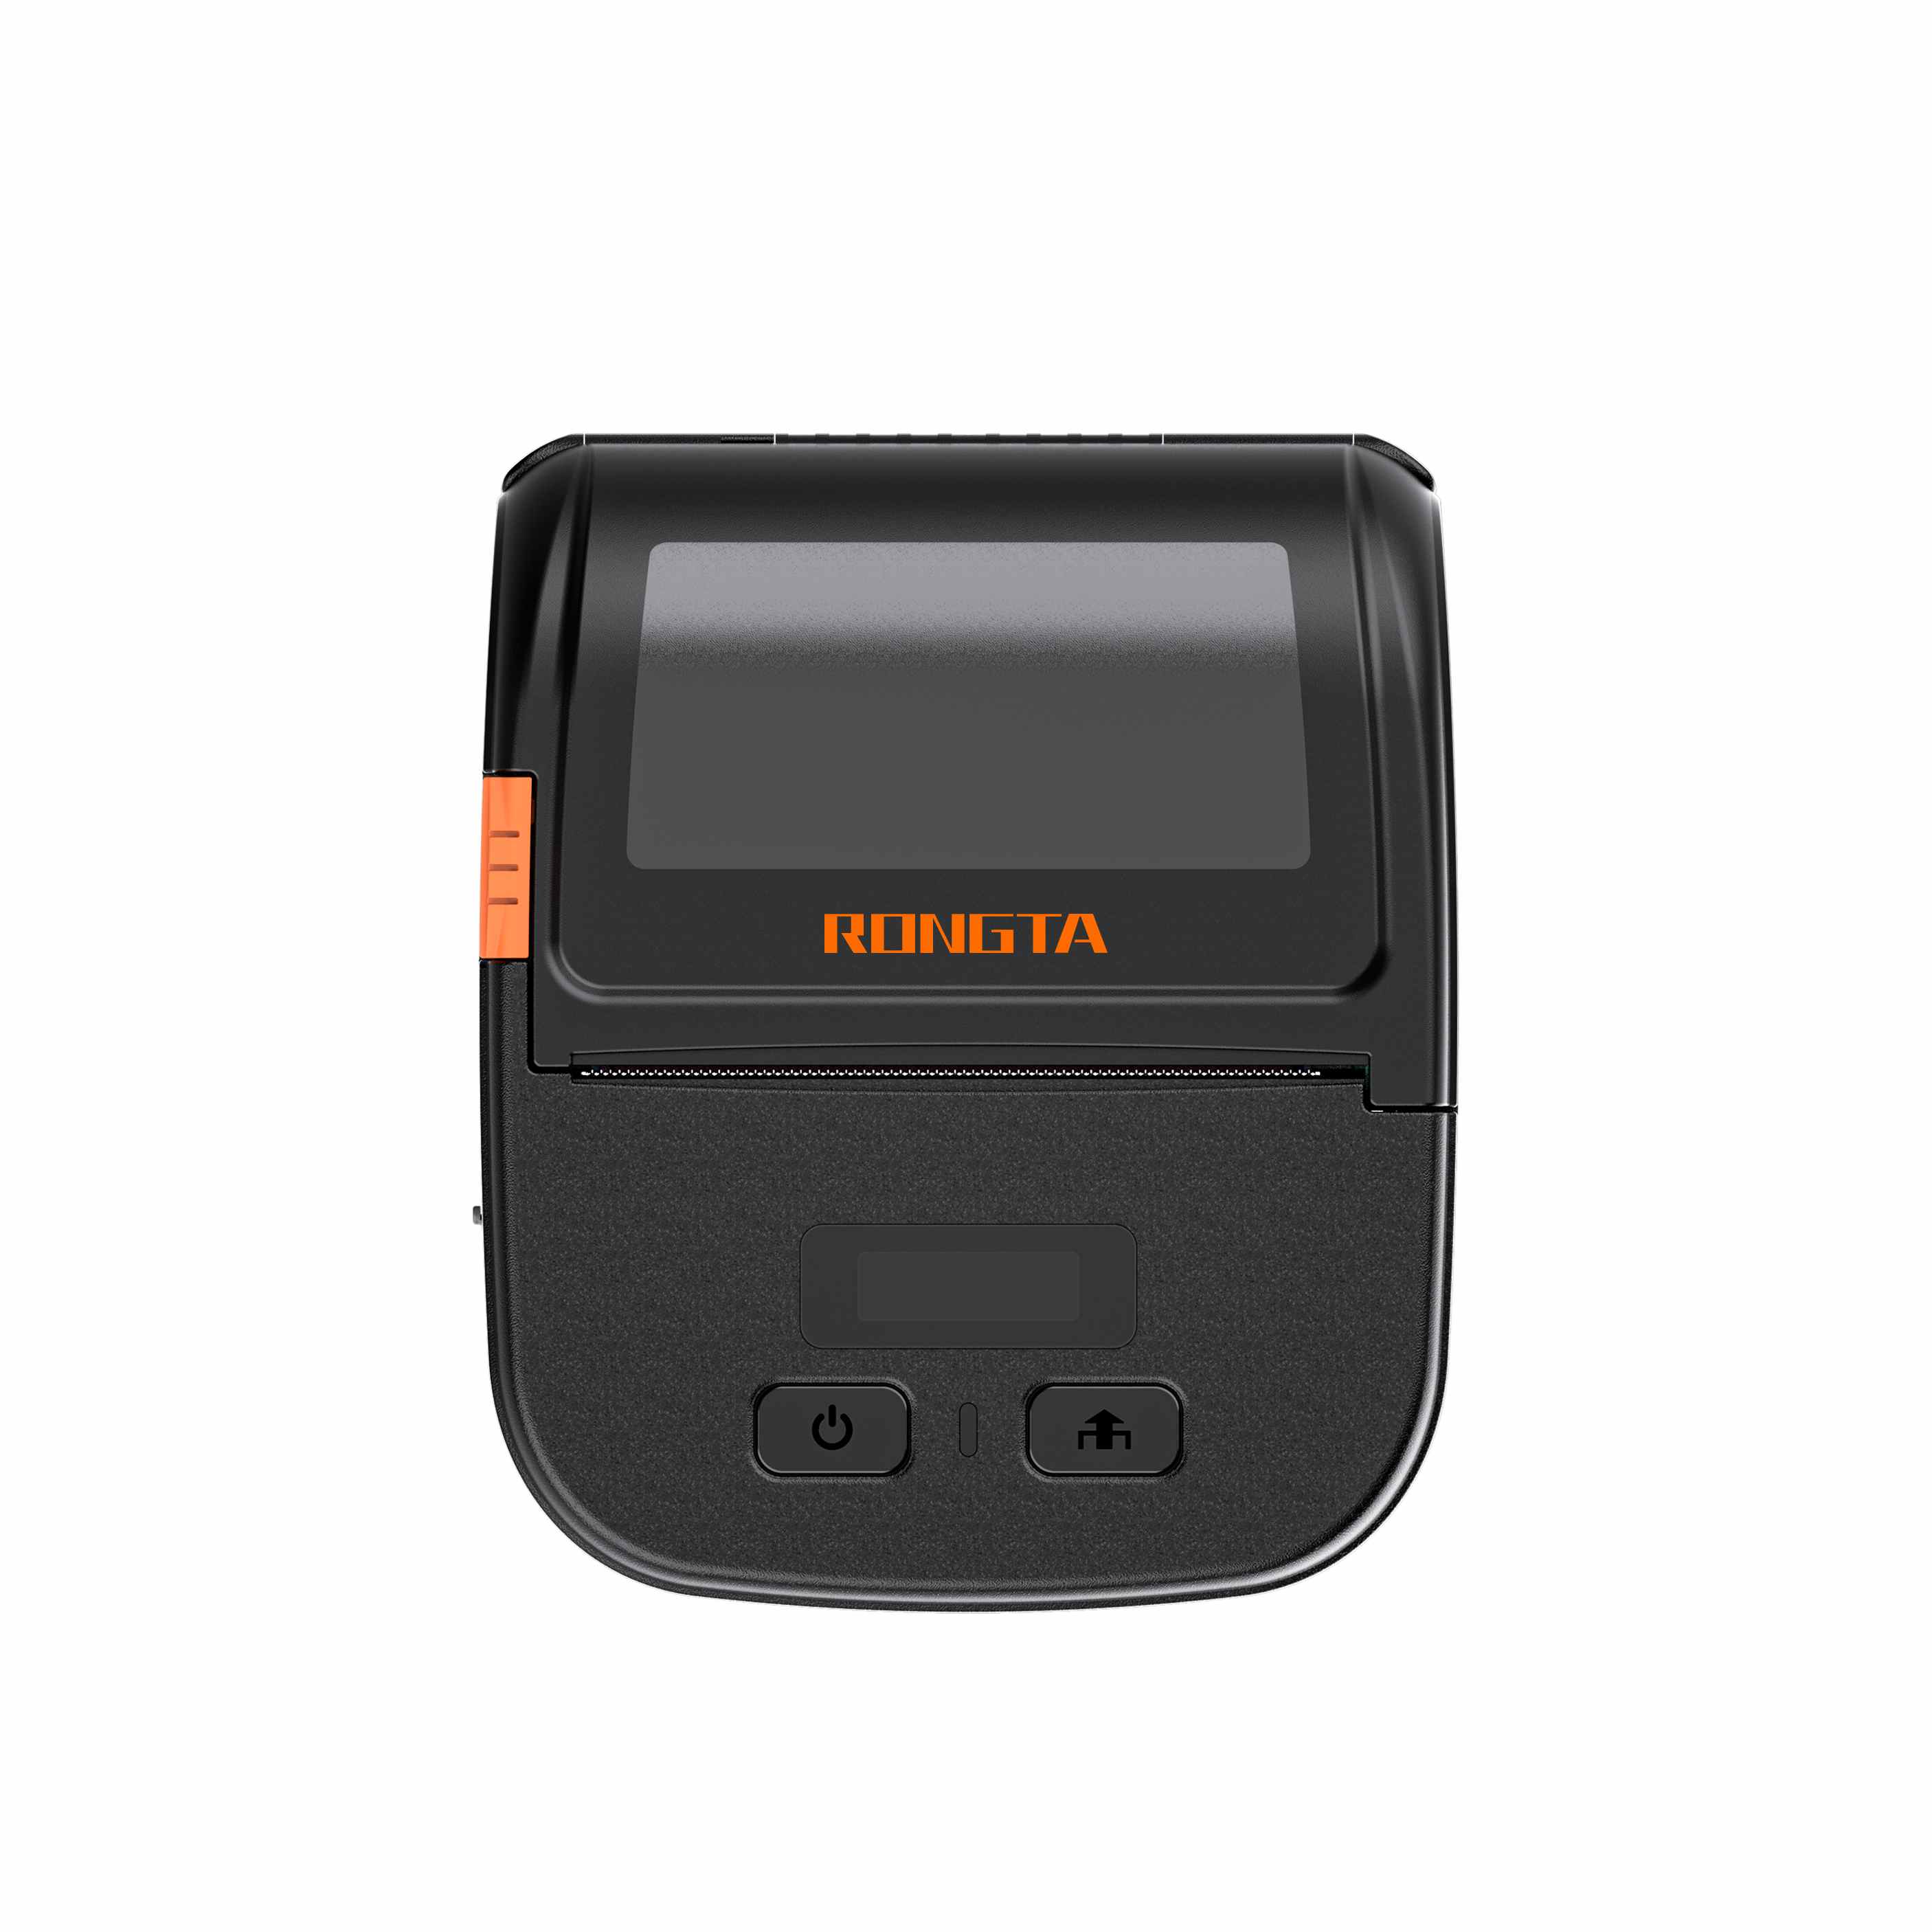 RPP30 3" Portable Label Printer
 ACE M1 2" Portable Label Printer
 RPP320N 3" Portable Label Printer
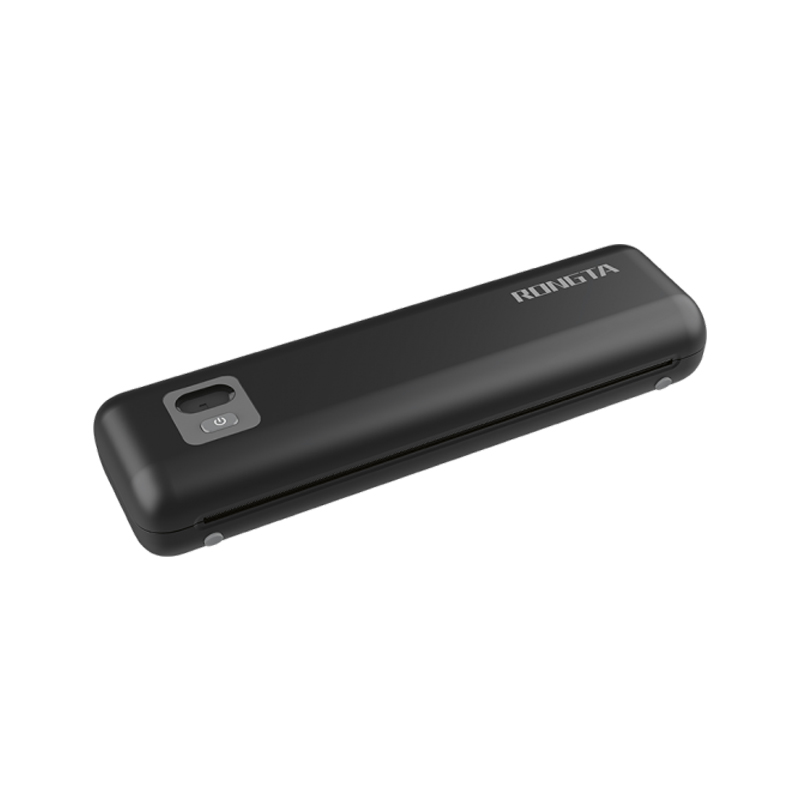 F82A A4 Front-Out Paper Tray Thermal Printer
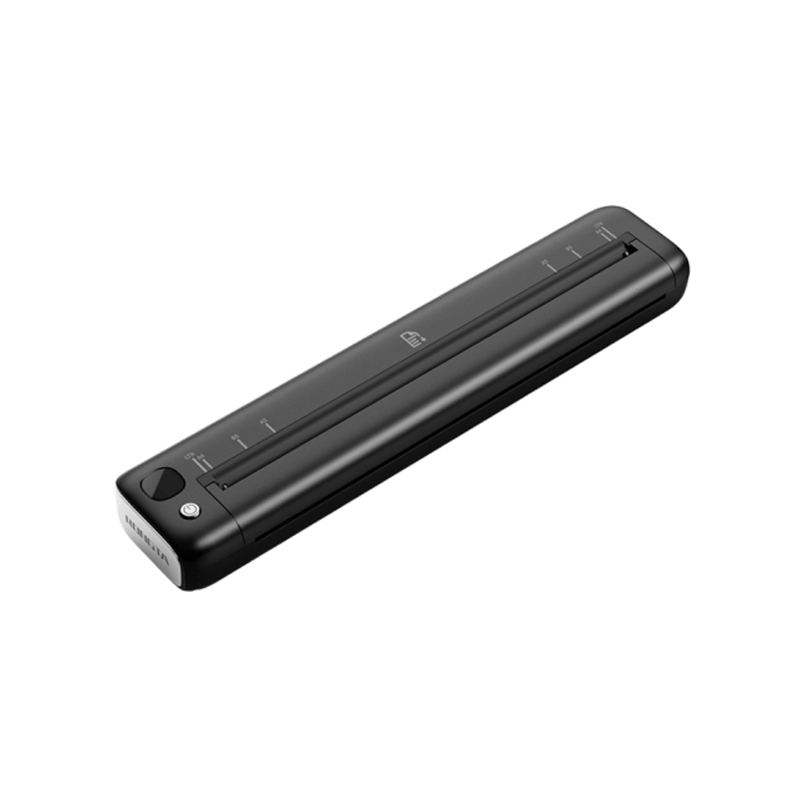 F81A Portable A4 Thermal Printer
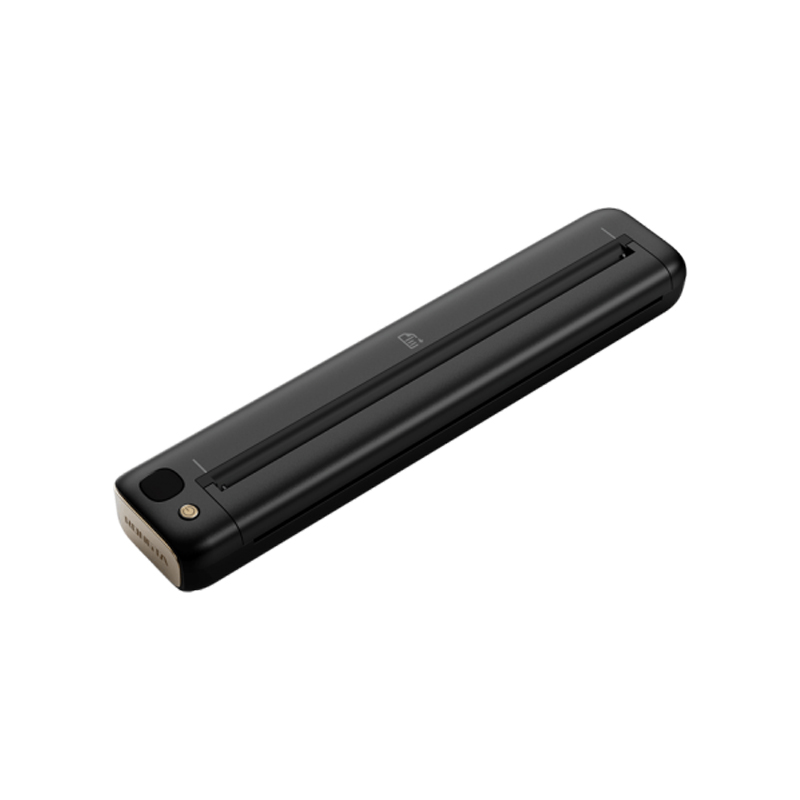 F81S Portable A4 Tattoo Printer
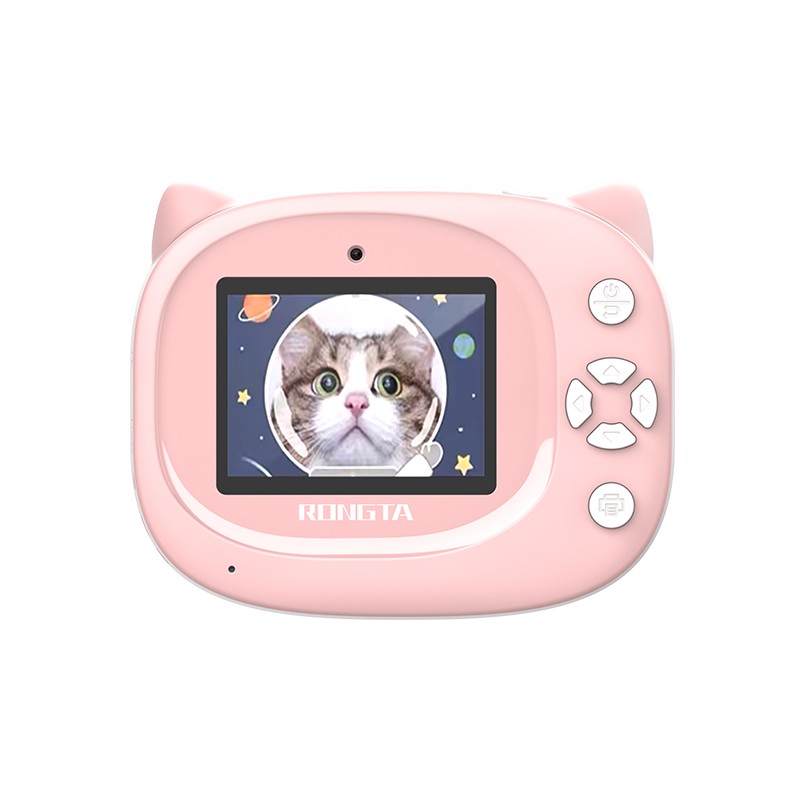 Z1 Children's Educational Photo Printer
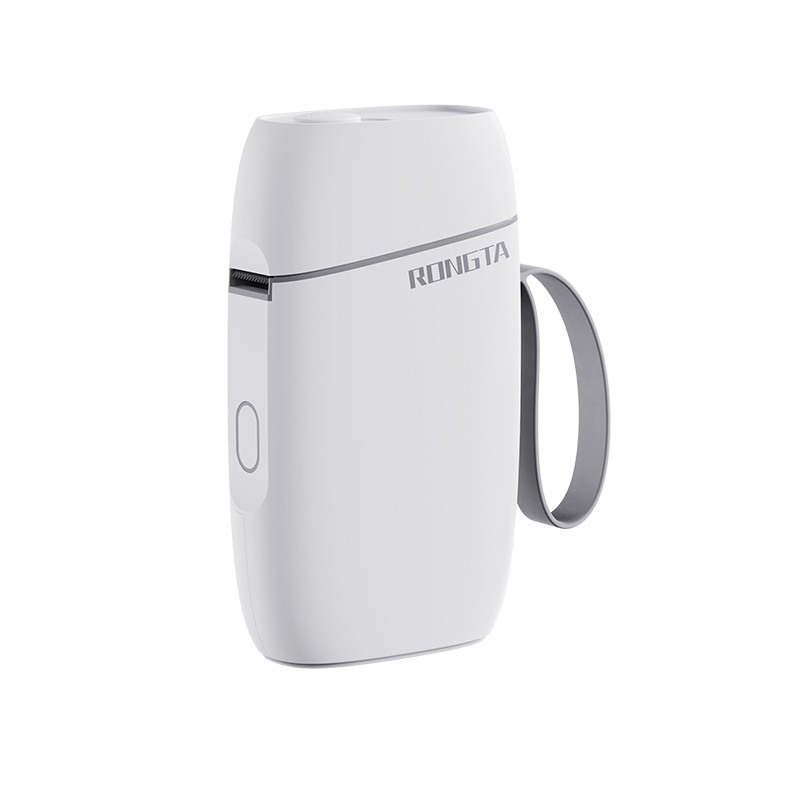 R5 Mini Label Printer
 RP07 58mm Embedded Printer
 RP203 58mm Embedded Printer
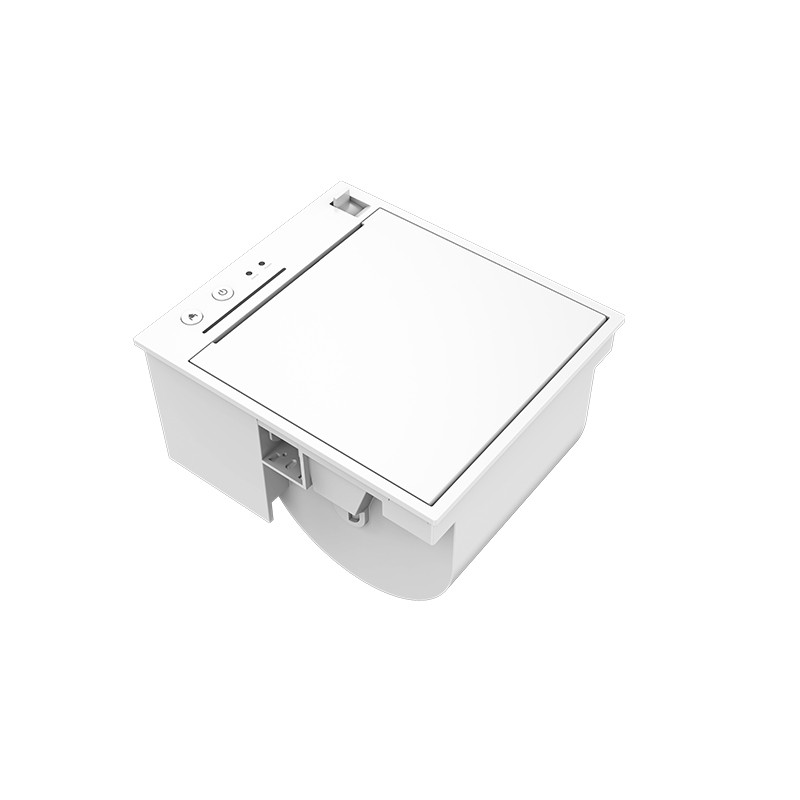 PM315 Embedded Thermal Printer
 PM201 48mm Printing Module
 PM628 58mm printing module
 PM532A Printing Module
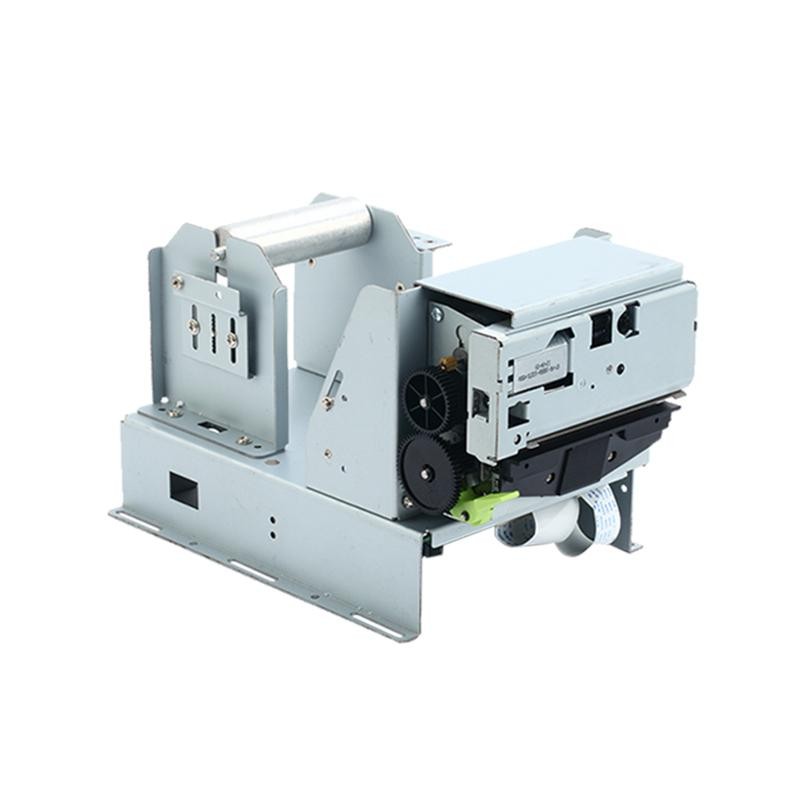 PM532B printer module
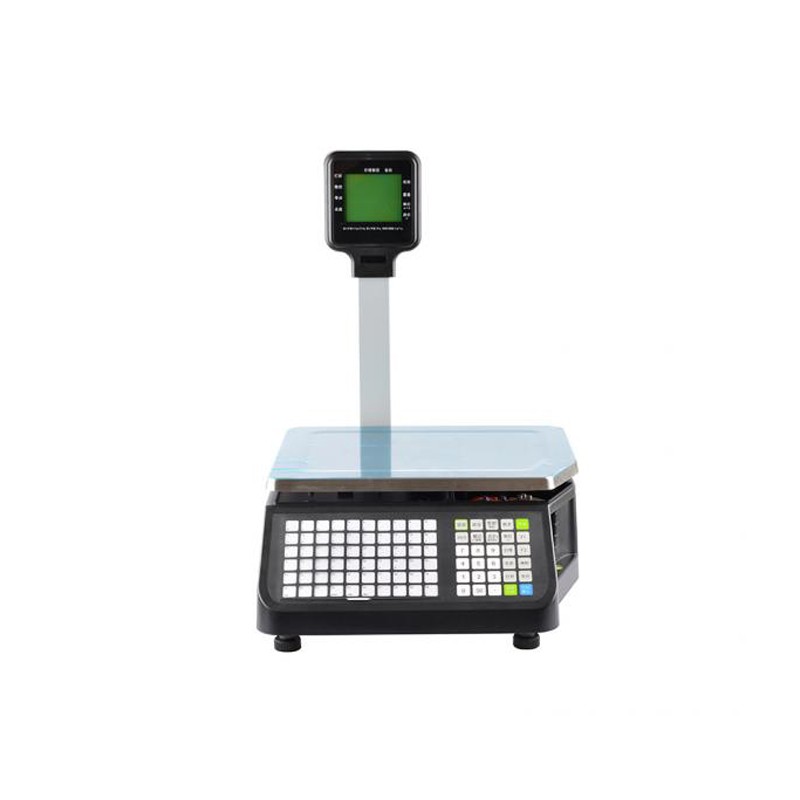 LS015/LS015A Barcode Scale
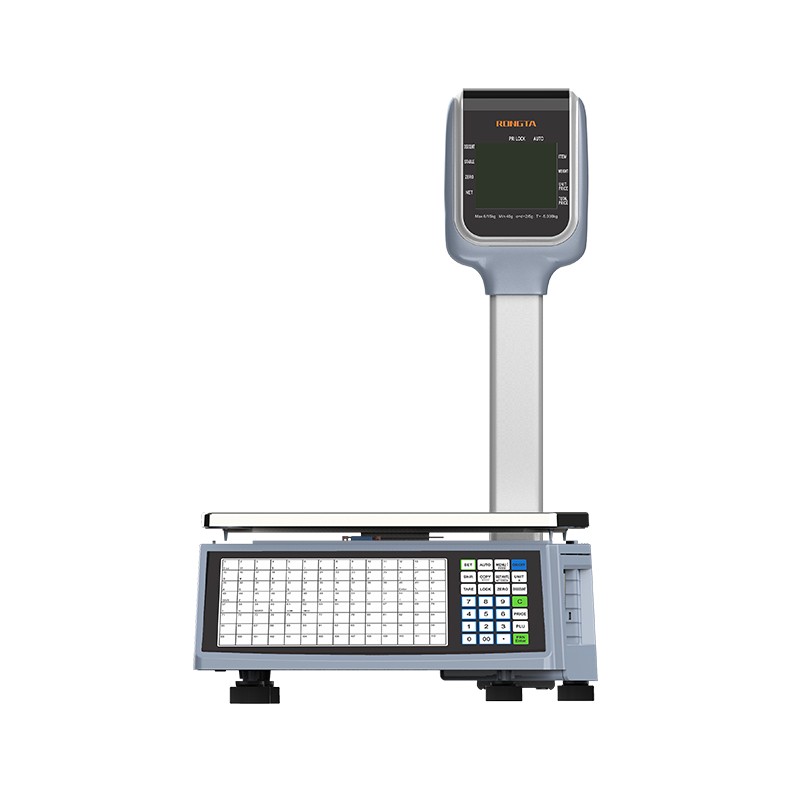 RLS1815D/RLS1830D Barcode Scale
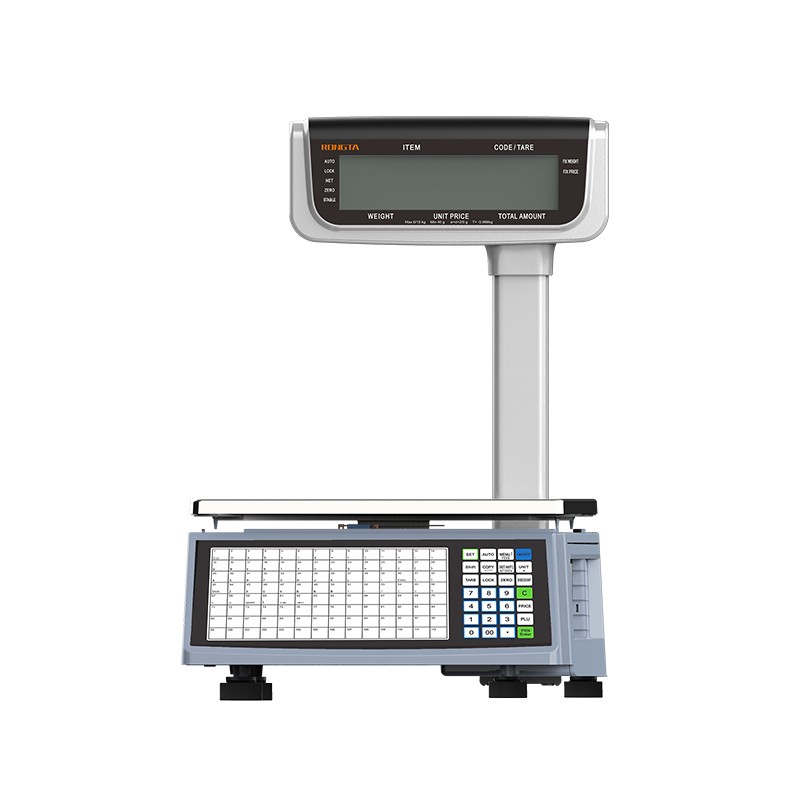 RLS1815C/RLS1830C Barcode Scale
 AURORA S2L-S Labelless Scale
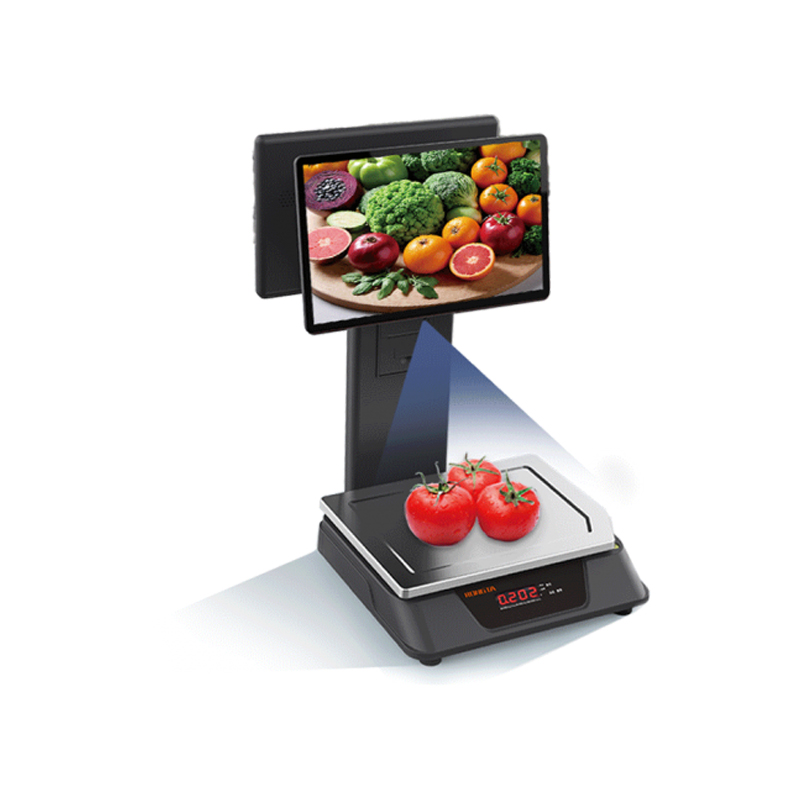 AURORA E1 PRO-AI Cash Register Scale
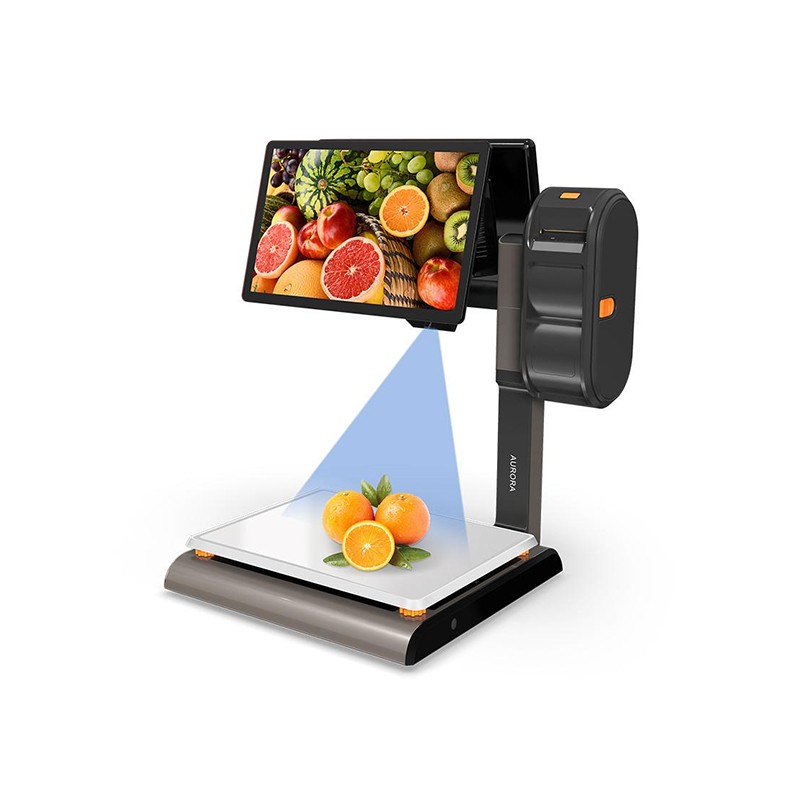 AURORA S2L-AI Label Scale
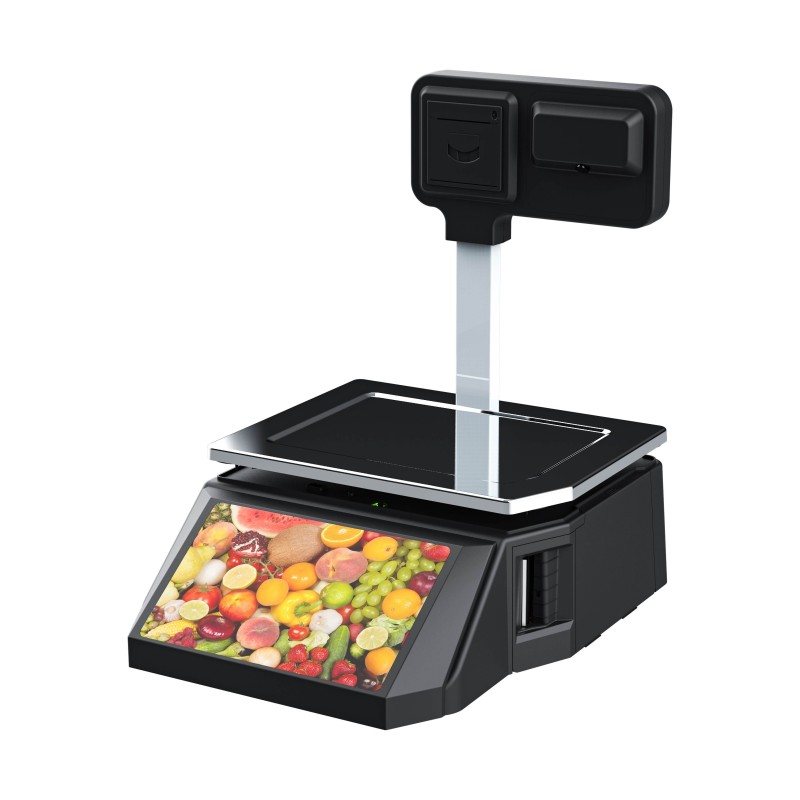 DP01-AI Smart Tag Cashier Dual-Use Scale
 C3 Weighing Scale
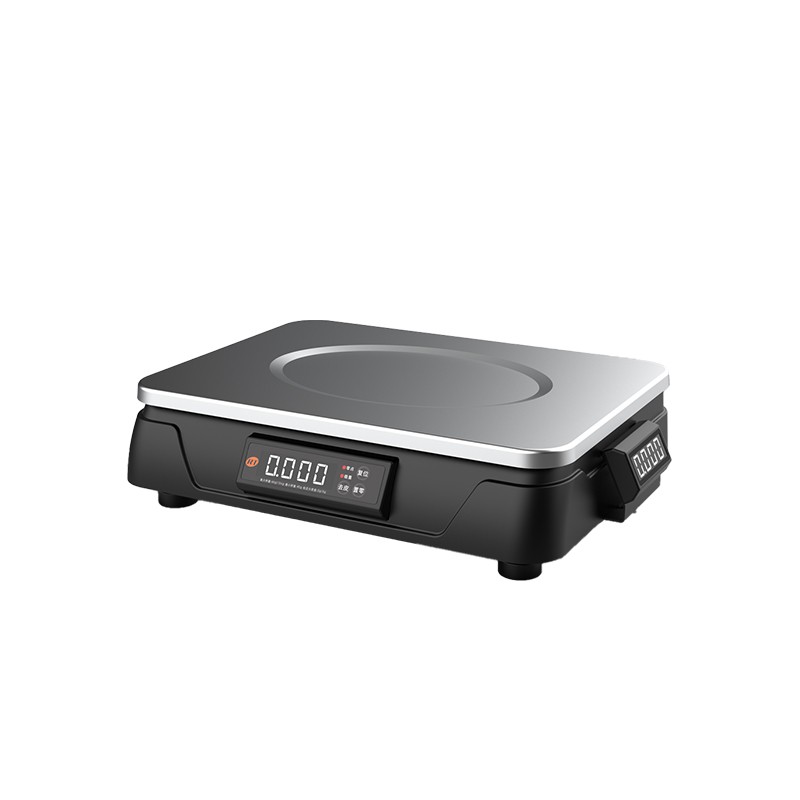 C1 weighing scale
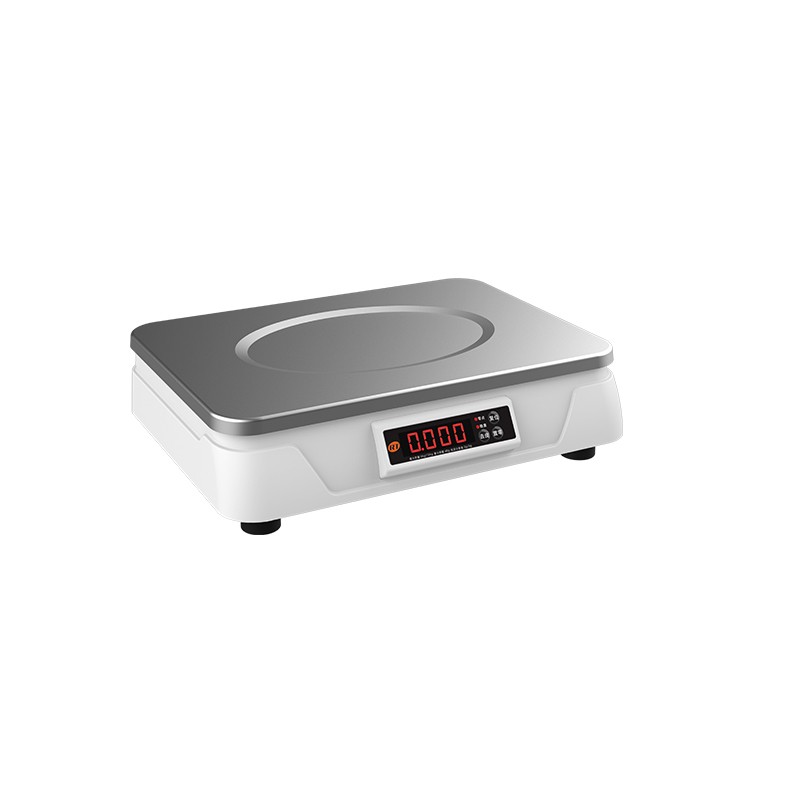 C11 Weighing Scale
 retail
 FOOD
FOOD Medical
 Mobile office/home
 asset Management
 logistics
 Driver download
 User Manual
 Tool Download
 Tag software
 Product Video
 Development Documentation
 Frequently Asked Questions
 User Guide
 Company News
 Exhibition Updates
 Industry Insights
 Product Update
 General situation
 Development history
 Honors and Qualifications
 R&D strength
 Team activities
 Social responsibility


Service Support
search

Main features and technical specifications of Rongda RP80 series receipt printers
Today, we'll be introducing the main features and technical specifications of the Rongda RP80 series receipt printer. Let's take a look together. 1. Main Features of the RP80 Series Receipt Printer: ● High print quality ● Low noise ● Supports cash drawer driver ● Compact and lightweight, aesthetically pleasing design ● Reasonable structure, easy to use and maintain ● Built-in data buffer, can receive print data during printing ● Supports USB port, serial port (RS_232), Ethernet port and cash drawer interface ● Characters can be enlarged, bolded, and underlined; line spacing and left/right spacing can be adjusted ● Supports downloading bitmaps of different densities and printing graphics ● Achieves adjustment and control in driver-driven printing (dot map) mode...
Troubleshooting and Driver Installation for 76mm Dot Matrix Receipt Printers
I. Troubleshooting 76mm Dot Matrix Receipt Printer When a printer malfunctions, refer to this section for appropriate troubleshooting. If the problem persists, please contact your dealer or manufacturer. 1. Indicator lights on the control panel are not lit. Check that the power cord is correctly plugged into the printer, power adapter, and power outlet. Check that the printer's power switch is on. 2. Indicator lights are normal, but the printer does not print. Run a self-test to check if the printer is working properly. If the self-test fails, contact your dealer or technical service personnel. If the self-test is successful, check the following: (1) Check the interfaces at both ends of the cable connecting the printer and the computer...
Instructions for Black Mark Positioning Control on 76mm Receipt Printer
Instructions for Positioning Control of Black Label (Optional) on 76mm Receipt Printer 1. Inherent Parameters of Printing Mechanism and Printing Control (1) The distance from the print head to the tear line of the printing head is 18 mm. (2) The distance from the print head to the black label detection switch is 25 mm. 2. Precautions for Black Label Printing (1) The black label must be printed on the right side of the front of the receipt. (2) The printing size of the black label should be: 8 (width) x 5 (height) mm. (3) The blackness of the black label should be sufficiently saturated, with a reflectance 75%. 3. Black Label Positioning This mechanism supports positioning printing of pre-printed black label paper. (1) Black...
Rongda 76mm Receipt Printer Interface Introduction
I. Serial Interface of the 76mm Receipt Printer The serial interface of the 76mm series receipt printers adopts the RS-232 standard, with a communication baud rate selectable at 4800bps, 9600bps, 19200bps, or 38400bps (adjustable via DIP switch), 8 data bits, no parity, 1 stop bit, and supports RTS/CTS and XON/XOFF handshake protocols. The pin functions of the printer's serial interface are defined as follows: Diagram showing the connection between the printer's serial interface and the POS host's serial interface: II. Parallel Interface of the Printer The parallel interface socket of the 76mm series printers is a 25-pin parallel socket, 8 data bits...
Power switch, buttons, indicator lights, and self-test of a 76mm dot matrix receipt printer
I. Switches, Buttons, and Indicator Lights of a 76mm Dot Matrix Receipt Printer 1. Power Switch The power switch is used to turn the printer on and off. The printer's power switch is located on the left side of the printer. Pressing the "-" button turns the printer on; pressing the "O" button turns the printer off. Note: Turn on the switch only after connecting the power supply. 2. Buttons and Indicator Lights The buttons and indicator panel are shown in the figure below: Button and Indicator Light Function Description: (1) FEED Button: Paper Feed Button In standby mode, pressing the paper feed button continuously feeds paper. During printing, the paper feed button is ineffective. When installing the paper roll, after the paper is loaded, press the paper feed button (FEED...
Installation and Operation of a 76mm Dot Matrix Receipt Printer
Installation and Operation of 76mm Dot Matrix Receipt Printer 1. Printer Connection Method (1) Ensure that both the printer and the PC host are turned off. Plug the matching data communication cable into the printer's data connection port, and plug the other end (e.g., a 9-pin connector for serial port and a 25-pin connector for parallel port) into the PC host's serial/parallel/USB port. (2) If equipped with an electrically openable cash drawer, plug the RJ-11 connector on the cash drawer into the printer's cash drawer port (the cash drawer specifications must conform to the printer's cash drawer driver specifications). (3) Connect the printer's dedicated power adapter. Please use the dedicated power adapter included with the printer. The connection diagram is shown below: Note: (1) First, plug in the printer's power adapter...
76mm Dot Matrix Receipt Printer Technical Specifications
I. Main Features of the 76mm Dot Matrix Receipt Printer ● High print quality ● Supports cash drawer driver ● Beautiful design ● Reasonable structure, easy to use and maintain ● Communication interfaces include USB, parallel port, serial port, and network port ● Equipped with a paper source sensor for automatic paper loading and detection ● Characters can be enlarged, bolded, and underlined; line spacing and horizontal spacing can be adjusted ● Supports printing bitmaps of different densities and downloaded graphics ● Supports black mark detection and positioning printing ● Low power consumption and low operating cost ● ESC compatible...
Precautions for using 76mm dot matrix printers
The 76mm series dot matrix printer is a POS impact dot matrix receipt printer. It boasts stable performance, high reliability, and simple operation, offering excellent value for money. Therefore, it is widely used in shopping malls, supermarkets, hospitals, restaurants, banks, gas stations, toll collection points, and other fields. Before operating the printer, please carefully read the following instructions and strictly adhere to them. 1. 76mm Dot Matrix Printer Safety Warnings: Warning: Do not touch the printer's cutter or tearer. Warning: The printhead is a heat-generating component; do not touch the printhead or surrounding parts during or immediately after printing. Warning: This product is only suitable for use in non-tropical climates. Warning: This is a Class A product. In residential environments, this product may cause radio interference. In such cases, the user may need to...
58mm Receipt Printer Driver Instructions
I. Driver for 58mm Receipt Printer There are two ways to drive the 58mm series printers: one is to directly install the driver under Windows 9x/7/8/10/ME/2000/XP/Linux/Mac, and the other is to directly drive it using a serial port/parallel port/network port. (1) Installing the driver under Windows Add the printer in Windows and specify the driver file in the driver disk to Windows. You only need to call the print command in the program to start printing. In this way, the Windows printer driver actually converts the characters into graphic dot matrix for printing. (2) Direct driving via serial port/parallel port/network port In this way, it is not necessary to use a driver...
Cleaning and troubleshooting of 58mm series receipt printers
I. Cleaning a 58mm Receipt Printer 1. Cleaning the Printhead The printhead should be cleaned when the printer exhibits any of the following conditions: (1) The print is unclear; (2) A certain column of the printed page is unclear; (3) There is loud paper feeding noise. The steps for cleaning the printhead are as follows: (1) Turn off the power of the printer, open the top cover, and remove the paper if there is any; (2) If printing has just finished, wait for the printhead to cool down completely; (3) Use a soft cotton cloth dipped in anhydrous ethanol (wrung out) to wipe away the dust and stains on the surface of the printhead; (4) After the anhydrous ethanol has completely evaporated, close the top cover and try printing again. 2. Cleaning the Sensor The paper out sensor should be cleaned when the printer exhibits any of the following conditions: (1) During the printing process...
58mm Thermal Receipt Printer Interface Introduction and Explanation
I. Serial Interface of the 58mm Thermal Receipt Printer The serial interface of the 58mm series printers adopts the RS-232 standard, with a communication baud rate of 9600bps, 8 data bits, no parity check, 1 stop bit, and supports RTS/CTS and XON/XOFF handshake protocols. The pin functions of the printer's serial interface are defined as follows: Diagram of the connection between the printer's serial interface and the POS host's serial interface: II. Parallel Interface of the 58mm Thermal Receipt Printer The parallel interface socket of the 58mm series printers is a 25-pin parallel socket, supporting 8-bit parallel transmission and BUSY/nAck handshake protocols. The pin functions of the printer's parallel interface socket...
58mm Thermal Receipt Printer Series Self-Test Instructions
I. Switches, Buttons, and Indicator Lights of a 58mm Thermal Receipt Printer 1. Power Switch The power switch is used to turn the printer on and off. The power switch is located on the front of the printer. Pressing the "-" button turns the printer on; pressing the "O" button turns the printer off. Note: Only turn on the switch after connecting to a power source. 2. Buttons and Indicator Lights The RP58 and RP58E series printers have three-color indicator lights, while the RP58A and RP58B have two-color indicator lights. The button and indicator panel is shown in the following figure: Button and Indicator Light Function Description: FEED Button: Paper feed button In standby mode, pressing the paper feed button continuously...