 80mm Receipt Printer
 ACE H2 Receipt Printer
 RP337 Receipt Printer
 RP336S Dual-Color Receipt Printer
 RP350 Receipt Printer
 RP582 Receipt Printer
 RP581 Receipt Printer
 ACE G1Y Receipt Printer
 ACE G1YP Cloud Printer
 RP216 2'' Dual-color High-definition Label Printer
 ACE V1S 3'' Backless Label Printer
 RP310D 3'' Dual-color Label Printer
 RP410N 4'' Thermal Label Printer
 RP425 4'' Electronic Waybill Printer
 RP422 4'' Electronic Waybill Printer
 RP421A 4'' Electronic Waybill Printer
 RP420 4'' Electronic Waybill Printer
 RI463 Series Barcode Printers
 RP400A 4'' Thermal Transfer Tape Cutter Printer
 RP400H 4'' Thermal Transfer Tape Cutter Printer
 RPF413 300dpi RFID barcode label printer
 RPP02A Portable Receipt Printer
 RPP02B Thermal Portable Printer
 RPP02C Portable Receipt Printer
 RPP02D Thermal Portable Printer
 RPP04 4" Portable Label Printer
 RPP30 3" Portable Label Printer
 ACE M1 2" Portable Label Printer
 RPP320N 3" Portable Label Printer
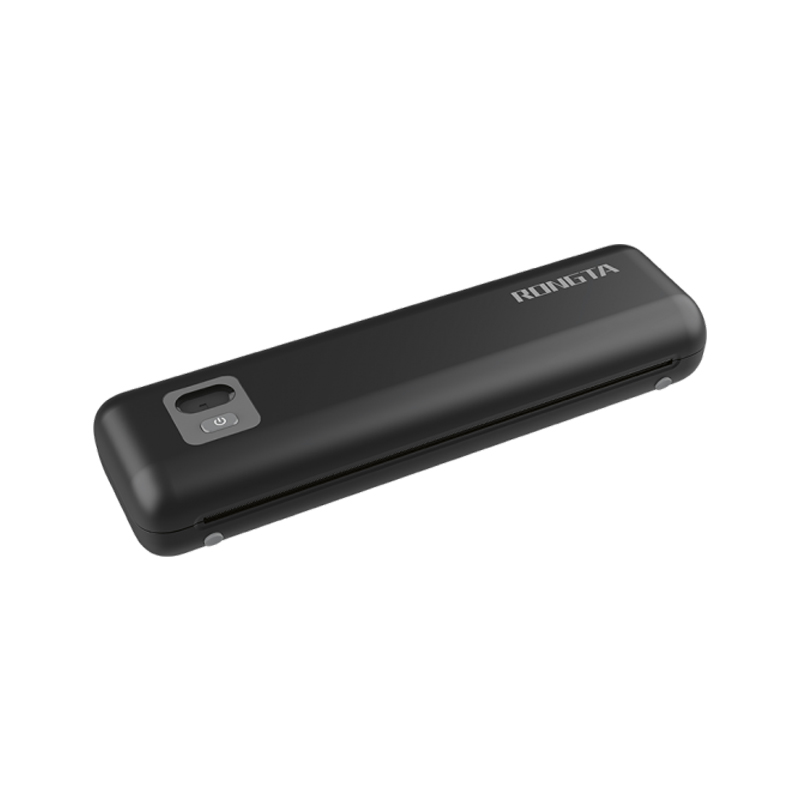 F82A A4 Front-Out Paper Tray Thermal Printer
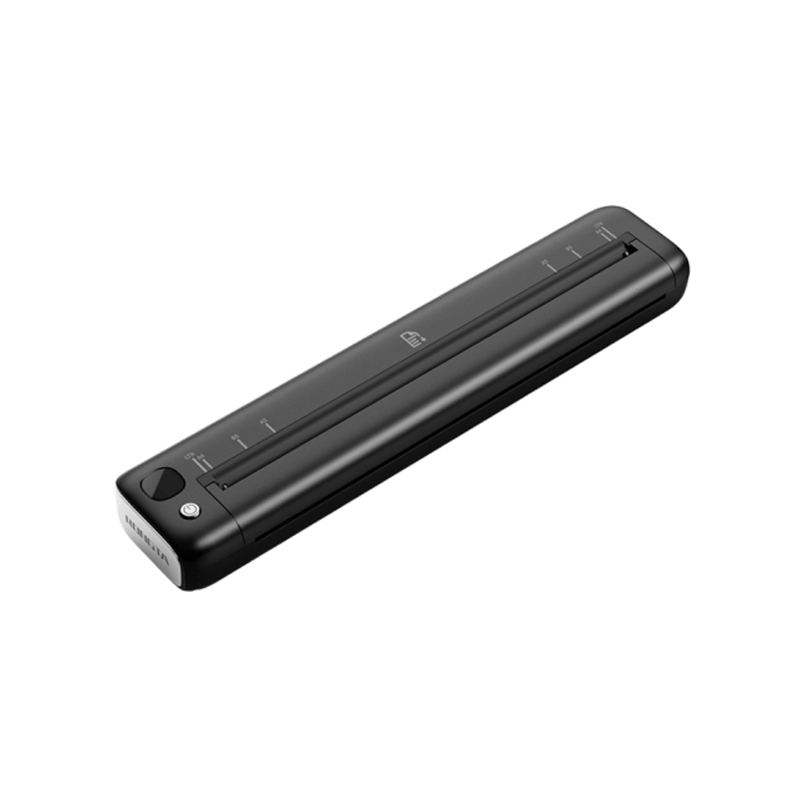 F81A Portable A4 Thermal Printer
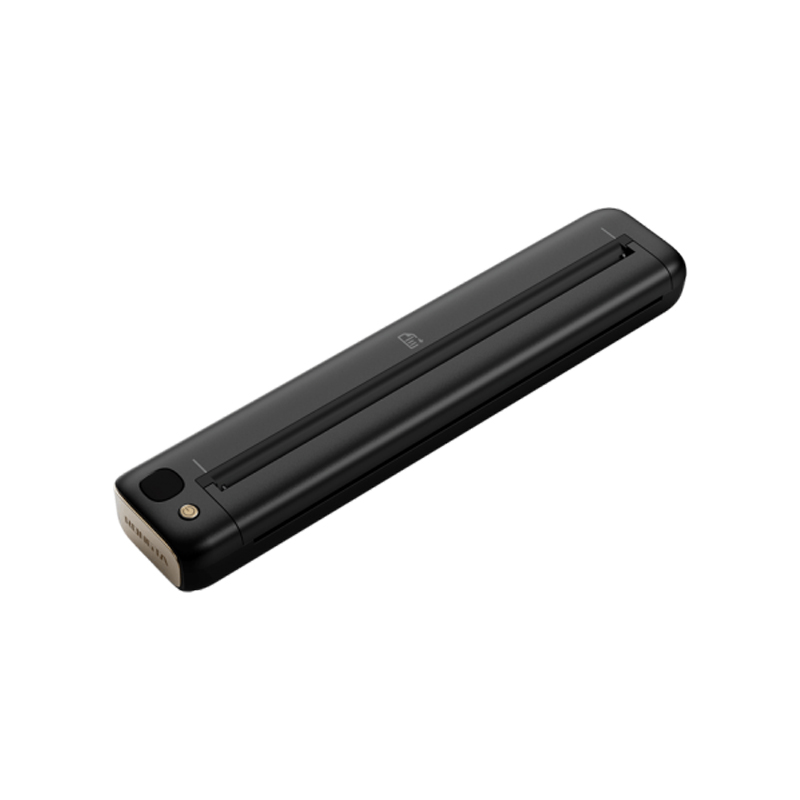 F81S Portable A4 Tattoo Printer
 Z1 Children's Educational Photo Printer
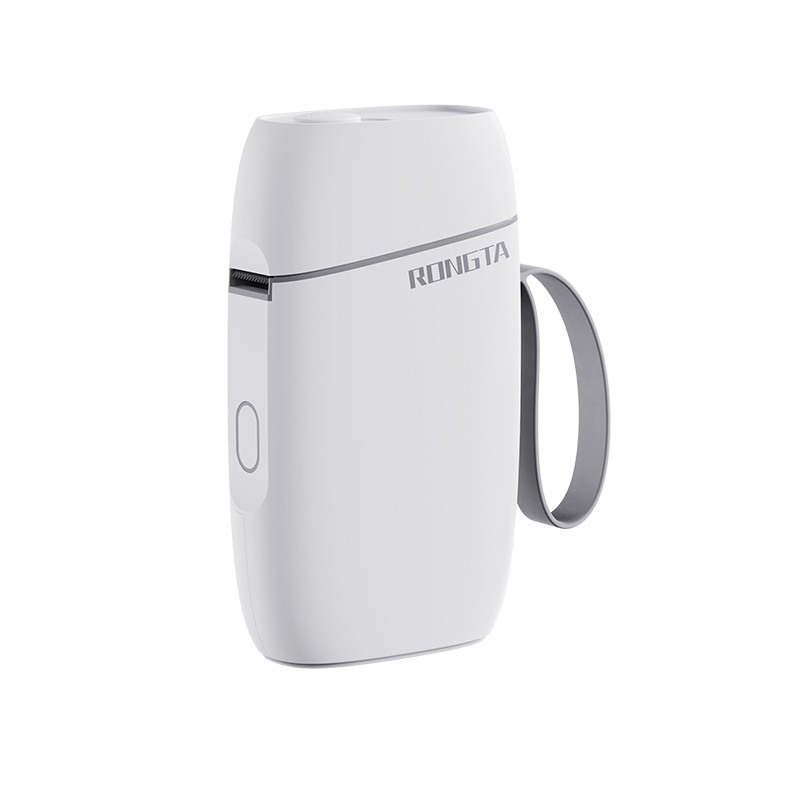 R5 Mini Label Printer
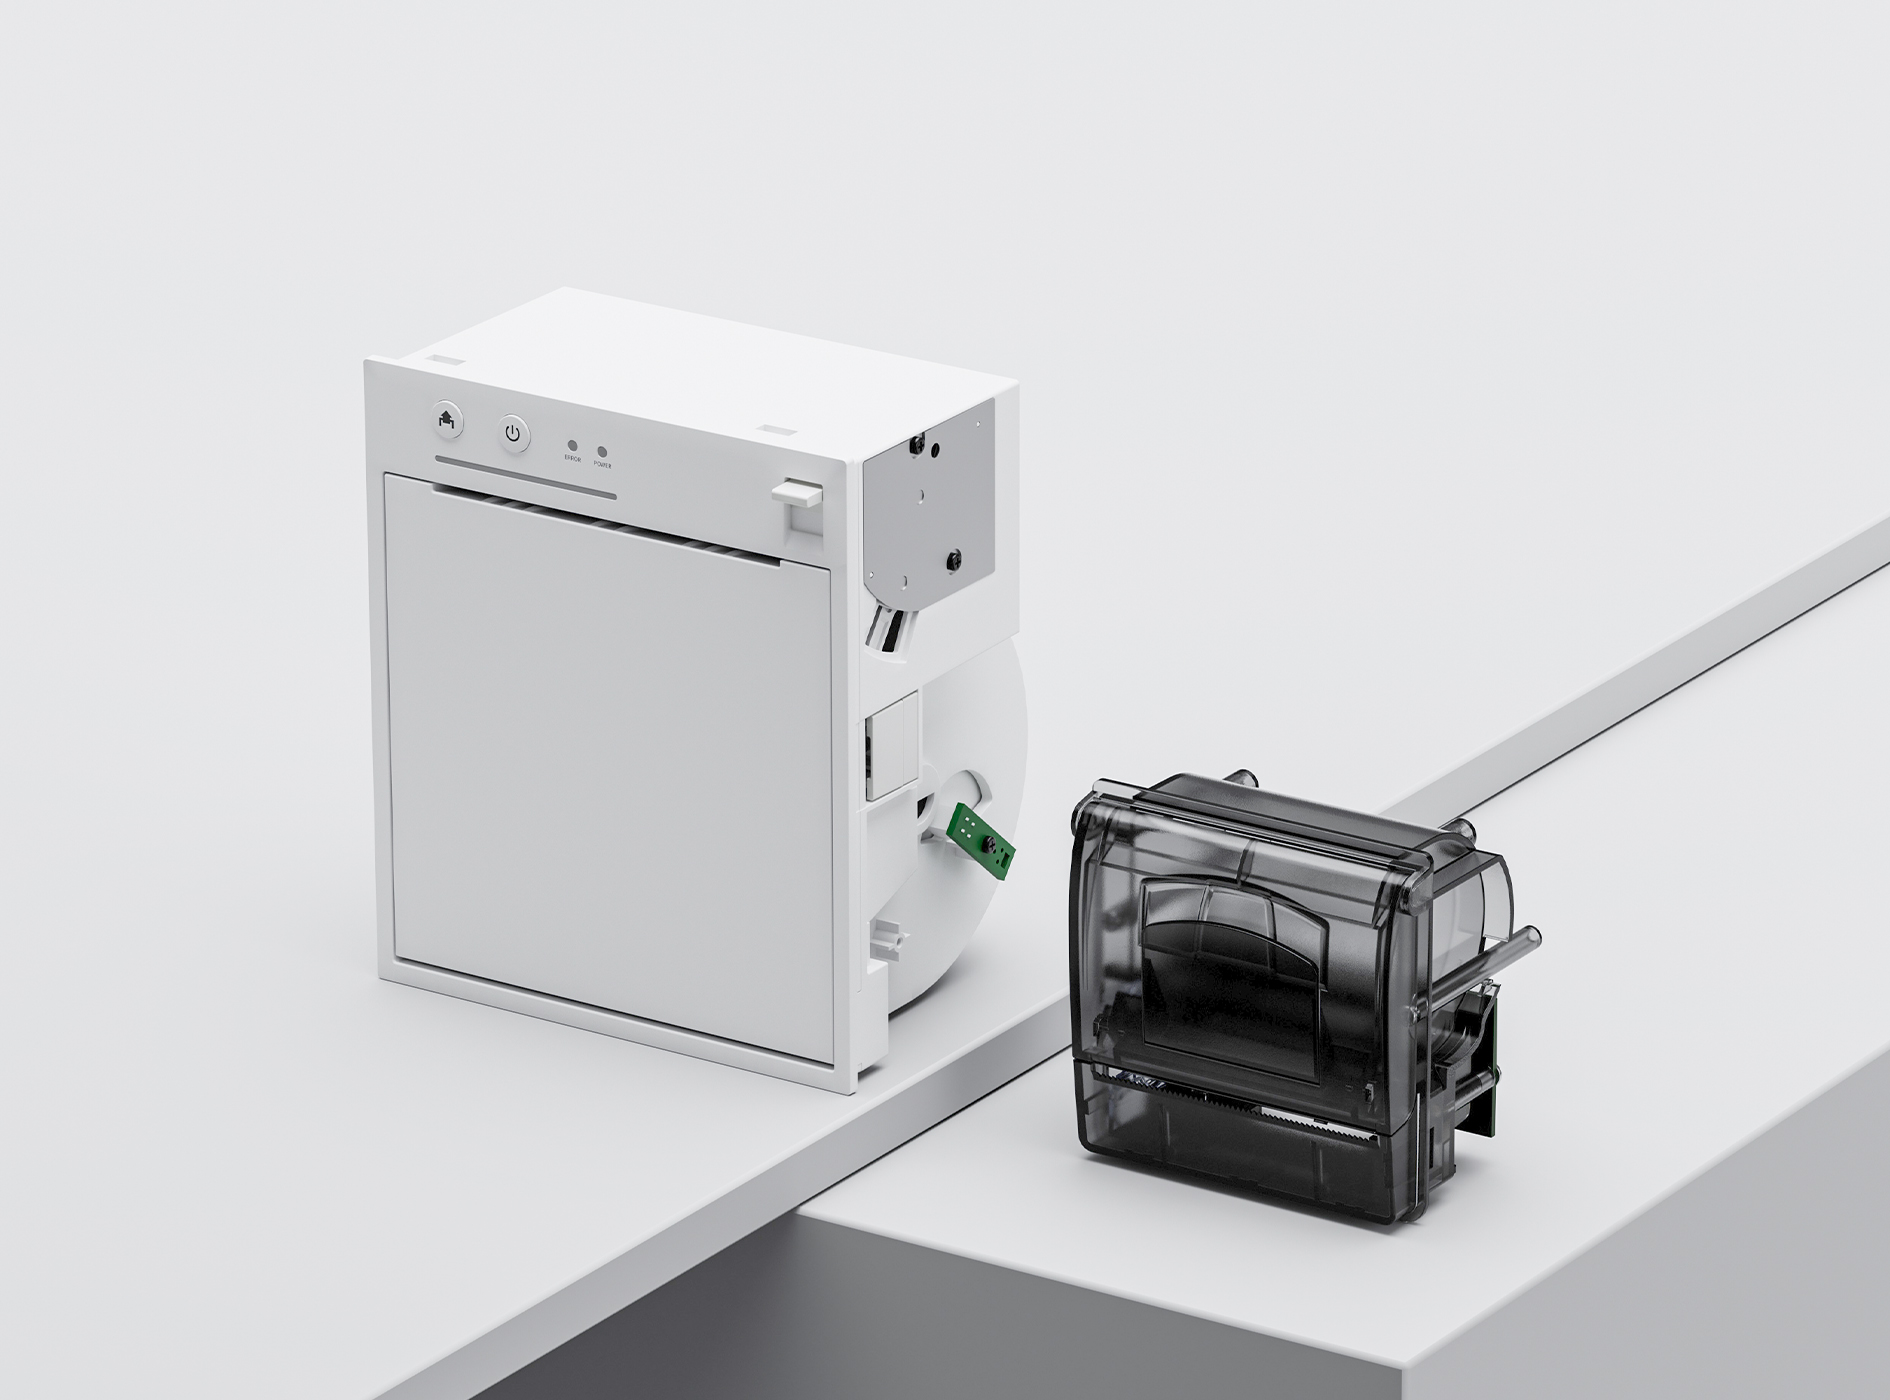
 RP07 58mm Embedded Printer
 RP203 58mm Embedded Printer
 PM315 Embedded Thermal Printer
 PM201 48mm Printing Module
 PM628 58mm printing module
 PM532A Printing Module
 PM532B printer module
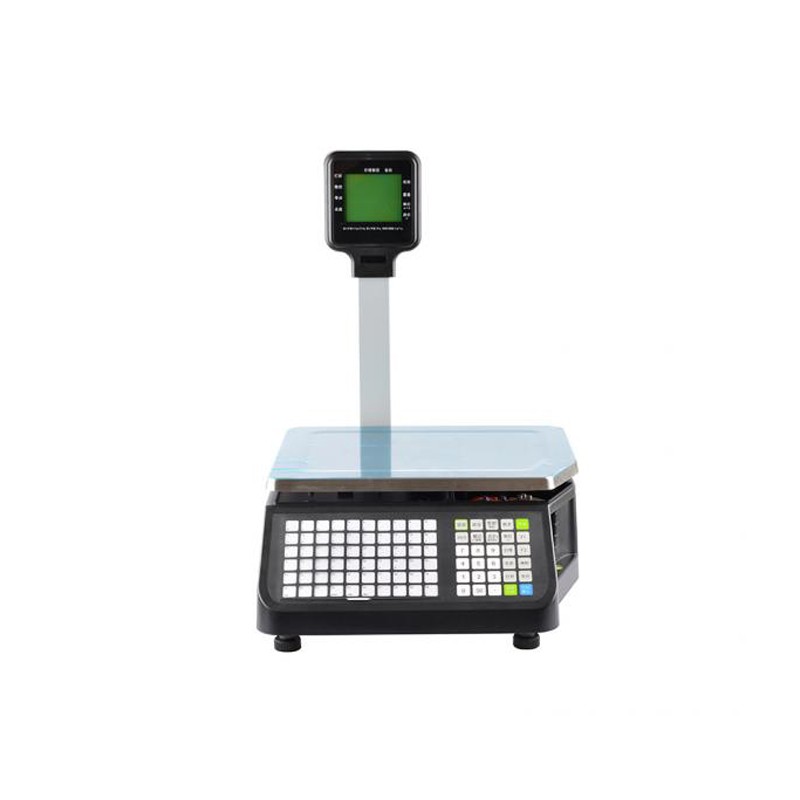 LS015/LS015A Barcode Scale
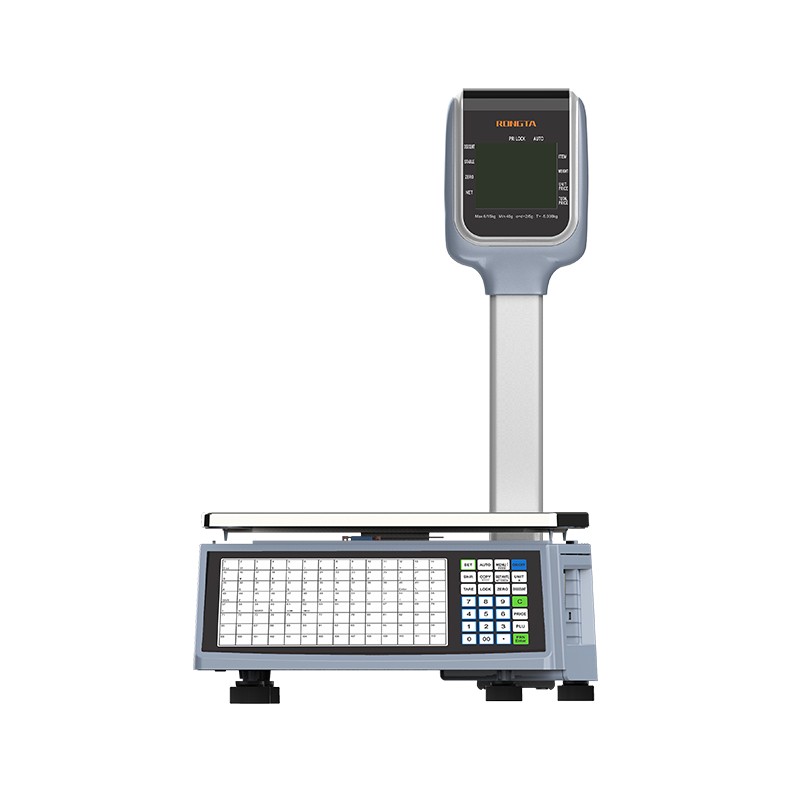 RLS1815D/RLS1830D Barcode Scale
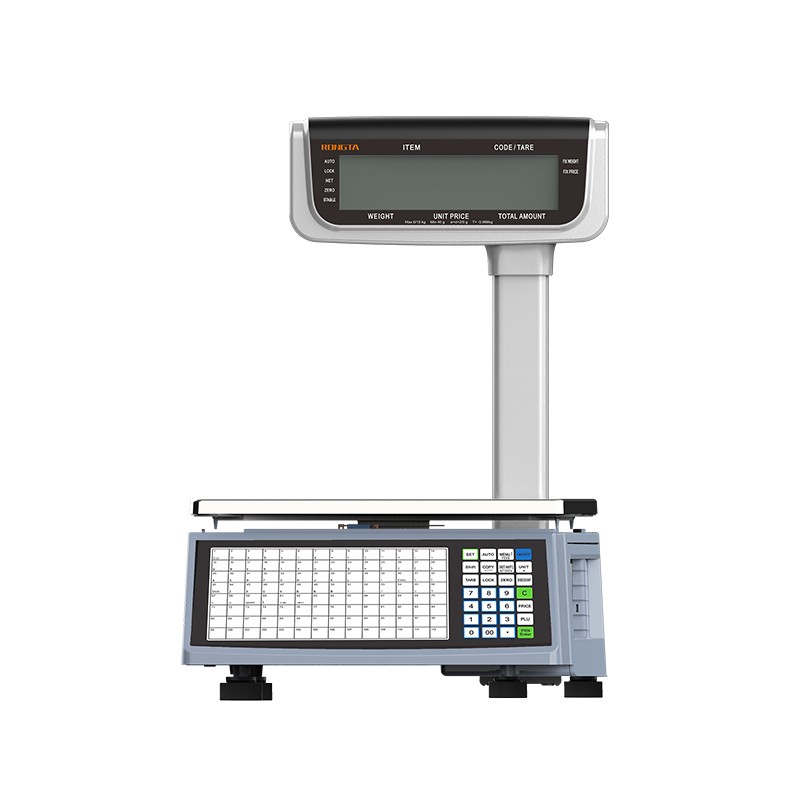 RLS1815C/RLS1830C Barcode Scale
 AURORA S2L-S Labelless Scale
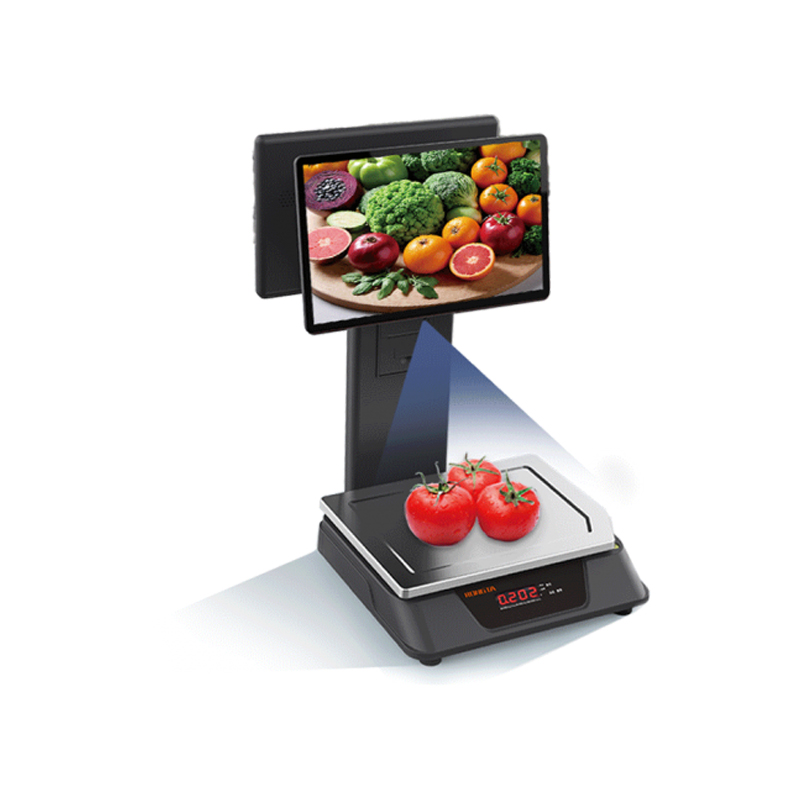 AURORA E1 PRO-AI Cash Register Scale
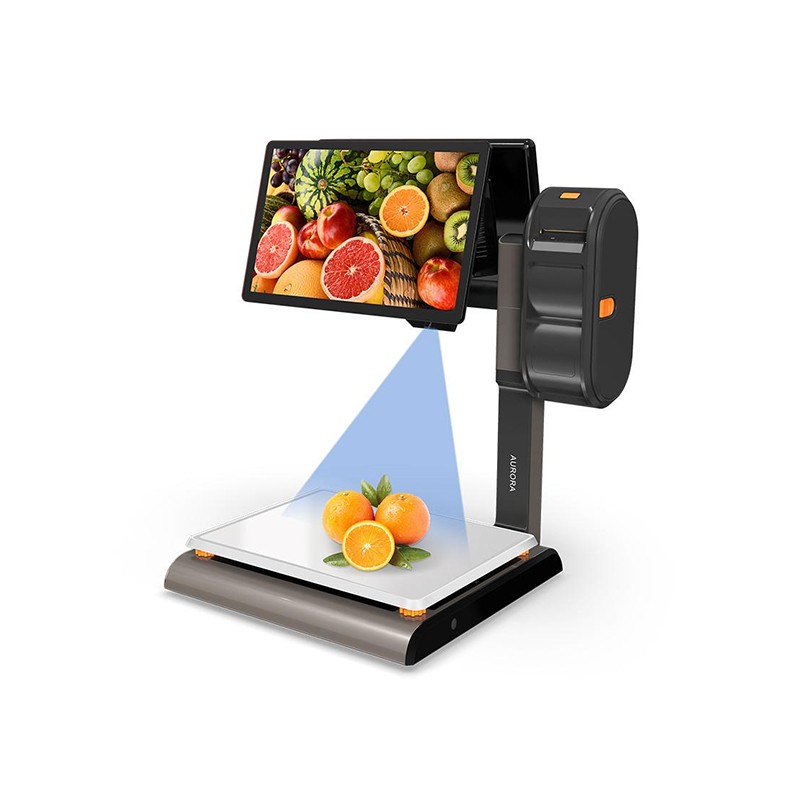 AURORA S2L-AI Label Scale
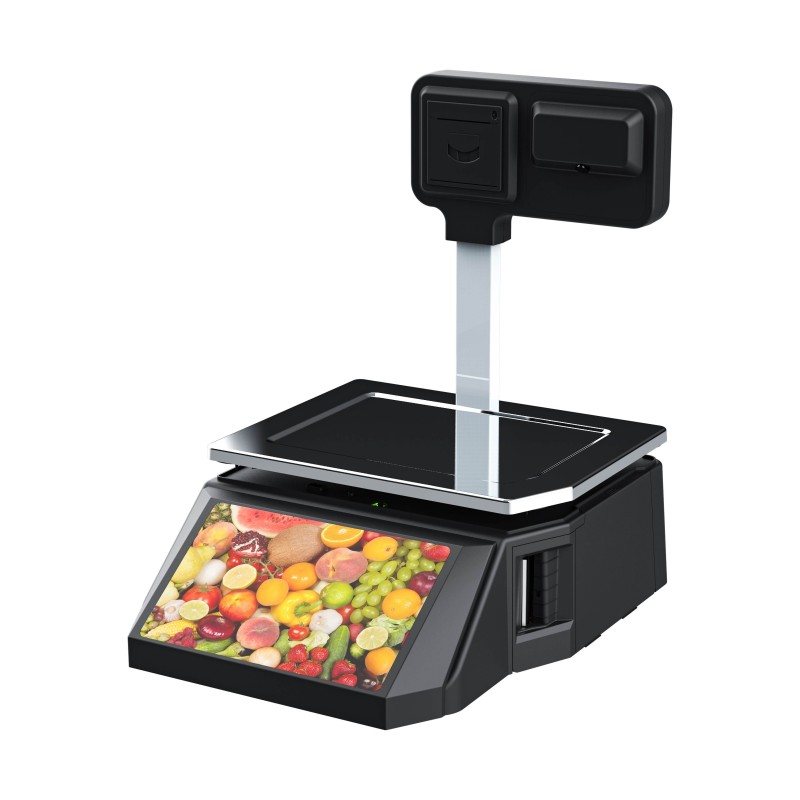 DP01-AI Smart Tag Cashier Dual-Use Scale
 C3 Weighing Scale
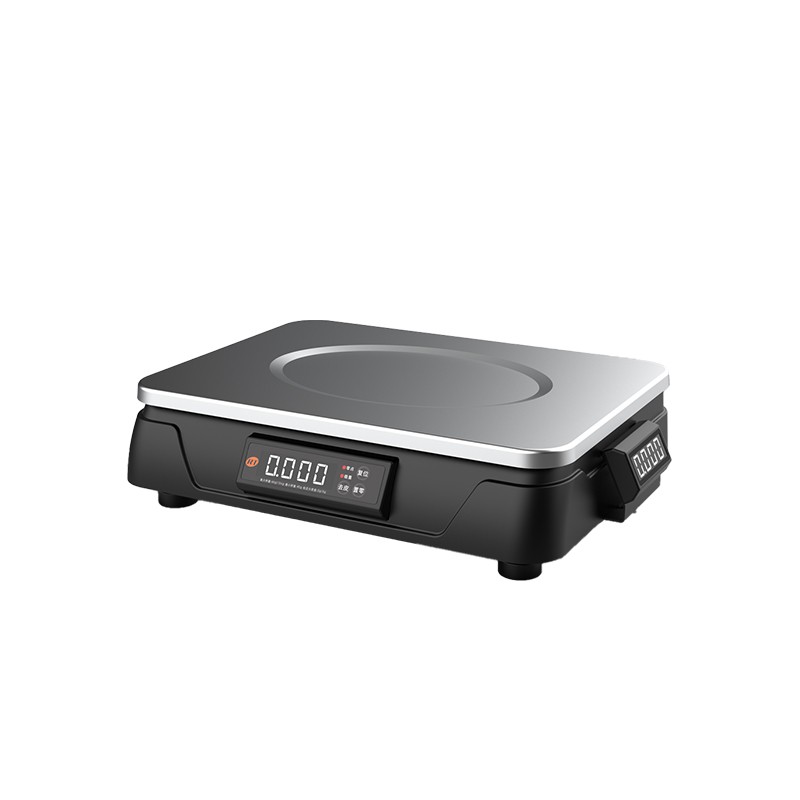 C1 weighing scale
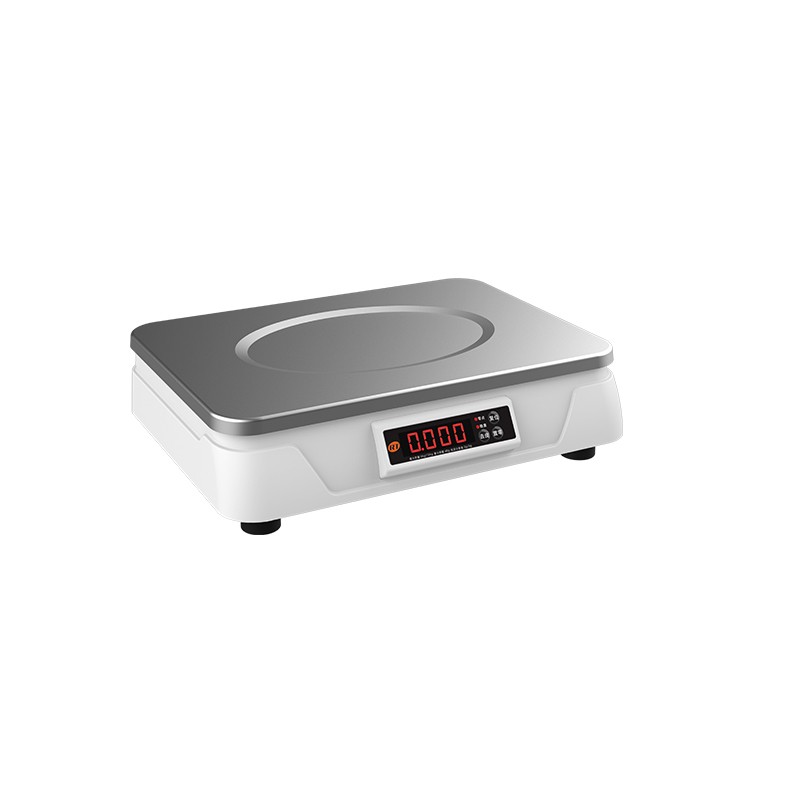 C11 Weighing Scale
 retail
 FOOD
FOOD Medical
 Mobile office/home
 asset Management
 logistics
 Driver download
 User Manual
 Tool Download
 Tag software
 Product Video
 Development Documentation
 Frequently Asked Questions
 User Guide
 Company News
 Exhibition Updates
 Industry Insights
 Product Update
 General situation
 Development history
 Honors and Qualifications
 R&D strength
 Team activities
 Social responsibility


Service Support
search

RP76II & RP76III User Manual_V1.3_CN
Applicable models:
RP76II and RP76III 76mm impact receipt printers
RP810 Hazardous Waste Label Printer FAQ
RP810 Label Printer FAQ
I. Basic Printer Operations:
1. Startup
RPP2XX 2-inch Portable Receipt Printer FAQ
I. Printer Installation and Setup:
Install printer
1.1 Printer battery installation, charging, and paper roll installation
1.1.1 Battery Installation Instructions
RP41X Series FAQ
Desktop Printer (RP410/RP410N/RP421, etc.) Frequently Asked Questions Guide, Part I: Basic Printer Operation: 1. Installing the Printer 1.1 Paper Installation Instructions for Models with Paper Trays: Pull out the paper roll holder, ensure the printing side of the paper roll is facing up, and insert the paper roll;
RPP30 Portable Label Printer FAQ
RPP30 Portable Label Printer Frequently Asked Questions Guide I. Basic Printer Operation: 1. Installing the Printer 1.1 Battery Installation (1) Ensure the printer is powered off before installing or removing the battery. (2) As shown in Figure 2, when removing the battery, release the battery clip and follow the reverse steps as when installing the battery. 1.2 Battery Charging Standby Charging: Plug the power adapter into a power outlet and insert the USB port into the printer. Charging Interface AC: 100V-240V (50/60Hz). Charging in progress: The power indicator light scrolls through the power display. Charging complete: The power indicator icon shows full charge. The buzzer will beep. Warning...
RP80VI Label Printer FAQ
RP80VI Thermal Label Printer Frequently Asked Questions Guide I. Basic Printer Operation: 1. Installing the Printer 1.1 Printer Paper Installation Instructions Paper Installation: Press the cover opening button to open the top cover. Place the label paper on the far left, and the baffle will lock it in place. Pass the front end of the paper roll through the paper guide block and pull it out beyond the rubber roller. Adjust the paper guide block according to the width of the paper to secure both sides of the paper. Close the printer top cover and press down gently until the top cover clicks to lock. 1.2 Connecting the Power and Communication Interface Power Connection Ensure the printer power switch is in the off (O) position. Connect the power adapter to the printer, connect the power cord to the power adapter, and connect the power cord...
RP400/RP500 Thermal Transfer Printer FAQ
RP400/RP500 Thermal Transfer Printer Frequently Asked Questions Guide I. Basic Printer Operation: 1. Installing the Printer 1.1 Paper Installation Instructions Paper Roll Installation: Press the switches on both sides of the top cover with both hands to open the printer top cover. Load the paper roll into the label feed shaft and use the paper roll retainer to secure the paper roll to the center of the feed shaft. (If using a 4" wide paper roll, you can remove the retainer and use the paper roll shaft directly.) Press the printhead switch to turn on the printhead. Pull out the front end of the paper (printing side up), pass it through the pressure roller, paper width adjustment guide, and photocoupler assembly, and adjust it to the appropriate position. Close the printhead, ensuring it is completely closed to ensure the printed product...
RPW210 Label Printer FAQ
Table of Contents I. Basic Printer Operation: 1. Installing the Printer 1.1 Paper Installation Instructions 1.2 Connecting the Power Supply and Communication Interface 1.3 Button Instructions 2. Tool Settings Instructions 2.1 Tool Settings Functions 2.2 Tool Download Function 3. Driver Installation Instructions 3.1 Windows Driver Installation Steps 3.2 Driver Settings Functions II. Common Problems and Solutions: Driver cannot be installed; abnormal paper feed; garbled printing; blurry printing; printer error; driver cannot print orders; unable to power on. III. Daily Cleaning and Maintenance...
RP31x Label Printer FAQ
Table of Contents I. Basic Printer Operation: 1. Installing the Printer 1.1 Paper Installation Instructions 1.2 Connecting the Power Supply and Communication Interface 1.3 Button Instructions 2. Tool Settings Instructions 2.1 Tool Settings Functions 2.2 Tool Download Function 3. Driver Installation Instructions 3.1 Windows Driver Installation Steps 3.2 Driver Settings Functions II. Common Problems and Solutions: Driver installation failure, paper feed errors, garbled printing, blurry printing, paper jams, printer errors, driver not printing orders, unable to power on III. Daily Cleaning...
RP410K/RP410F (SF-FAQ)
SF Express RP410K/RP410F Common Problem Troubleshooting Manual 1. Basic Function Description 1.1 Button Operation Function Description ① Power On/Off Button: Press "I" to turn on the printer, press "O" to turn off the printer; ② Paper Feed Button: a. Pause Printing: Briefly press the [Paper Feed] button during printing to pause printing; b. Label Learning: Press and hold the [Paper Feed] button until you hear a beep, then release the button to begin label learning; c. Print Self-Test Page: Press and hold the [Paper Feed] button until you hear three beeps, then release the button to automatically print a self-test page; d. Restore Factory Settings: Press and hold the [Paper Feed] button until you hear three beeps...
SF Express RP410/RP410H Installation Steps
I. Printer Driver Download: Visit Rongta's official website m.tjhq.cc, find Service Support - Driver Download, and click to download the SF RP410 dedicated driver. II. Installation Steps: 1. Plug the power cord and USB cable into the device and connect it to the computer. Install the paper roll into the printer. 2. Turn off the printer, press and hold the paper feed button while turning it on, until a self-test page is printed. 3. Check the device model and program version (you need to distinguish between RP410 and RP410H, and then update to the version with the 2023-12-12 date). 4. If it is not the 2023-12-12 version, please follow the steps below to upgrade the program. If it is already the 2023-12-12 version, please skip this step: 4.1 Unzip...