 80mm Receipt Printer
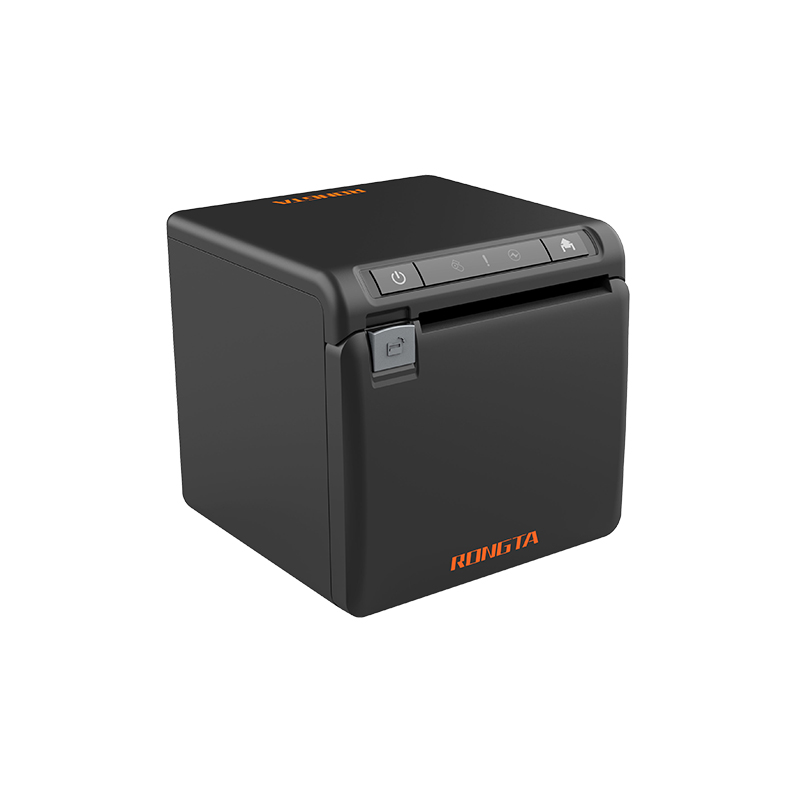 ACE H2 Receipt Printer
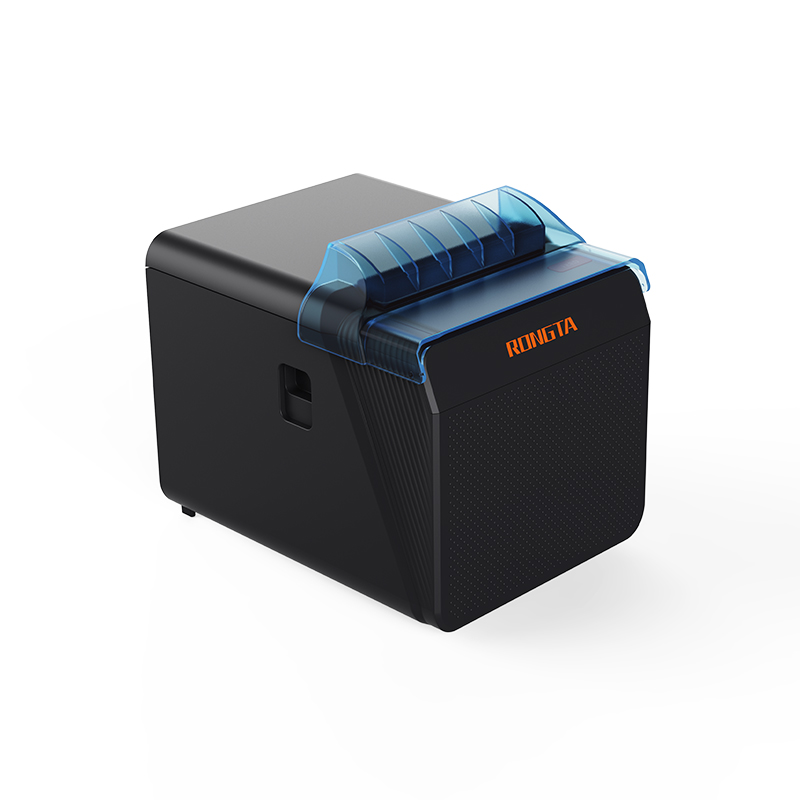 RP337 Receipt Printer
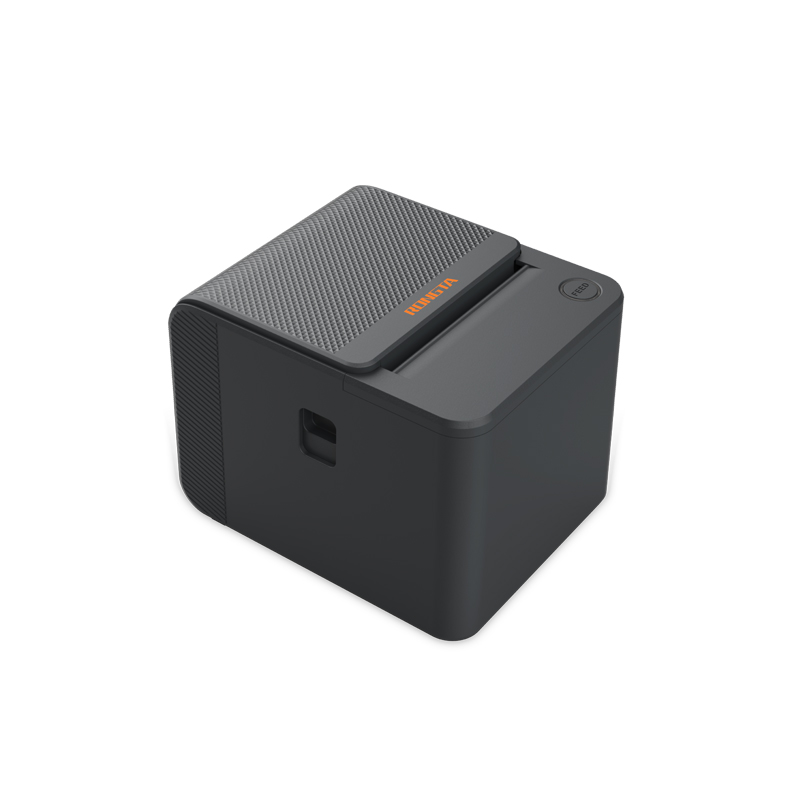 RP336S Dual-Color Receipt Printer
 RP350 Receipt Printer
 RP582 Receipt Printer
 RP581 Receipt Printer
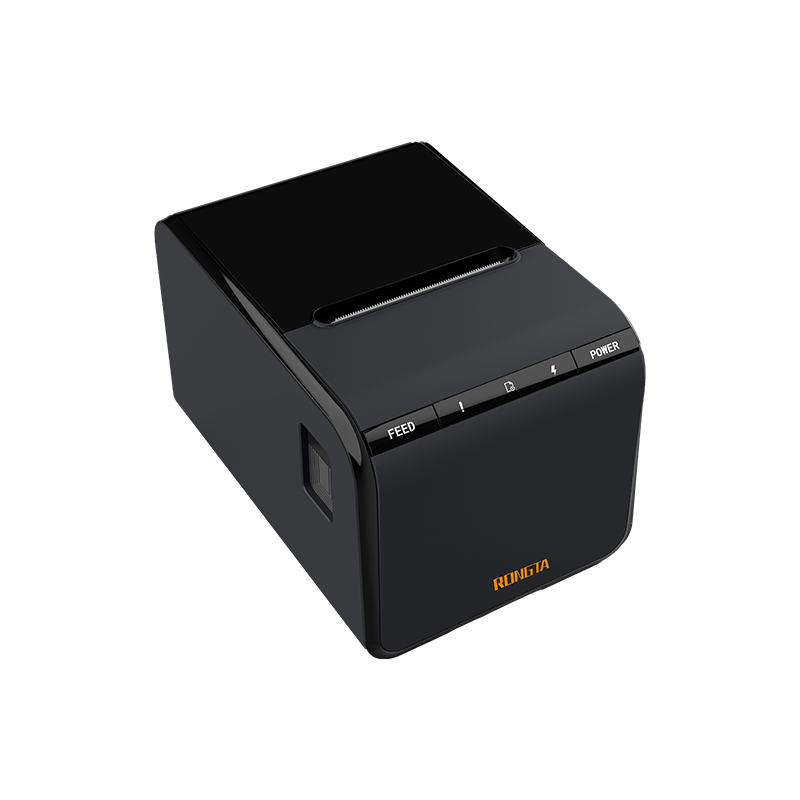 ACE G1Y Receipt Printer
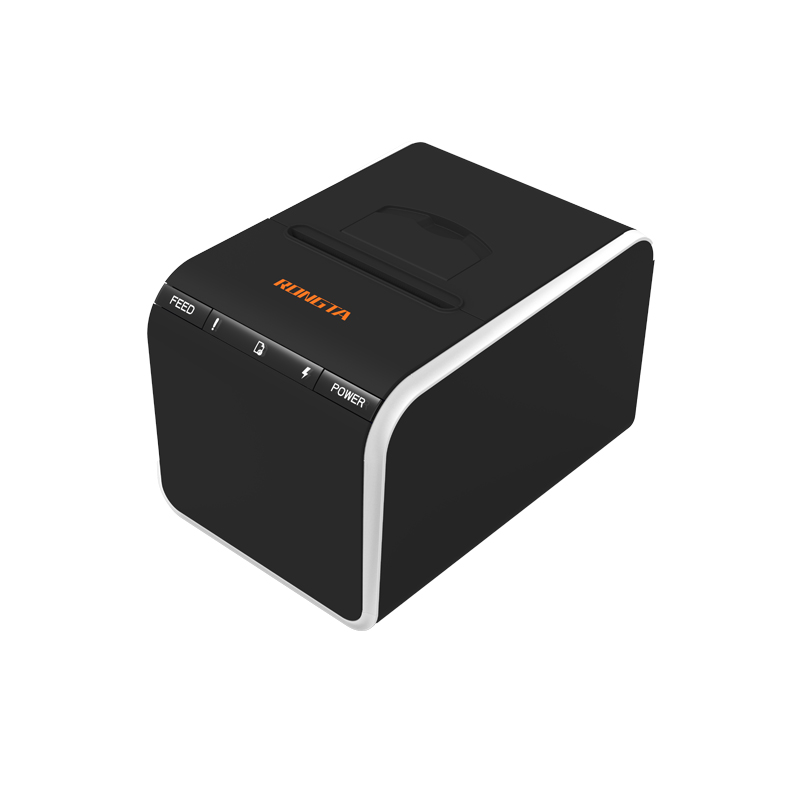 ACE G1YP Cloud Printer
 RP216 2'' Dual-color High-definition Label Printer
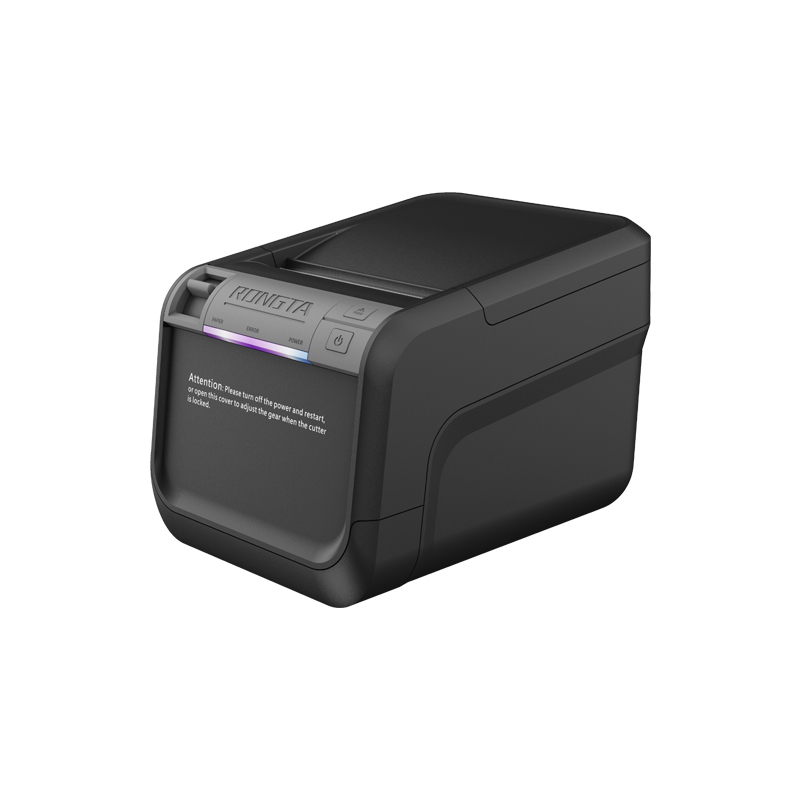 ACE V1S 3'' Backless Label Printer
 RP310D 3'' Dual-color Label Printer
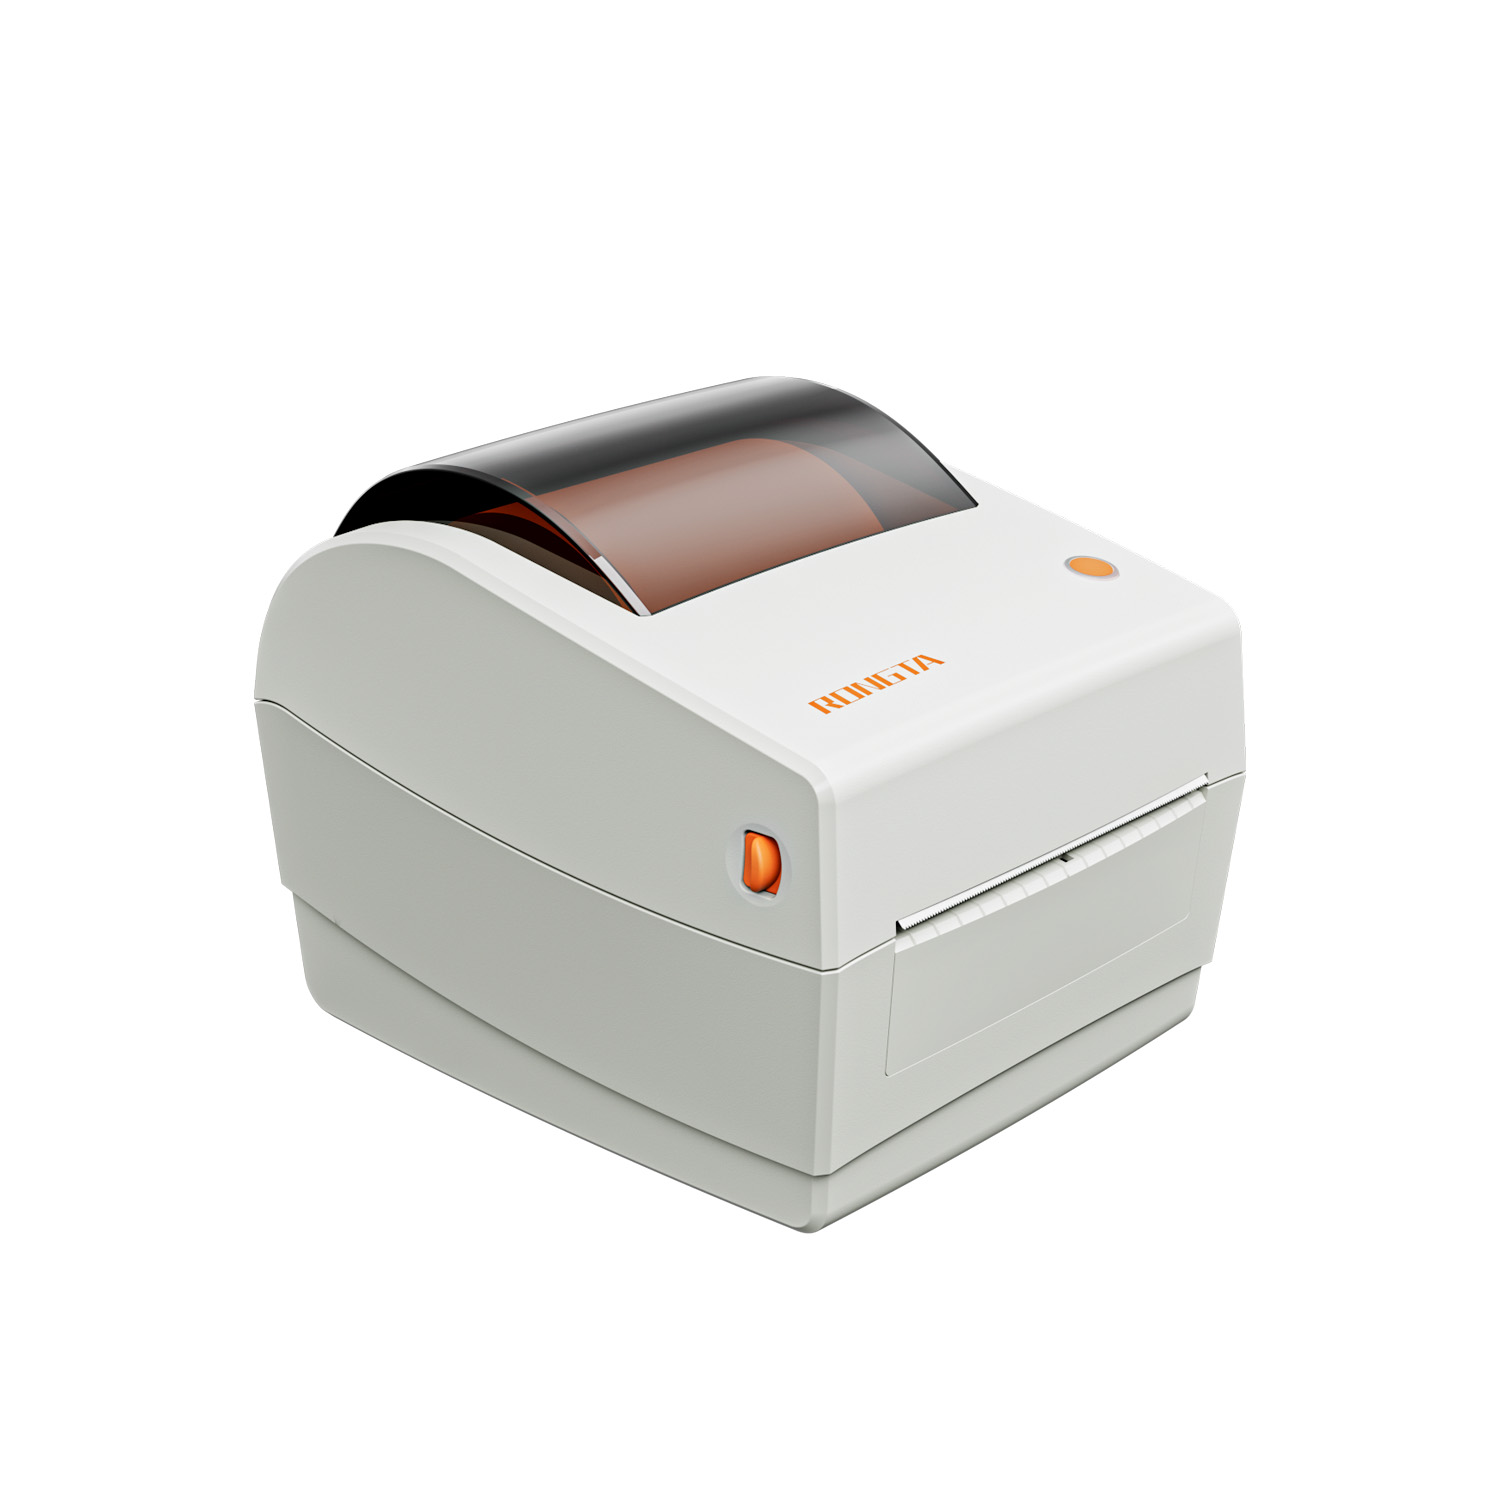 RP410N 4'' Thermal Label Printer
 RP425 4'' Electronic Waybill Printer
 RP422 4'' Electronic Waybill Printer
 RP421A 4'' Electronic Waybill Printer
 RP420 4'' Electronic Waybill Printer
 RI463 Series Barcode Printers
 RP400A 4'' Thermal Transfer Tape Cutter Printer
 RP400H 4'' Thermal Transfer Tape Cutter Printer
 RPF413 300dpi RFID barcode label printer
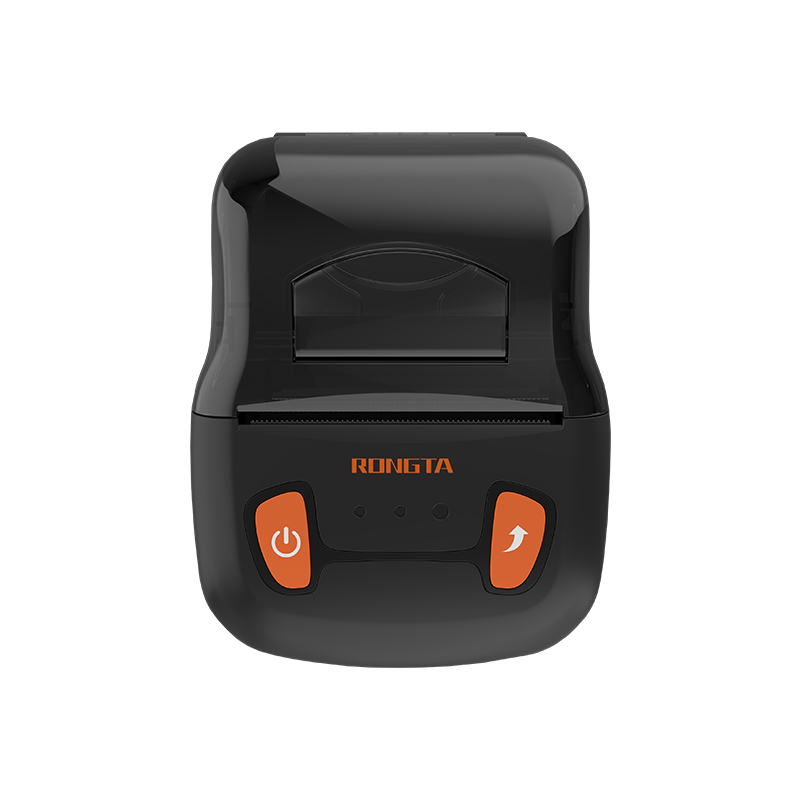 RPP02A Portable Receipt Printer
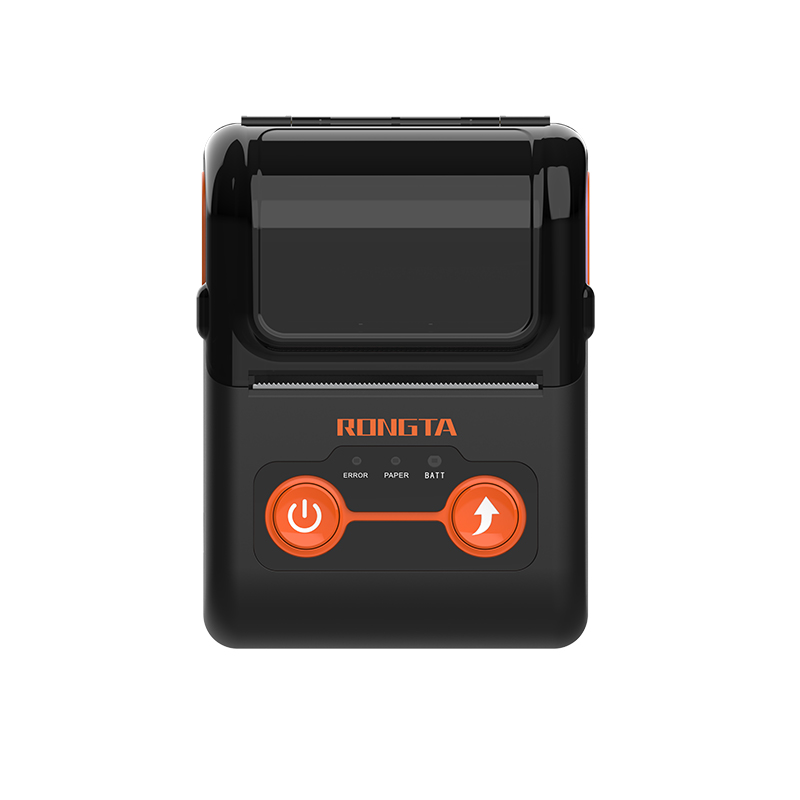 RPP02B Thermal Portable Printer
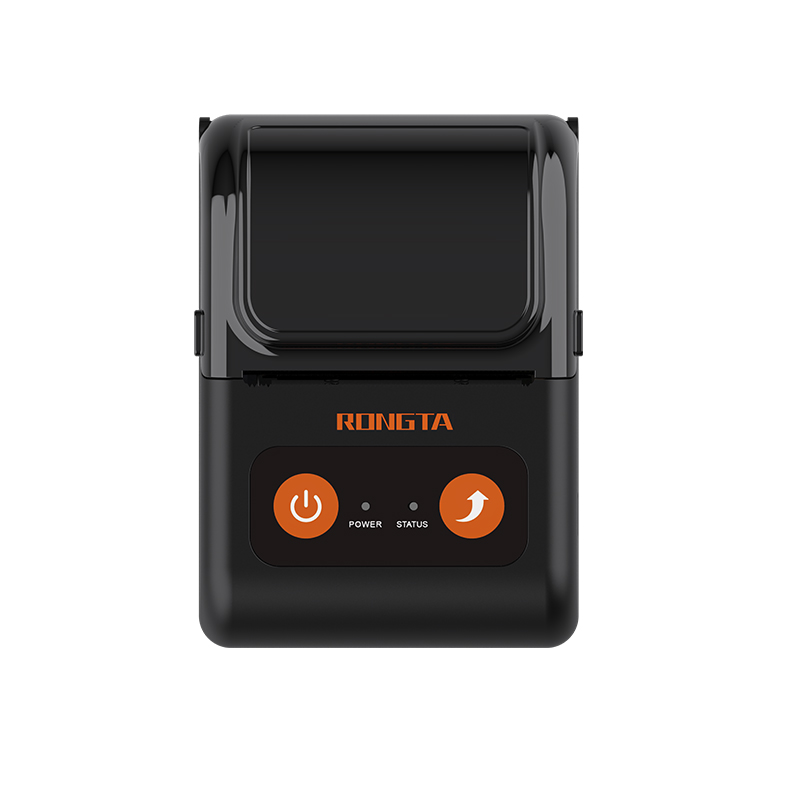 RPP02C Portable Receipt Printer
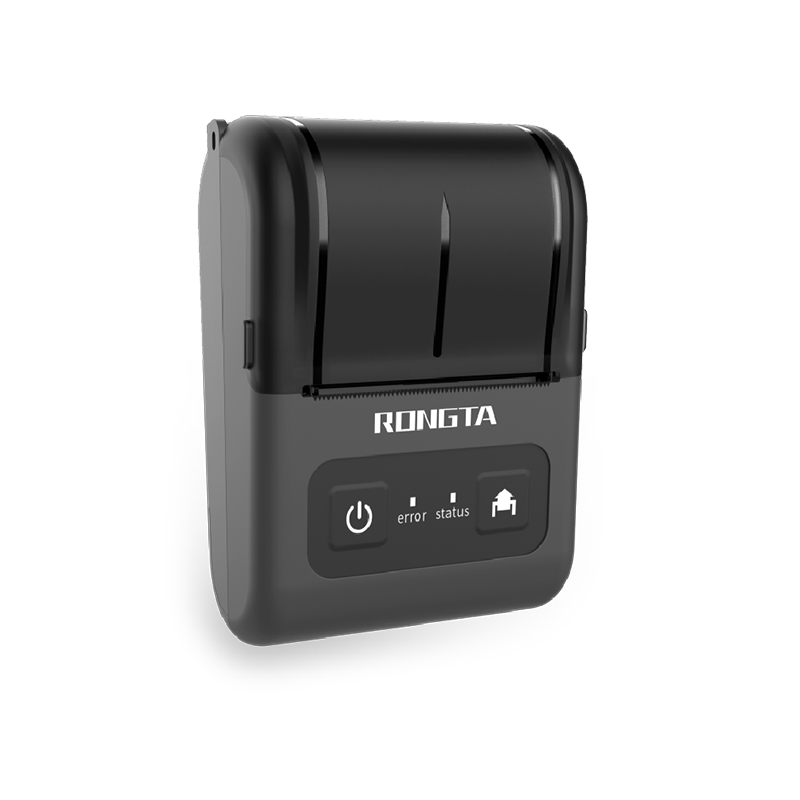 RPP02D Thermal Portable Printer
 RPP04 4" Portable Label Printer
 RPP30 3" Portable Label Printer
 ACE M1 2" Portable Label Printer
 RPP320N 3" Portable Label Printer
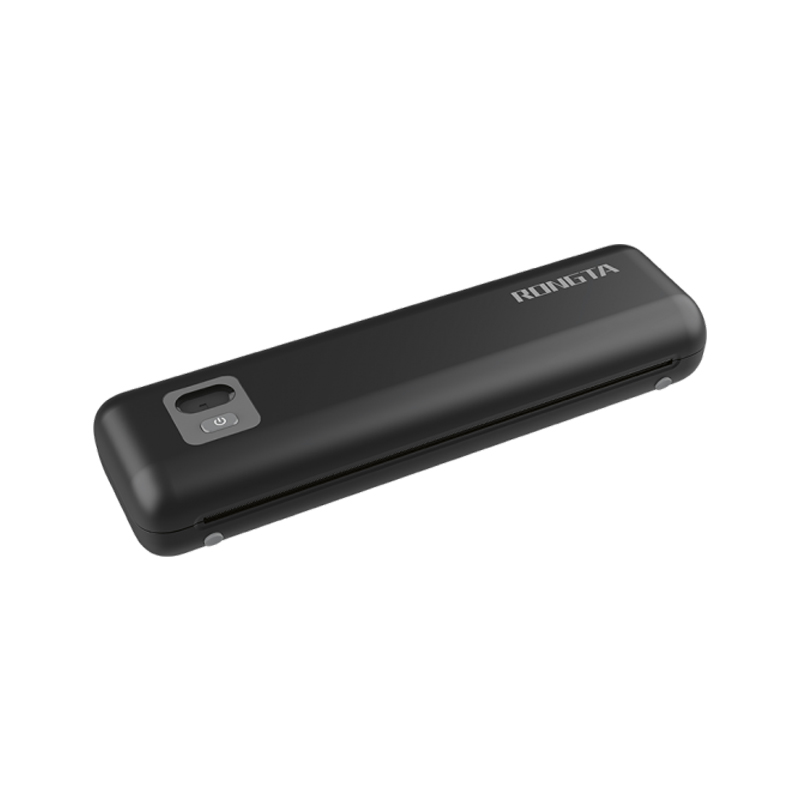 F82A A4 Front-Out Paper Tray Thermal Printer
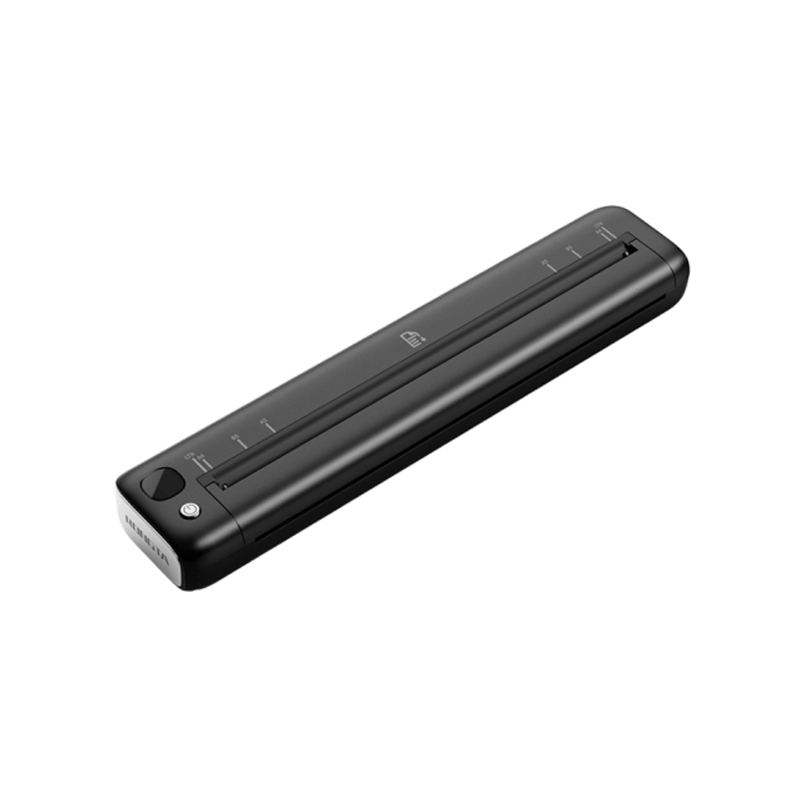 F81A Portable A4 Thermal Printer
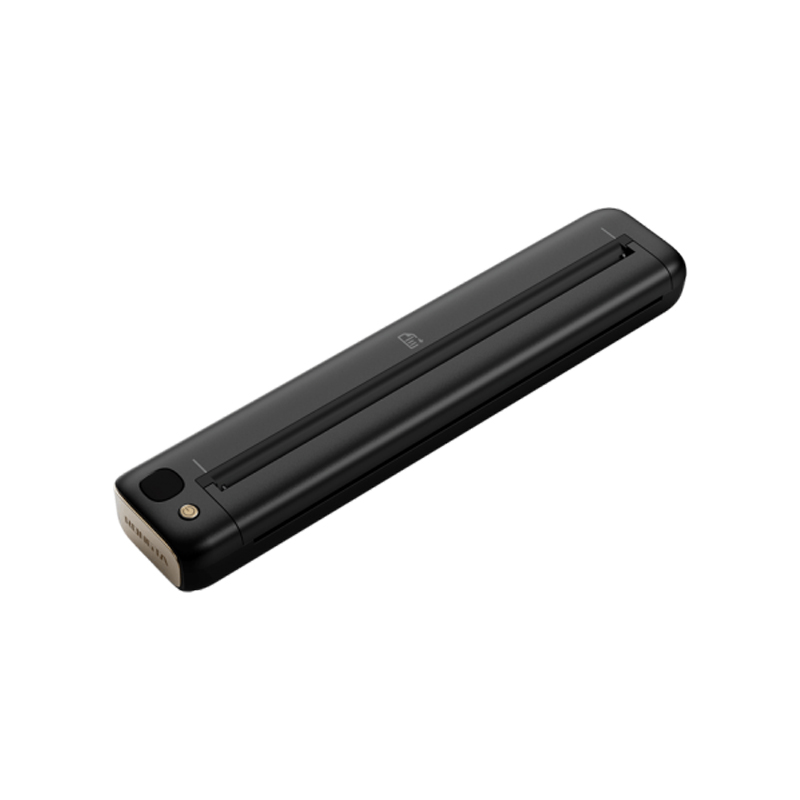 F81S Portable A4 Tattoo Printer
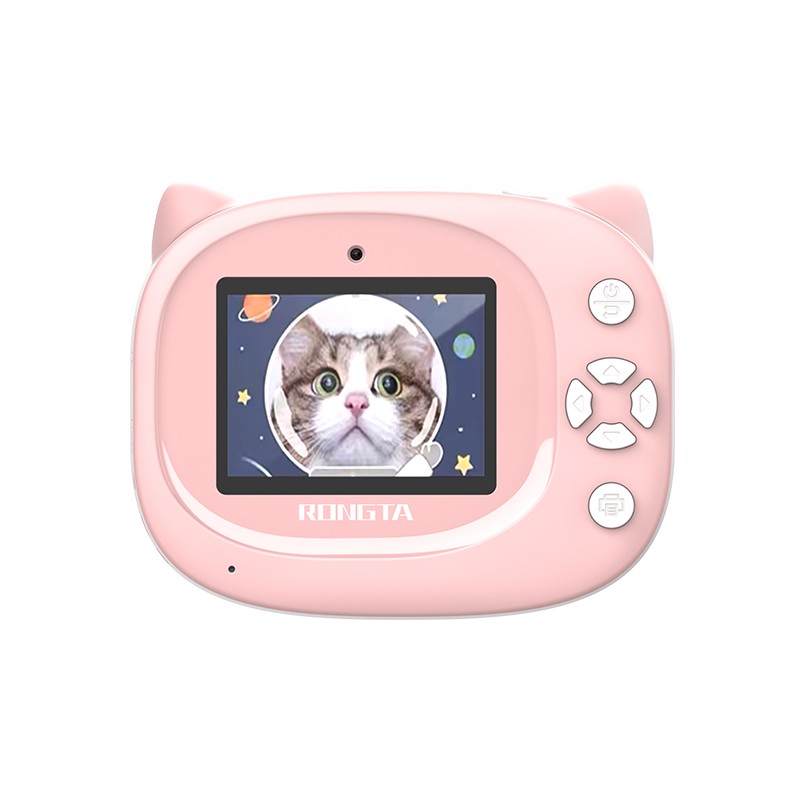 Z1 Children's Educational Photo Printer
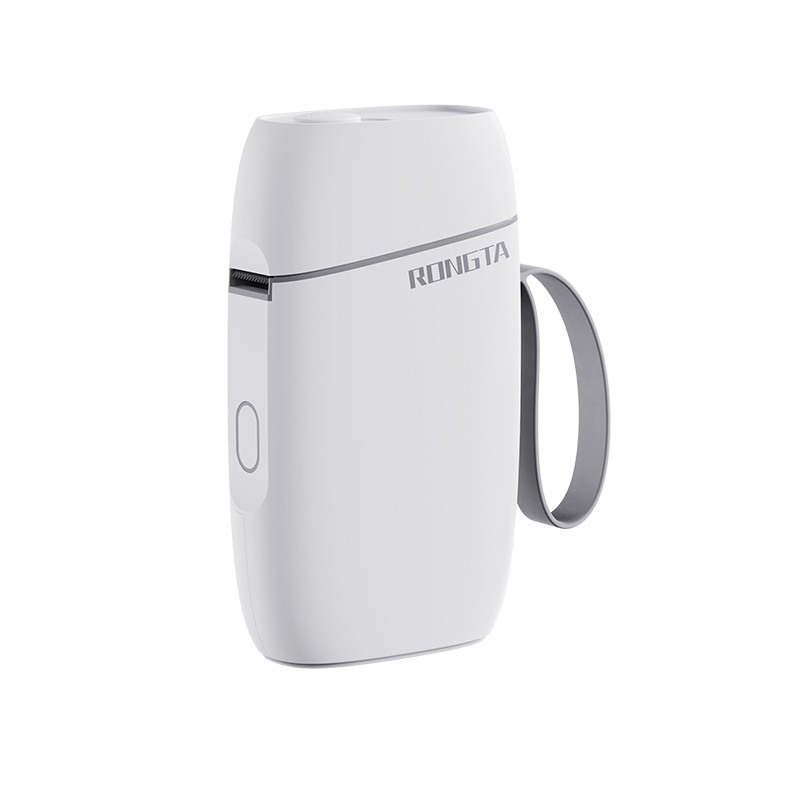 R5 Mini Label Printer
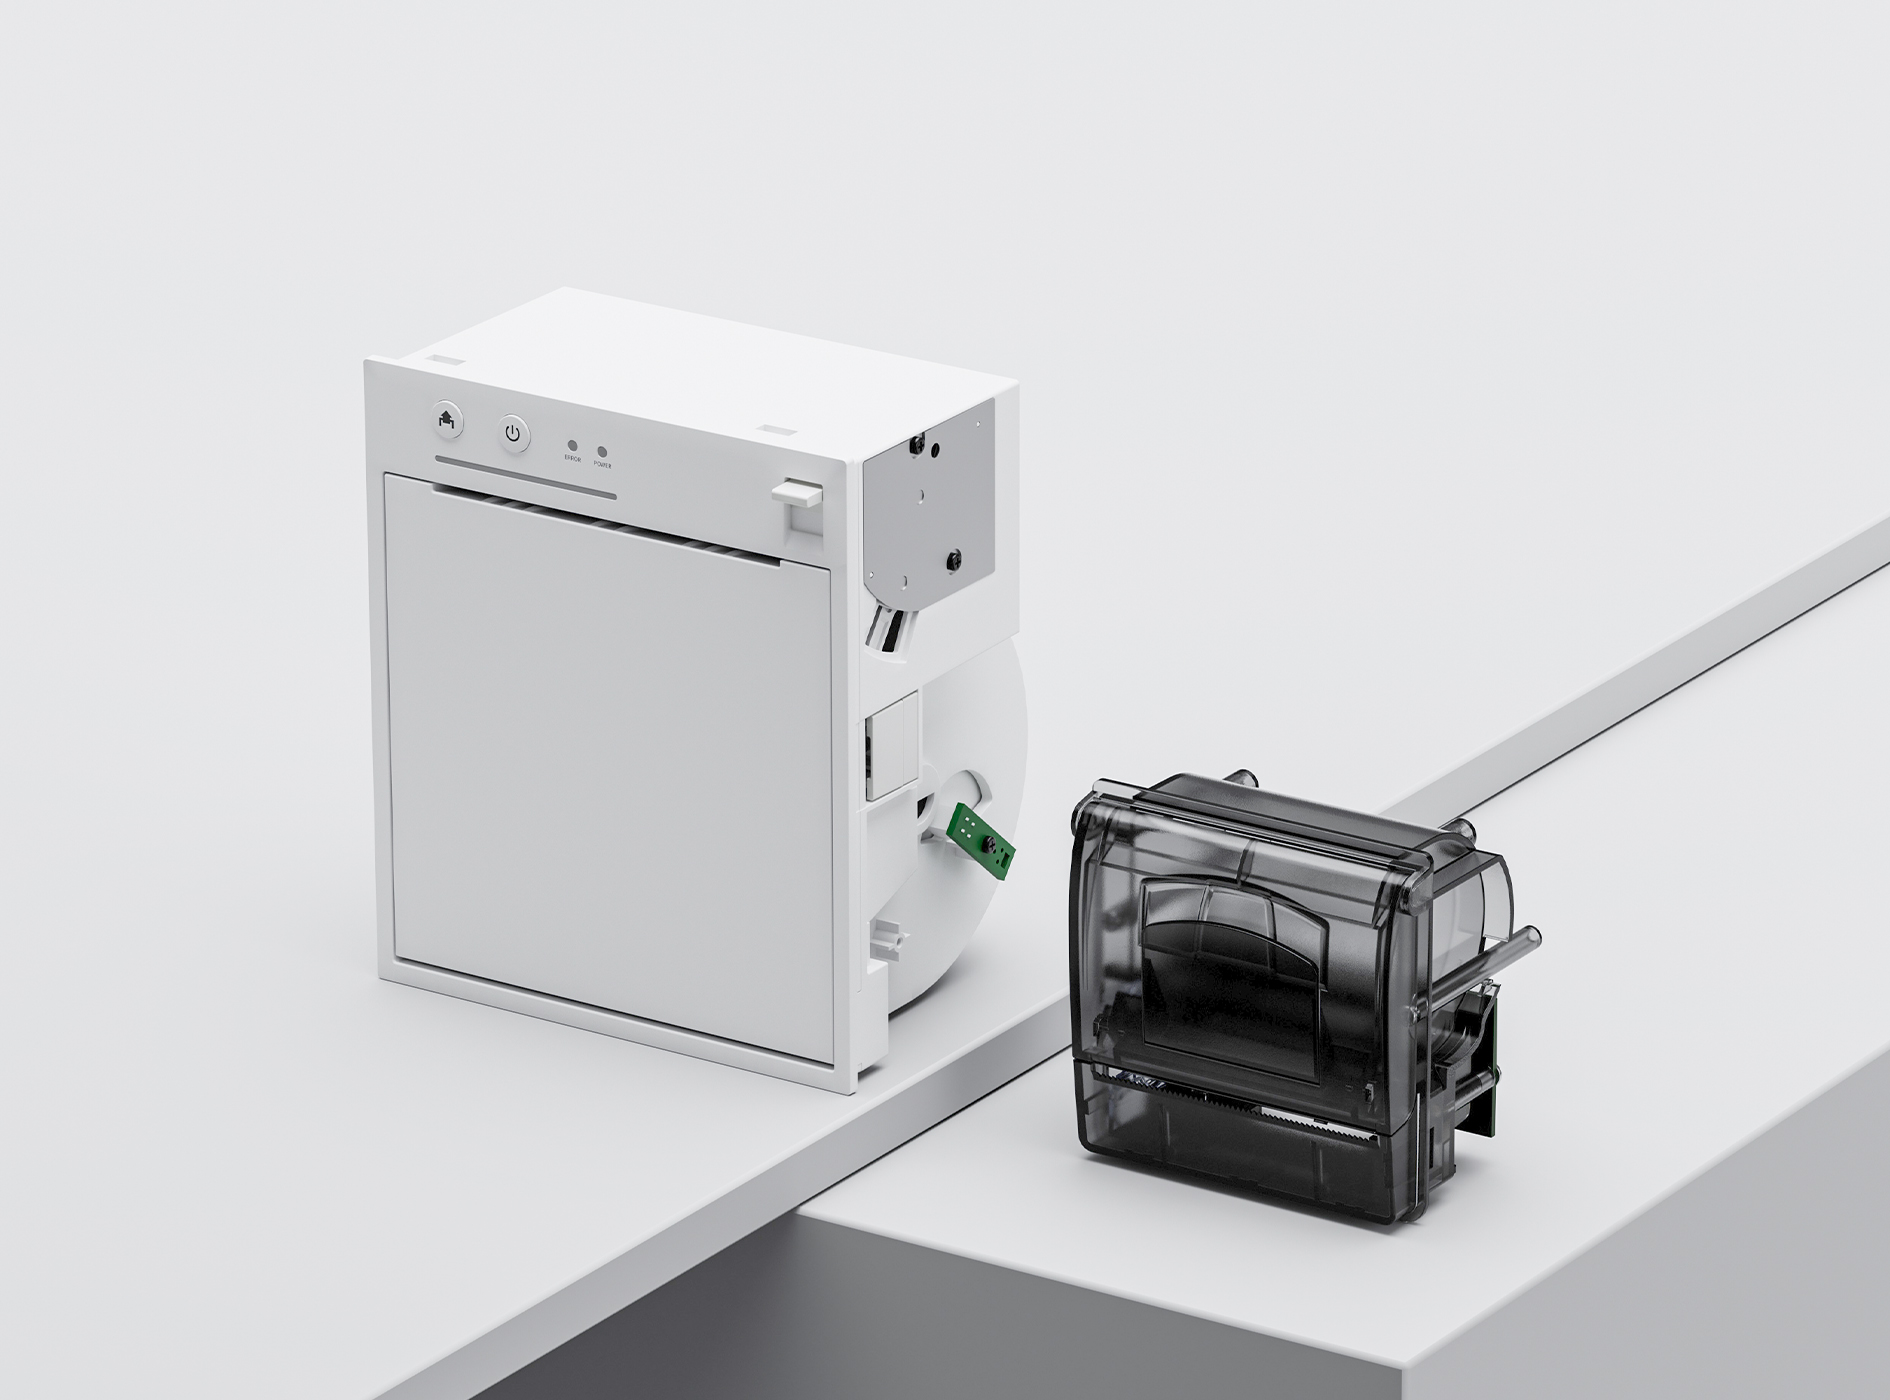
 RP07 58mm Embedded Printer
 RP203 58mm Embedded Printer
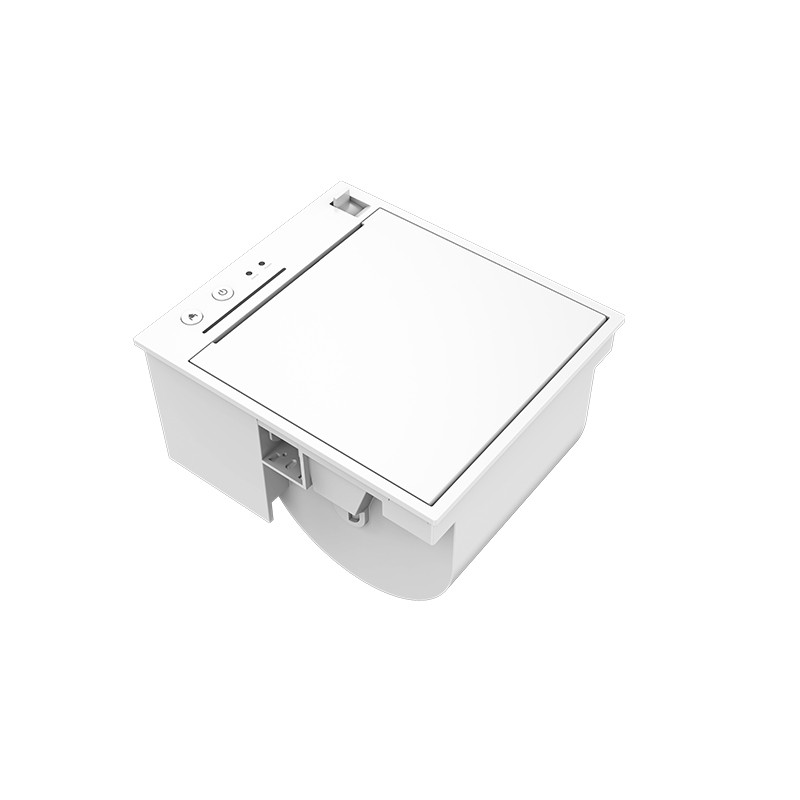 PM315 Embedded Thermal Printer
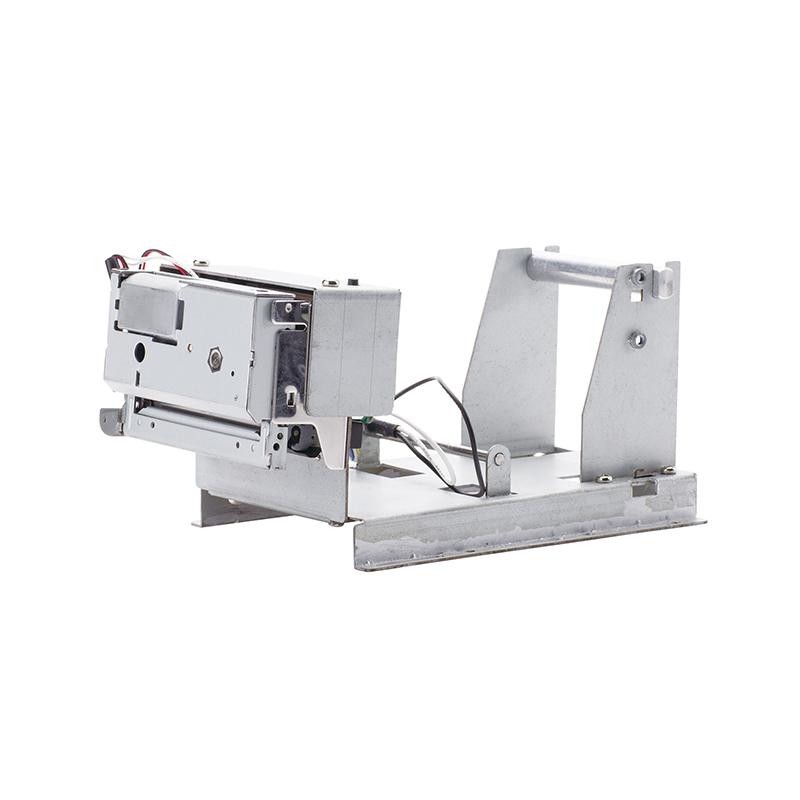 PM201 48mm Printing Module
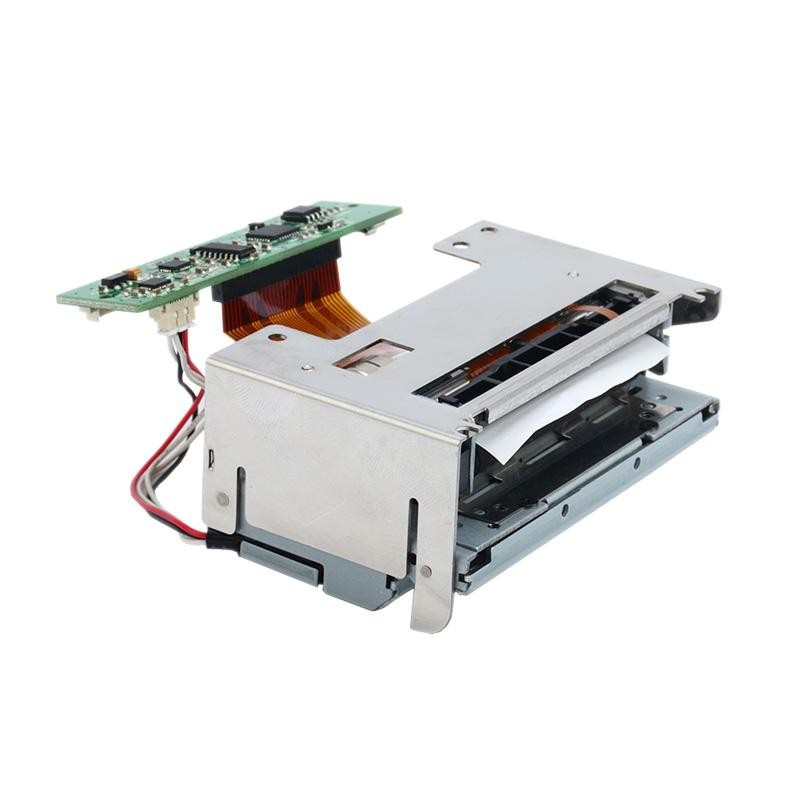 PM628 58mm printing module
 PM532A Printing Module
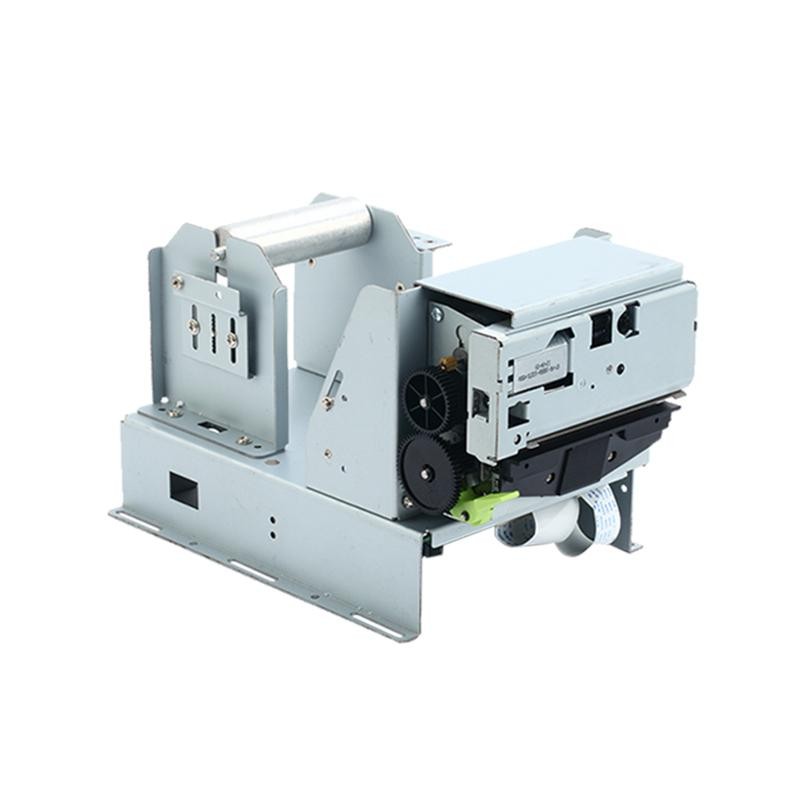 PM532B printer module
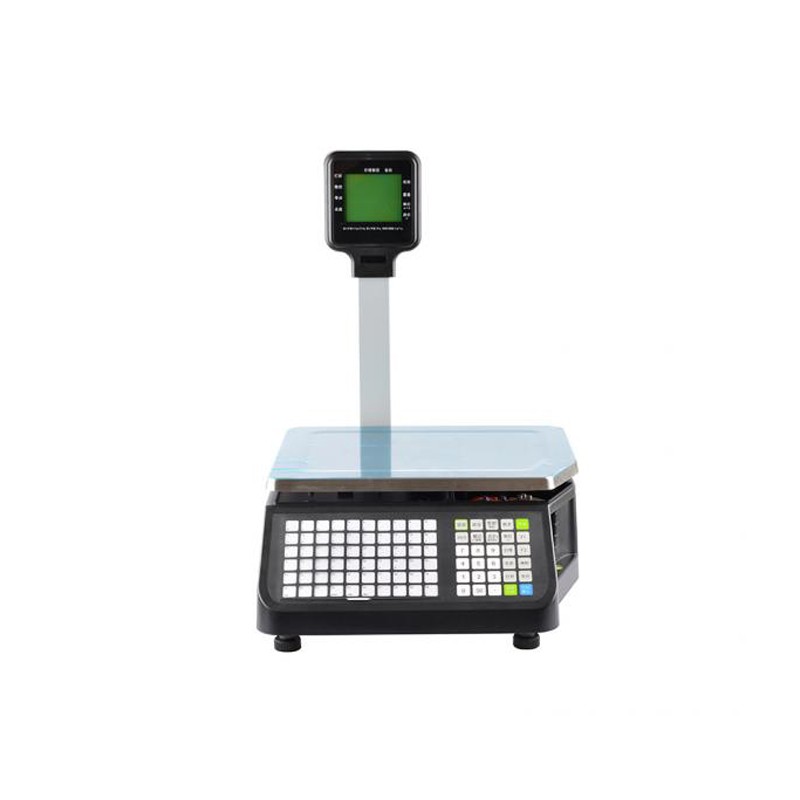 LS015/LS015A Barcode Scale
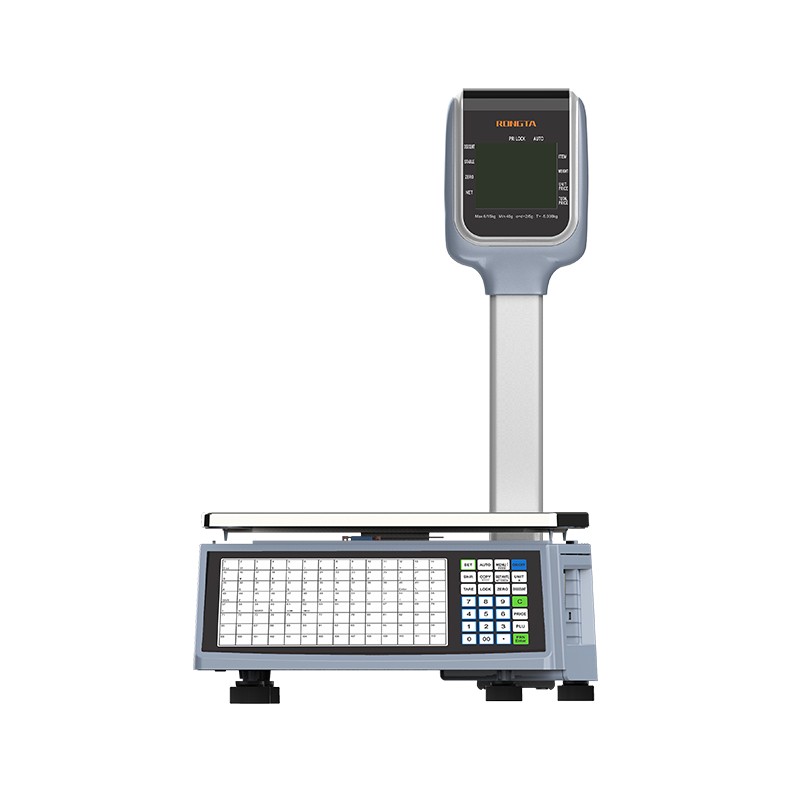 RLS1815D/RLS1830D Barcode Scale
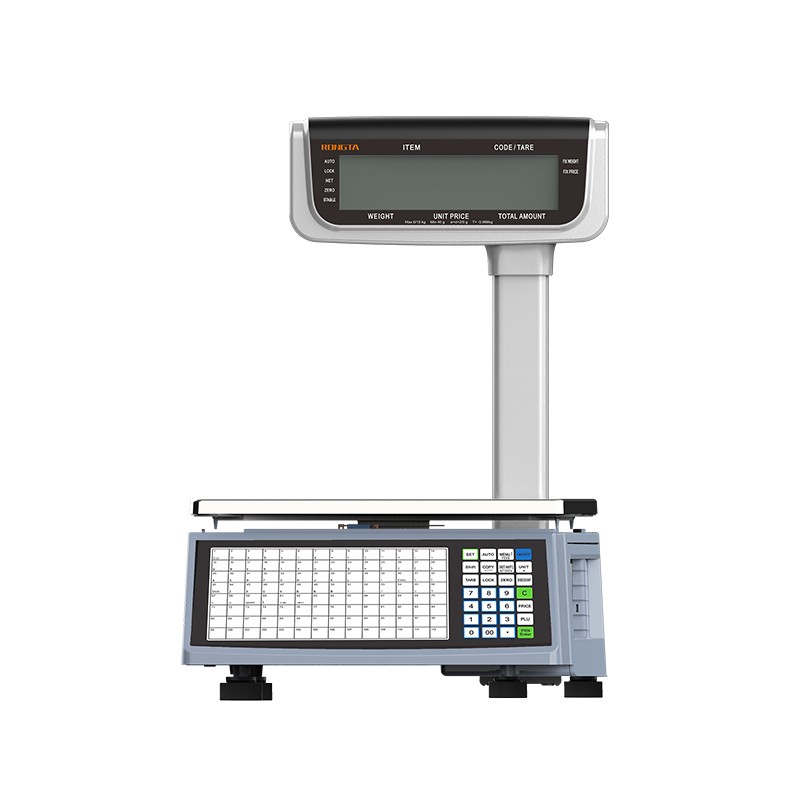 RLS1815C/RLS1830C Barcode Scale
 AURORA S2L-S Labelless Scale
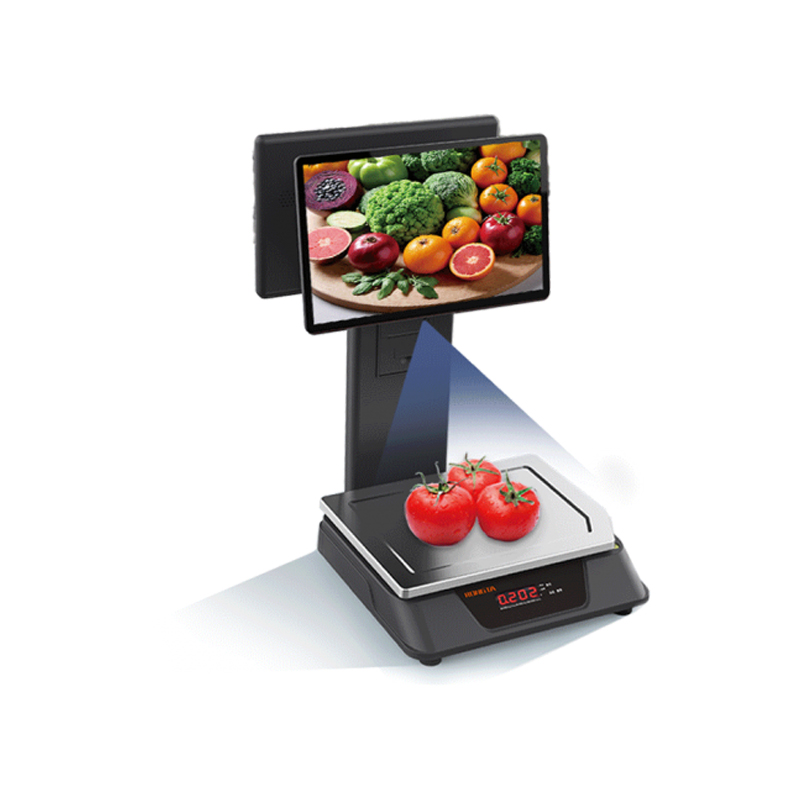 AURORA E1 PRO-AI Cash Register Scale
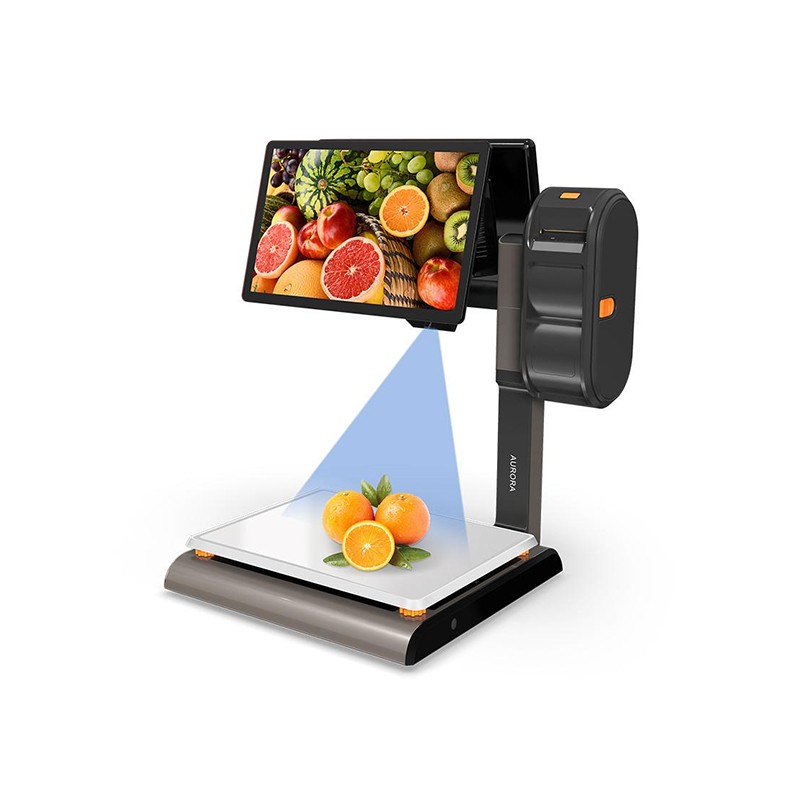 AURORA S2L-AI Label Scale
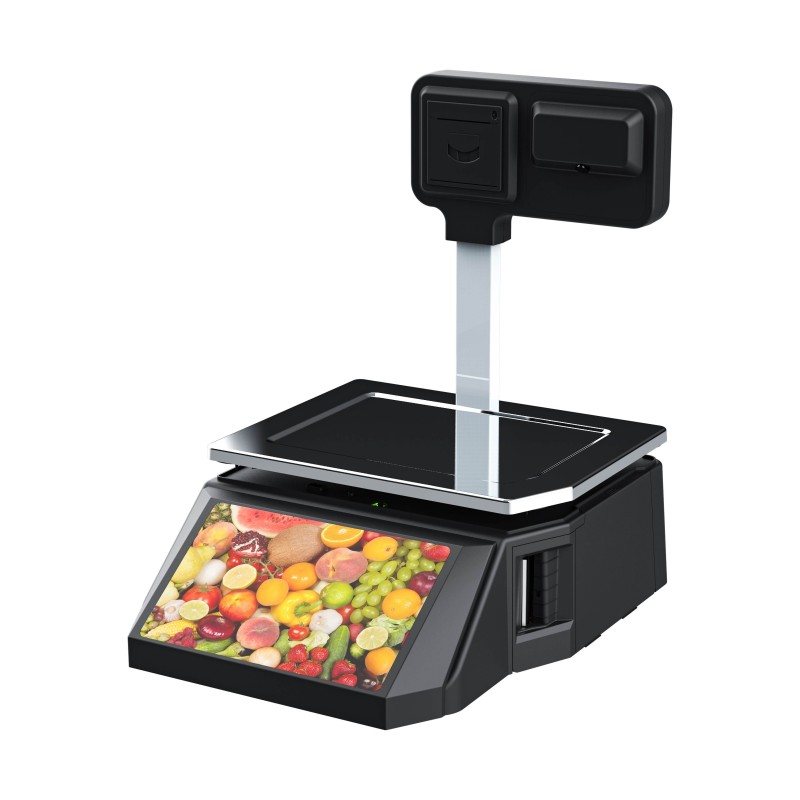 DP01-AI Smart Tag Cashier Dual-Use Scale
 C3 Weighing Scale
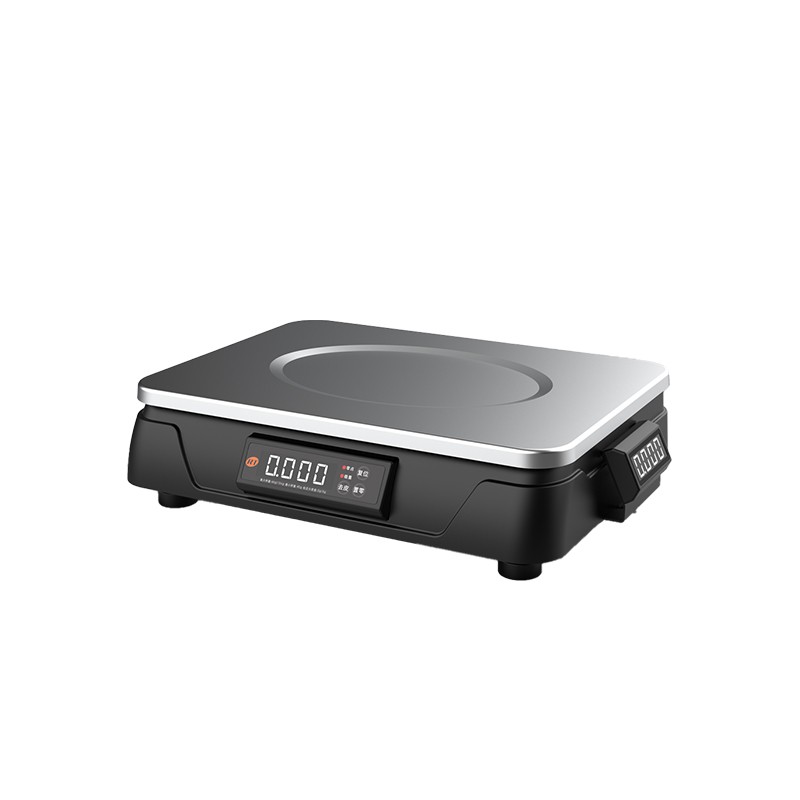 C1 weighing scale
 C11 Weighing Scale
 retail
 FOOD
FOOD Medical
 Mobile office/home
 asset Management
 logistics
 Driver download
 User Manual
 Tool Download
 Tag software
 Product Video
 Development Documentation
 Frequently Asked Questions
 User Guide
 Company News
 Exhibition Updates
 Industry Insights
 Product Update
 General situation
 Development history
 Honors and Qualifications
 R&D strength
 Team activities
 Social responsibility


Service Support
search

RP331 80mm Thermal Receipt Printer Technical Specifications
RP331 80mm Thermal Receipt Printer Technical Specifications ● Printing Method: Line thermal printing ● Paper Width: 79.5±0.5 mm ● Effective Print Width: 72 mm ● Effective Resolution: 203 dpi (8 dots/mm) ● Print Speed: 250 mm/sec MAX ● Printhead Performance: Print Density: 576 dots/line or 384 dots/line; Lifespan: 150 km ● Automatic Cutter: 2 million cuts ● Printer Interface: ...
Rongda Technology RP331 80mm Thermal Receipt Printer: Safety Instructions and Main Features
Rongda Technology RP331 80mm Thermal Receipt Printer Safety Instructions and Main Features I. RP331 Safety Instructions The RP331 series printer is a POS direct thermal receipt printer. It is easy to operate, cost-effective, and widely used in shopping malls, supermarkets, hospitals, restaurants, banks, gas stations, toll stations, and other fields. Safety Instructions Before operating the printer, please carefully read the following instructions and strictly abide by them. Safety Warnings Warning: Do not touch the printer's cutter or tearer. Warning: The printhead is a heat-generating component. Do not touch the printhead or surrounding parts during or immediately after printing. Warning: Do not touch the surface and connectors of the thermal printhead to avoid static electricity damage to the printhead. ...
RP325 80mm Thermal Receipt Printer: Paper Jam Clearing and Troubleshooting
RP325 80mm Thermal Receipt Printer Paper Jam Clearing and Troubleshooting 1. Paper Jam Clearing Method: When a paper jam occurs, first turn off the printer power, open the printer cover, and carefully remove the jammed paper after the print head has cooled down. Then, feed the correct paper and close the cover. Using recommended or equivalent quality paper that meets the specified width is less likely to cause a jam. 2. Troubleshooting: When the printer malfunctions, refer to this section for appropriate troubleshooting. If the problem persists, please contact your dealer or manufacturer. 2.1 Indicator Lights on Control Panel Not Illuminated: Check that the power cord is correctly plugged into the printer, power adapter, and power outlet. Check that the printer's power switch is turned on. 2.2 Indicator Lights...
Cleaning Method for Rongda Technology RP325 Thermal Receipt Printer
Cleaning Method for Rongda Technology RP325 Thermal Receipt Printer: 1. Ethernet Interface: The RP325 series printer uses a standard RJ45-8P Ethernet interface, supporting 10M/100M networks with adaptive transmission speed. 2. Cash Drawer Interface: The cash drawer uses an RJ-11 standard, 6-pin connector, outputting a DC 24V/1A power signal to drive the cash drawer. Simply insert the RJ-11 connector into the cash drawer interface to open the cash drawer. The pin functions of the cash drawer interface are defined as follows: 3. Thermal Receipt Printer Cleaning: 3.1 Cleaning the Printhead: The printhead should be cleaned when one of the following conditions occurs: ...
Rongda Technology RP325 Thermal Receipt Printer Installation, Indicator Lights, and Self-Test Instructions
Rongda Technology RP325 Thermal Receipt Printer Installation, Indicator Lights, and Self-Test Instructions I. Paper Roll Installation The 325 series printers use 80.0 mm thermal paper rolls and feature an easy-loading mechanism, making paper loading very convenient. The thermal paper installation method is as follows: (1) Open the printer cover. (2) Place the thermal paper roll into the paper tray as shown in the diagram below. (3) Pull out a small section of the paper to the outside of the tray and close the cover. (4) Tear off the excess paper roll using the machine's blade. II. Printer Switches, Buttons, and Indicator Lights 1. Power Switch The power switch is used to turn the printer on and off. The printer's power switch is located on the left side of the printer. When the "-" button is pressed...
Instructions for connecting the Rongda Technology RP325 kitchen receipt printer
Rongda Technology RP325 Kitchen Receipt Printer Connection Method Introduction 1. Printer Unpacking and Part Inspection: Upon unpacking, please check the included parts. If any are missing, please contact the supplier or manufacturer. 2. Printer Connection Method (1) Ensure both the printer and PC are turned off. Plug the included data communication cable into the printer's data port and the other end into the PC's USB/Ethernet port. (2) If equipped with an electrically openable cash drawer, plug the RJ-11 connector on the cash drawer into the printer's cash drawer port (the cash drawer specifications must conform to the printer's cash drawer driver specifications). (3) Connect the printer's dedicated power adapter. Please use the included dedicated power adapter. ...
Main technical specifications and features of Rongda Technology RP325 series 80mm thermal receipt printer
Rongda Technology RP325 Series 80mm Thermal Receipt Printer Main Technical Specifications and Features: 1. Main Features of the 80mm Thermal Receipt Printer: ● High print quality ● Low noise ● Supports cash drawer driver ● Compact and lightweight, aesthetically pleasing design ● Reasonable structure, easy to use and maintain ● Communication interfaces include USB and Ethernet ports ● Characters can be enlarged, bolded, and underlined; line spacing and horizontal spacing can be adjusted ● Supports printing bitmaps of different densities and downloaded graphics ● Achieves high-speed printing comparable to using a hard font library in driver-driven printing (dot plot) mode ● Low power consumption and low operating cost (no ribbon or ink cartridge required) ● Compatible with ESC/POS printing instruction sets...
Safety Instructions for Rongda Technology RP325 Thermal Receipt Printer
Rongda Technology's RP325 thermal receipt printer series is a direct thermal POS receipt printer. It is easy to operate, cost-effective, and has been widely used in shopping malls, supermarkets, hospitals, restaurants, banks, gas stations, toll collection points, and other fields. Furthermore, its excellent performance and stable operation have earned consistent recognition and praise from customers both domestically and internationally. Safety Precautions for Rongda Technology RP325 Thermal Receipt Printer: Before operating the printer, please carefully read the following instructions and strictly adhere to them. 1. Safety Warnings: Warning: Do not touch the printer's cutter or tearer. Warning: The printhead is a heated component; do not touch the printhead or surrounding parts during or immediately after printing. Warning: Do not touch the hot...
Connection and printing instructions for Rongda RPP300 portable receipt printer
Rongda RPP300 Portable Receipt Printer Connection and Printing Instructions: 1. USB Connection: The printer comes with an optional USB cable. Connect it to your computer's USB port and install the driver. 2. Wi-Fi Communication: This allows you to communicate with your device wirelessly. Wi-Fi is a brand of wireless network communication technology owned by the Wi-Fi Alliance. Its purpose is to improve interoperability between wireless network products based on the IEEE 802.11 standard. Advantages of Wireless Networks: Wireless networks do not require cable connections; instead, they use radio waves to connect and transmit signals. They offer advantages such as freedom of movement, no line restrictions, quick and easy installation, and easy expansion. 1)...
How to use the RPP300 portable mini receipt printer
RPP300 Portable Mini Receipt Printer Usage Instructions I. Preparation Before Use 1. Battery Installation and Removal 1) Pull the belt buckle upwards to open the battery cover, open the battery compartment cover, and remove the battery. 2) As shown in the picture, insert the battery into the battery compartment, being careful not to reverse the positive and negative terminals. 3) Then close the battery compartment cover; the battery is now successfully installed. 2. Paper Roll Installation Usage Instructions 1) Pry up the cover opening button or pinch the sides of the cover with your fingers to open the paper tray cover with slight force. 2) As shown in the picture, insert the paper roll into the paper tray, paying attention to the paper orientation. If inserted incorrectly, printing will not be possible. 3) As shown in the picture, pull out part of the paper roll, making sure to pull the paper roll out of the paper tray. 4)...
Rongda RPP300 Portable Receipt Printer Product Introduction and Usage Precautions
I. Rongda RPP300 Mini Portable Receipt Printer Product Introduction 1. Portable Receipt Printer Appearance 1) Paper Feed Button 2) Status Indicator Light 3) Battery Power Indicator Light 4) Error Indicator Light 5) Power Button 6) Main Body 7) Cover Opening Button 8) Transparent Cover 9) Front Cover 10) Power DC Interface 11) USB Interface 12) Battery 2. RPP300 Portable Receipt Printer Accessories Standard Accessories Optional Accessories II. RPP300 Portable Receipt Printer Performance Characteristics 1. Printing Performance Printing Method: Line Layout Thermal Paper Width: 79.5mm Print Width: 72mm Resolution: 8...
Printing Connection and Printing Instructions for Rongda Portable Receipt Printer RPP210
Rongda RPP210 Portable Receipt Printer Printing Connection and Printing Instructions: 1. Serial Port Connection: An optional DB-9 serial cable is included (the other end connects to the printer via a MINI DIN plug). 2. USB Connection: An optional USB cable is included. Connect the printer to your computer's USB port and install the driver. 3. Bluetooth Pairing and Printing: Before using the RPP210/BL portable mini printer, it needs to be paired with the main device that drives the RPP210/BL portable mini printer. The pairing process is initiated by the main device. The typical pairing method is as follows: 1) Power on the printer. 2) The main device searches for external Bluetooth devices. 3) If there are multiple external Bluetooth devices, select the corresponding Bluetooth device...