 80mm Receipt Printer
 ACE H2 Receipt Printer
 RP337 Receipt Printer
 RP336S Dual-Color Receipt Printer
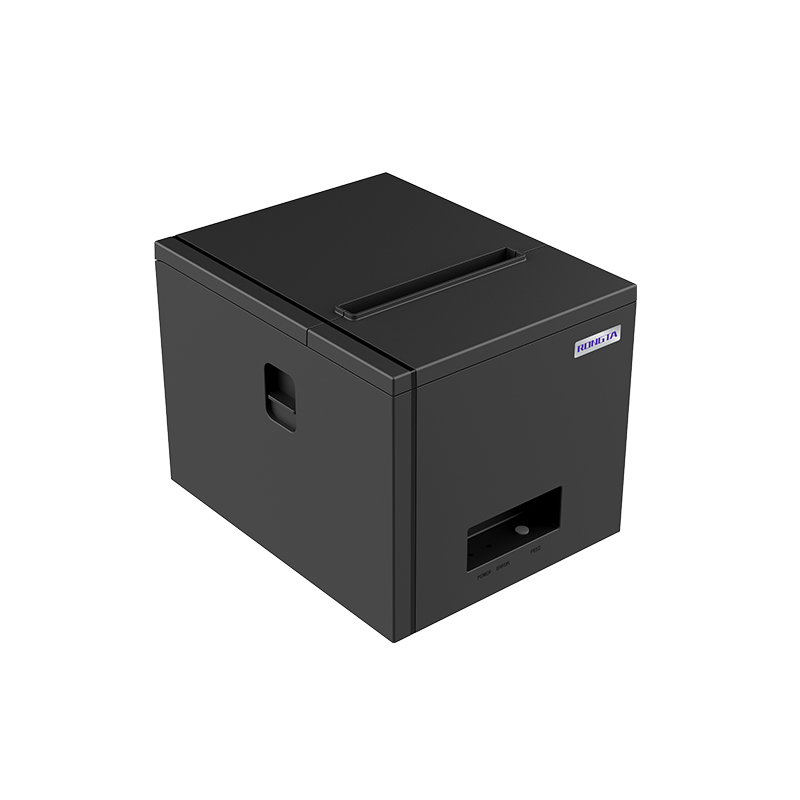 RP350 Receipt Printer
 RP582 Receipt Printer
 RP581 Receipt Printer
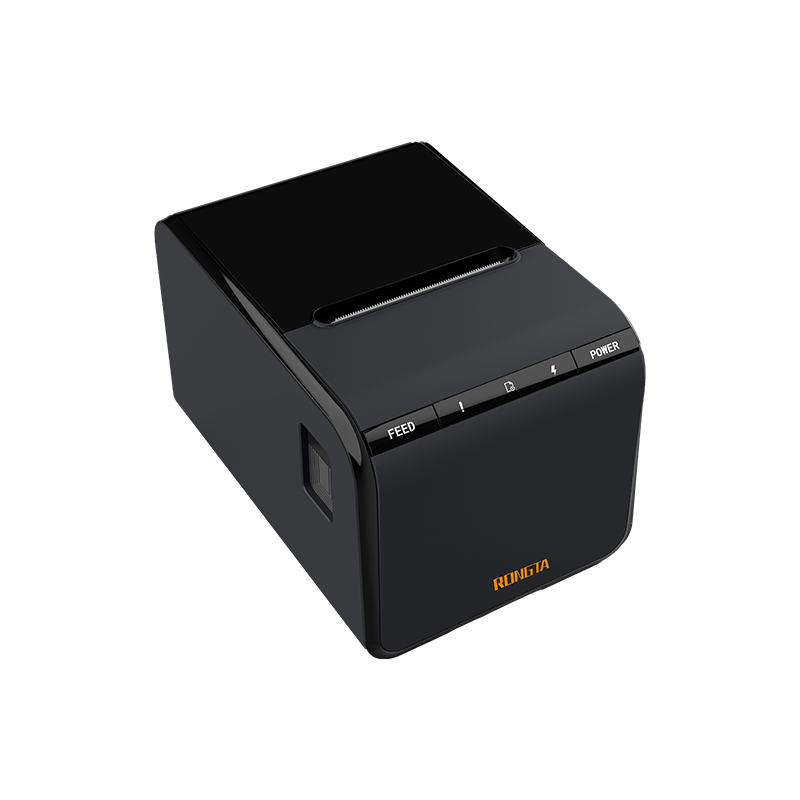 ACE G1Y Receipt Printer
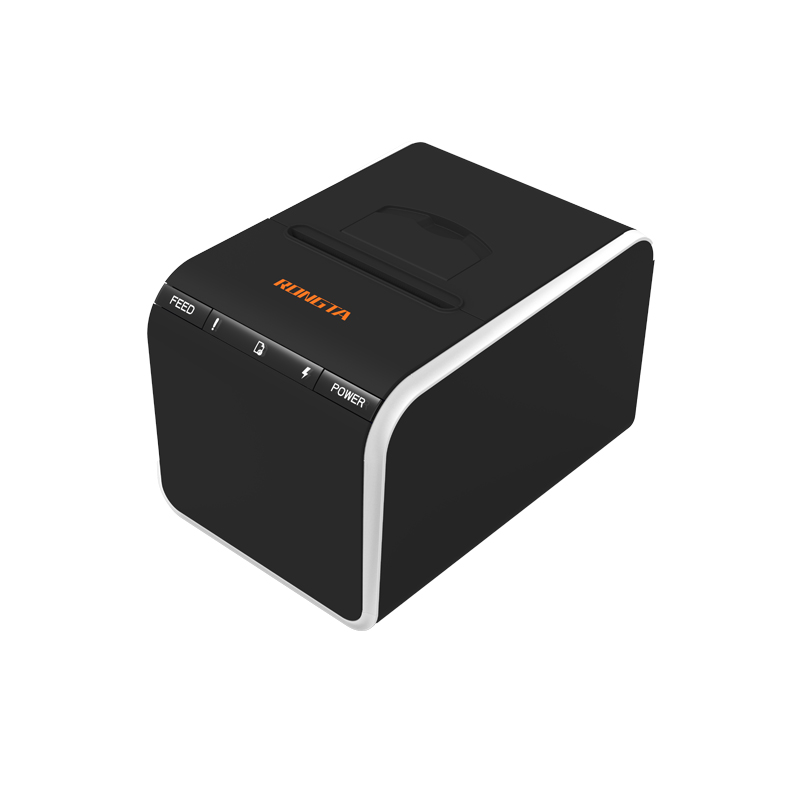 ACE G1YP Cloud Printer
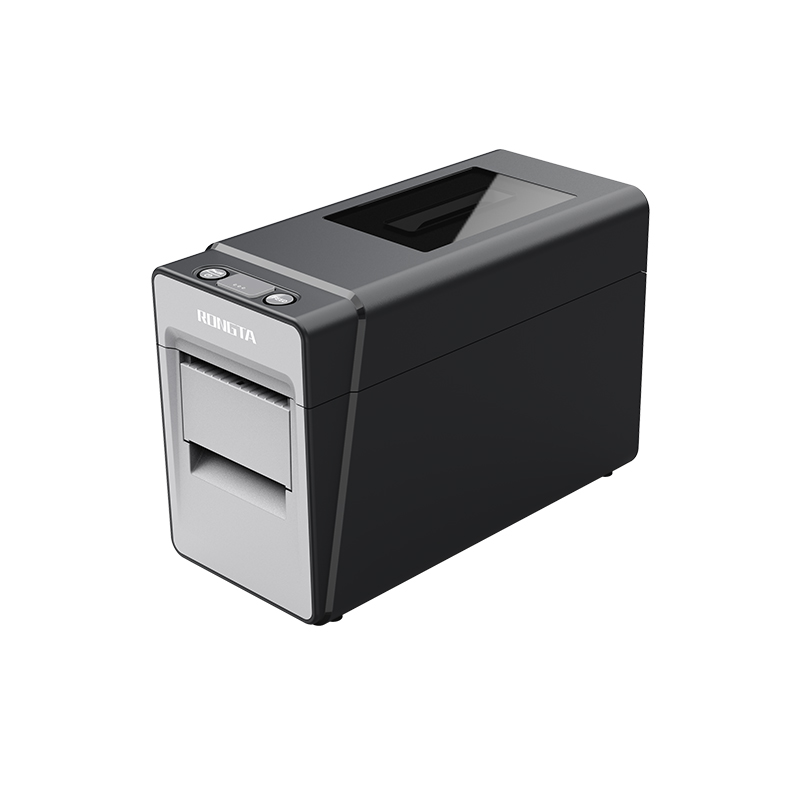 RP216 2'' Dual-color High-definition Label Printer
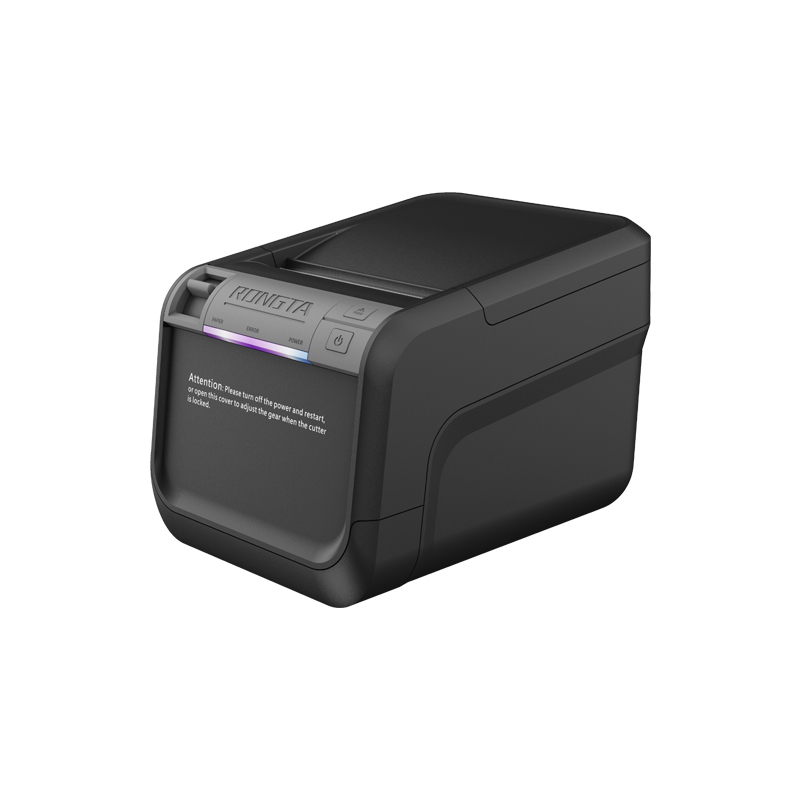 ACE V1S 3'' Backless Label Printer
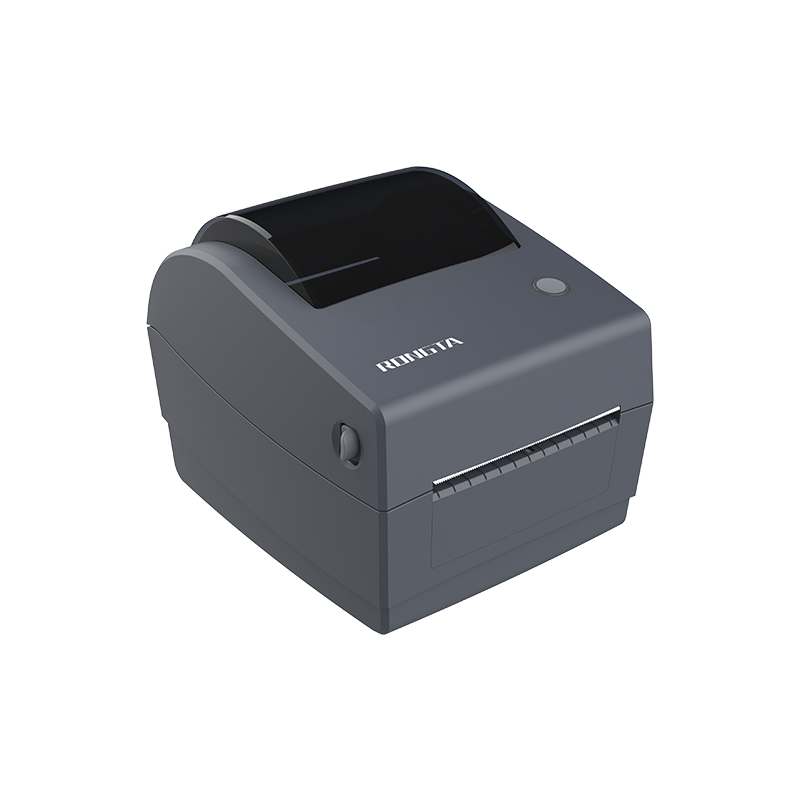 RP310D 3'' Dual-color Label Printer
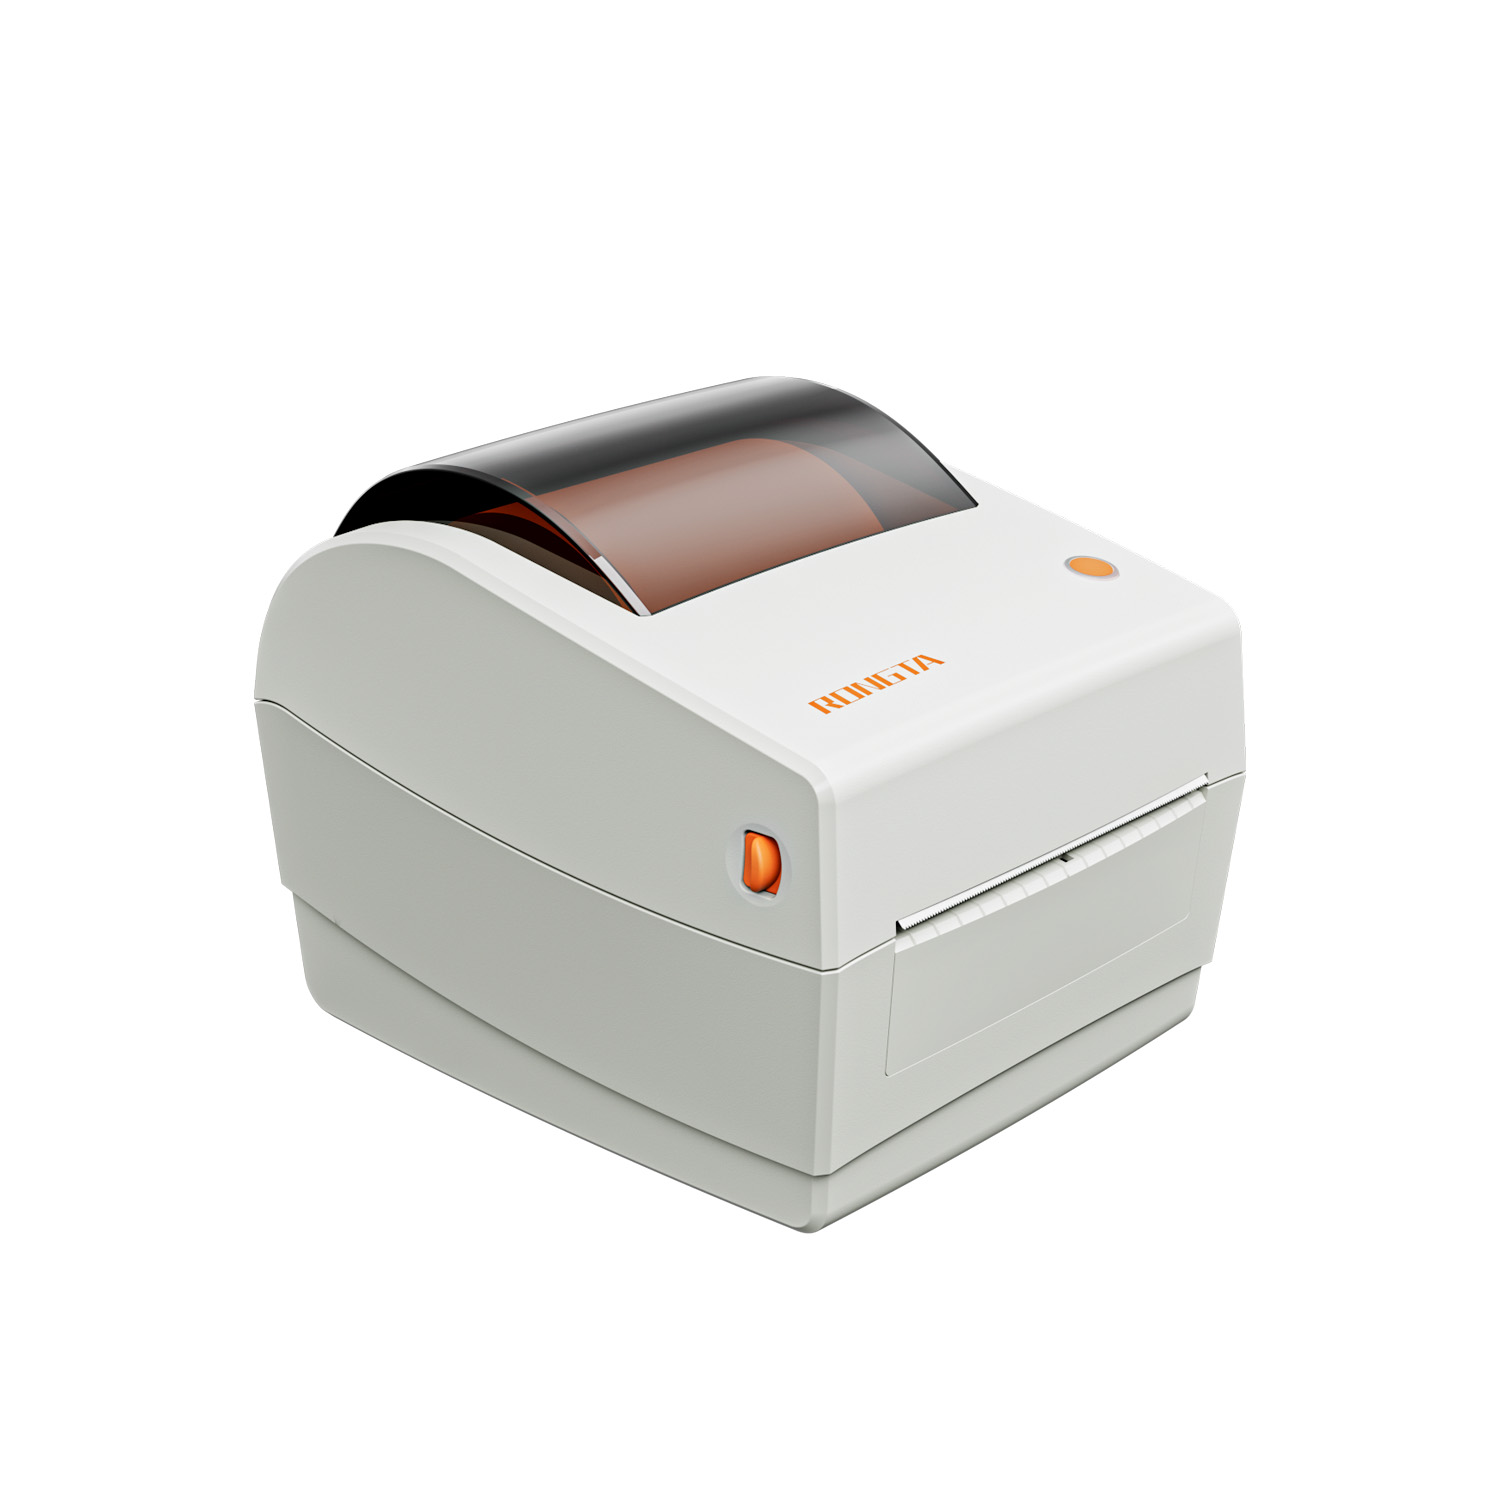 RP410N 4'' Thermal Label Printer
 RP425 4'' Electronic Waybill Printer
 RP422 4'' Electronic Waybill Printer
 RP421A 4'' Electronic Waybill Printer
 RP420 4'' Electronic Waybill Printer
 RI463 Series Barcode Printers
 RP400A 4'' Thermal Transfer Tape Cutter Printer
 RP400H 4'' Thermal Transfer Tape Cutter Printer
 RPF413 300dpi RFID barcode label printer
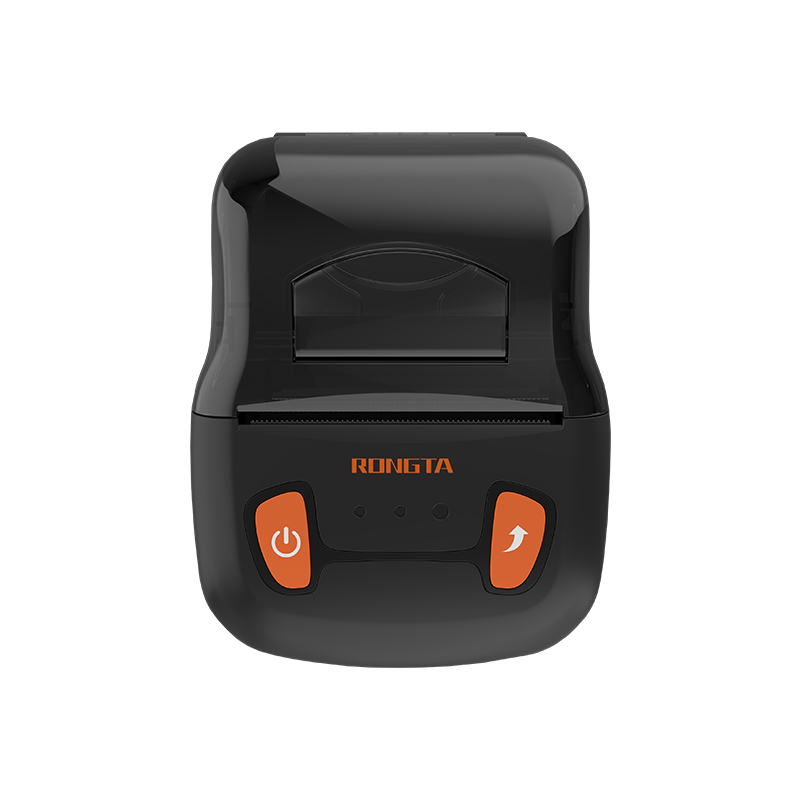 RPP02A Portable Receipt Printer
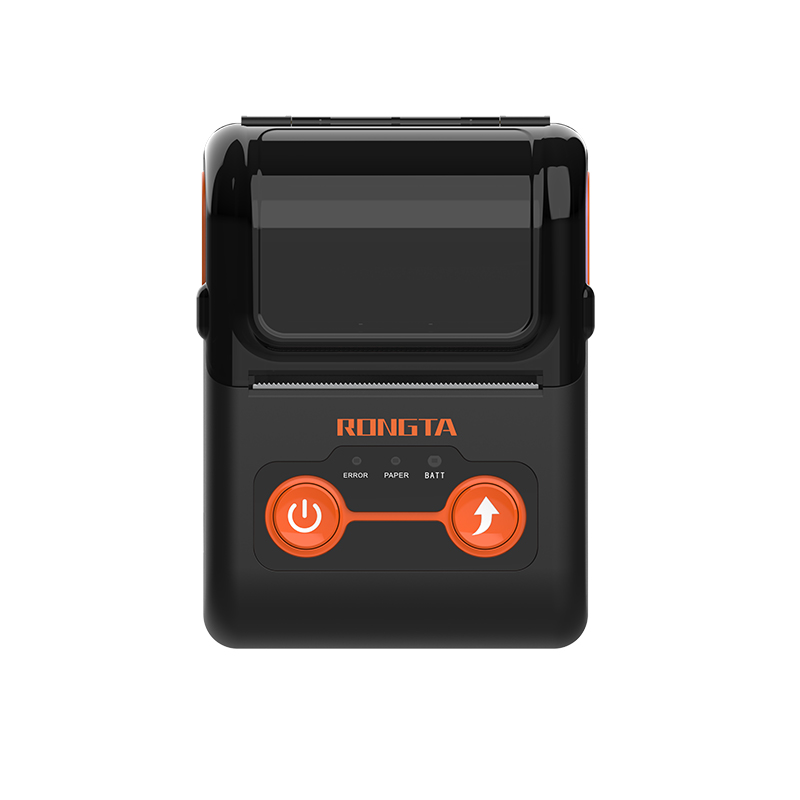 RPP02B Thermal Portable Printer
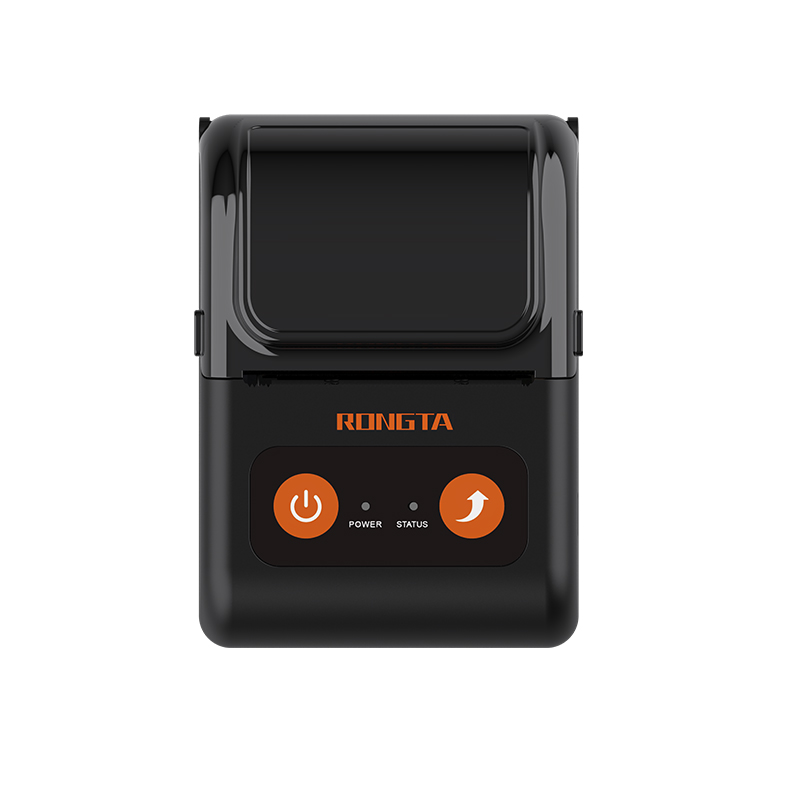 RPP02C Portable Receipt Printer
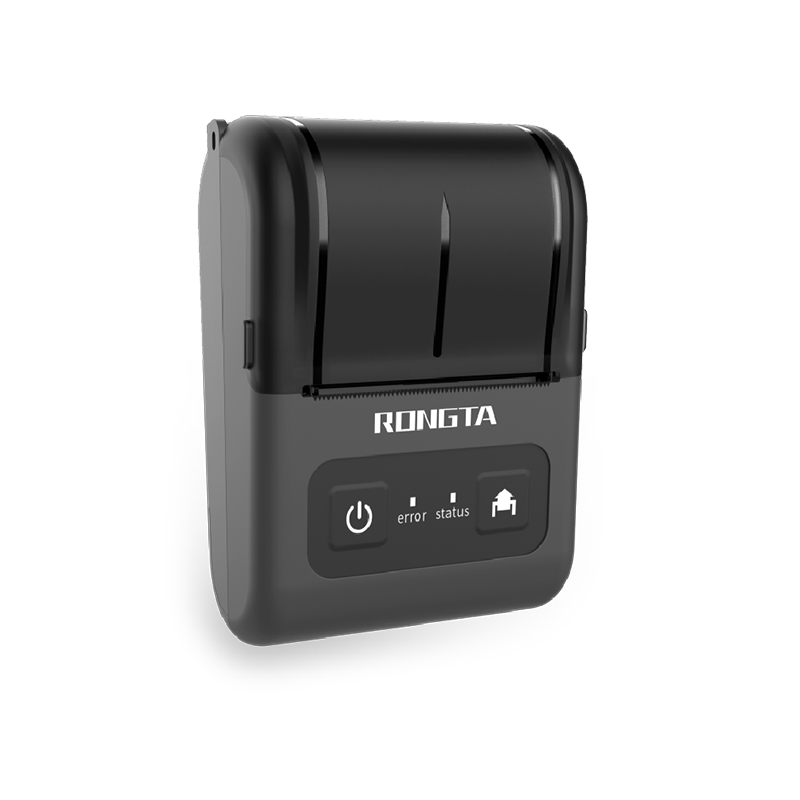 RPP02D Thermal Portable Printer
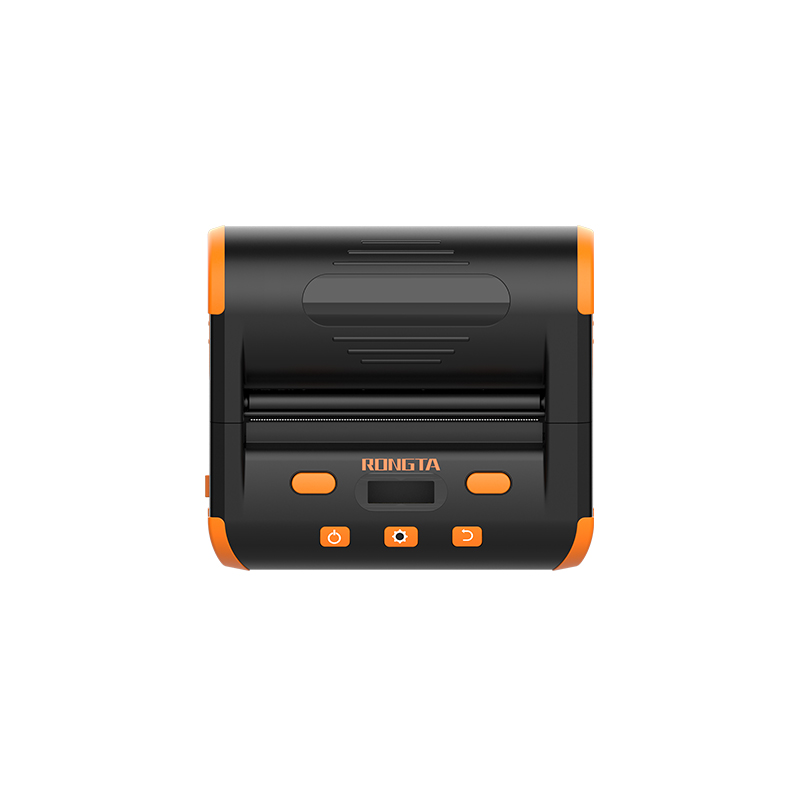 RPP04 4" Portable Label Printer
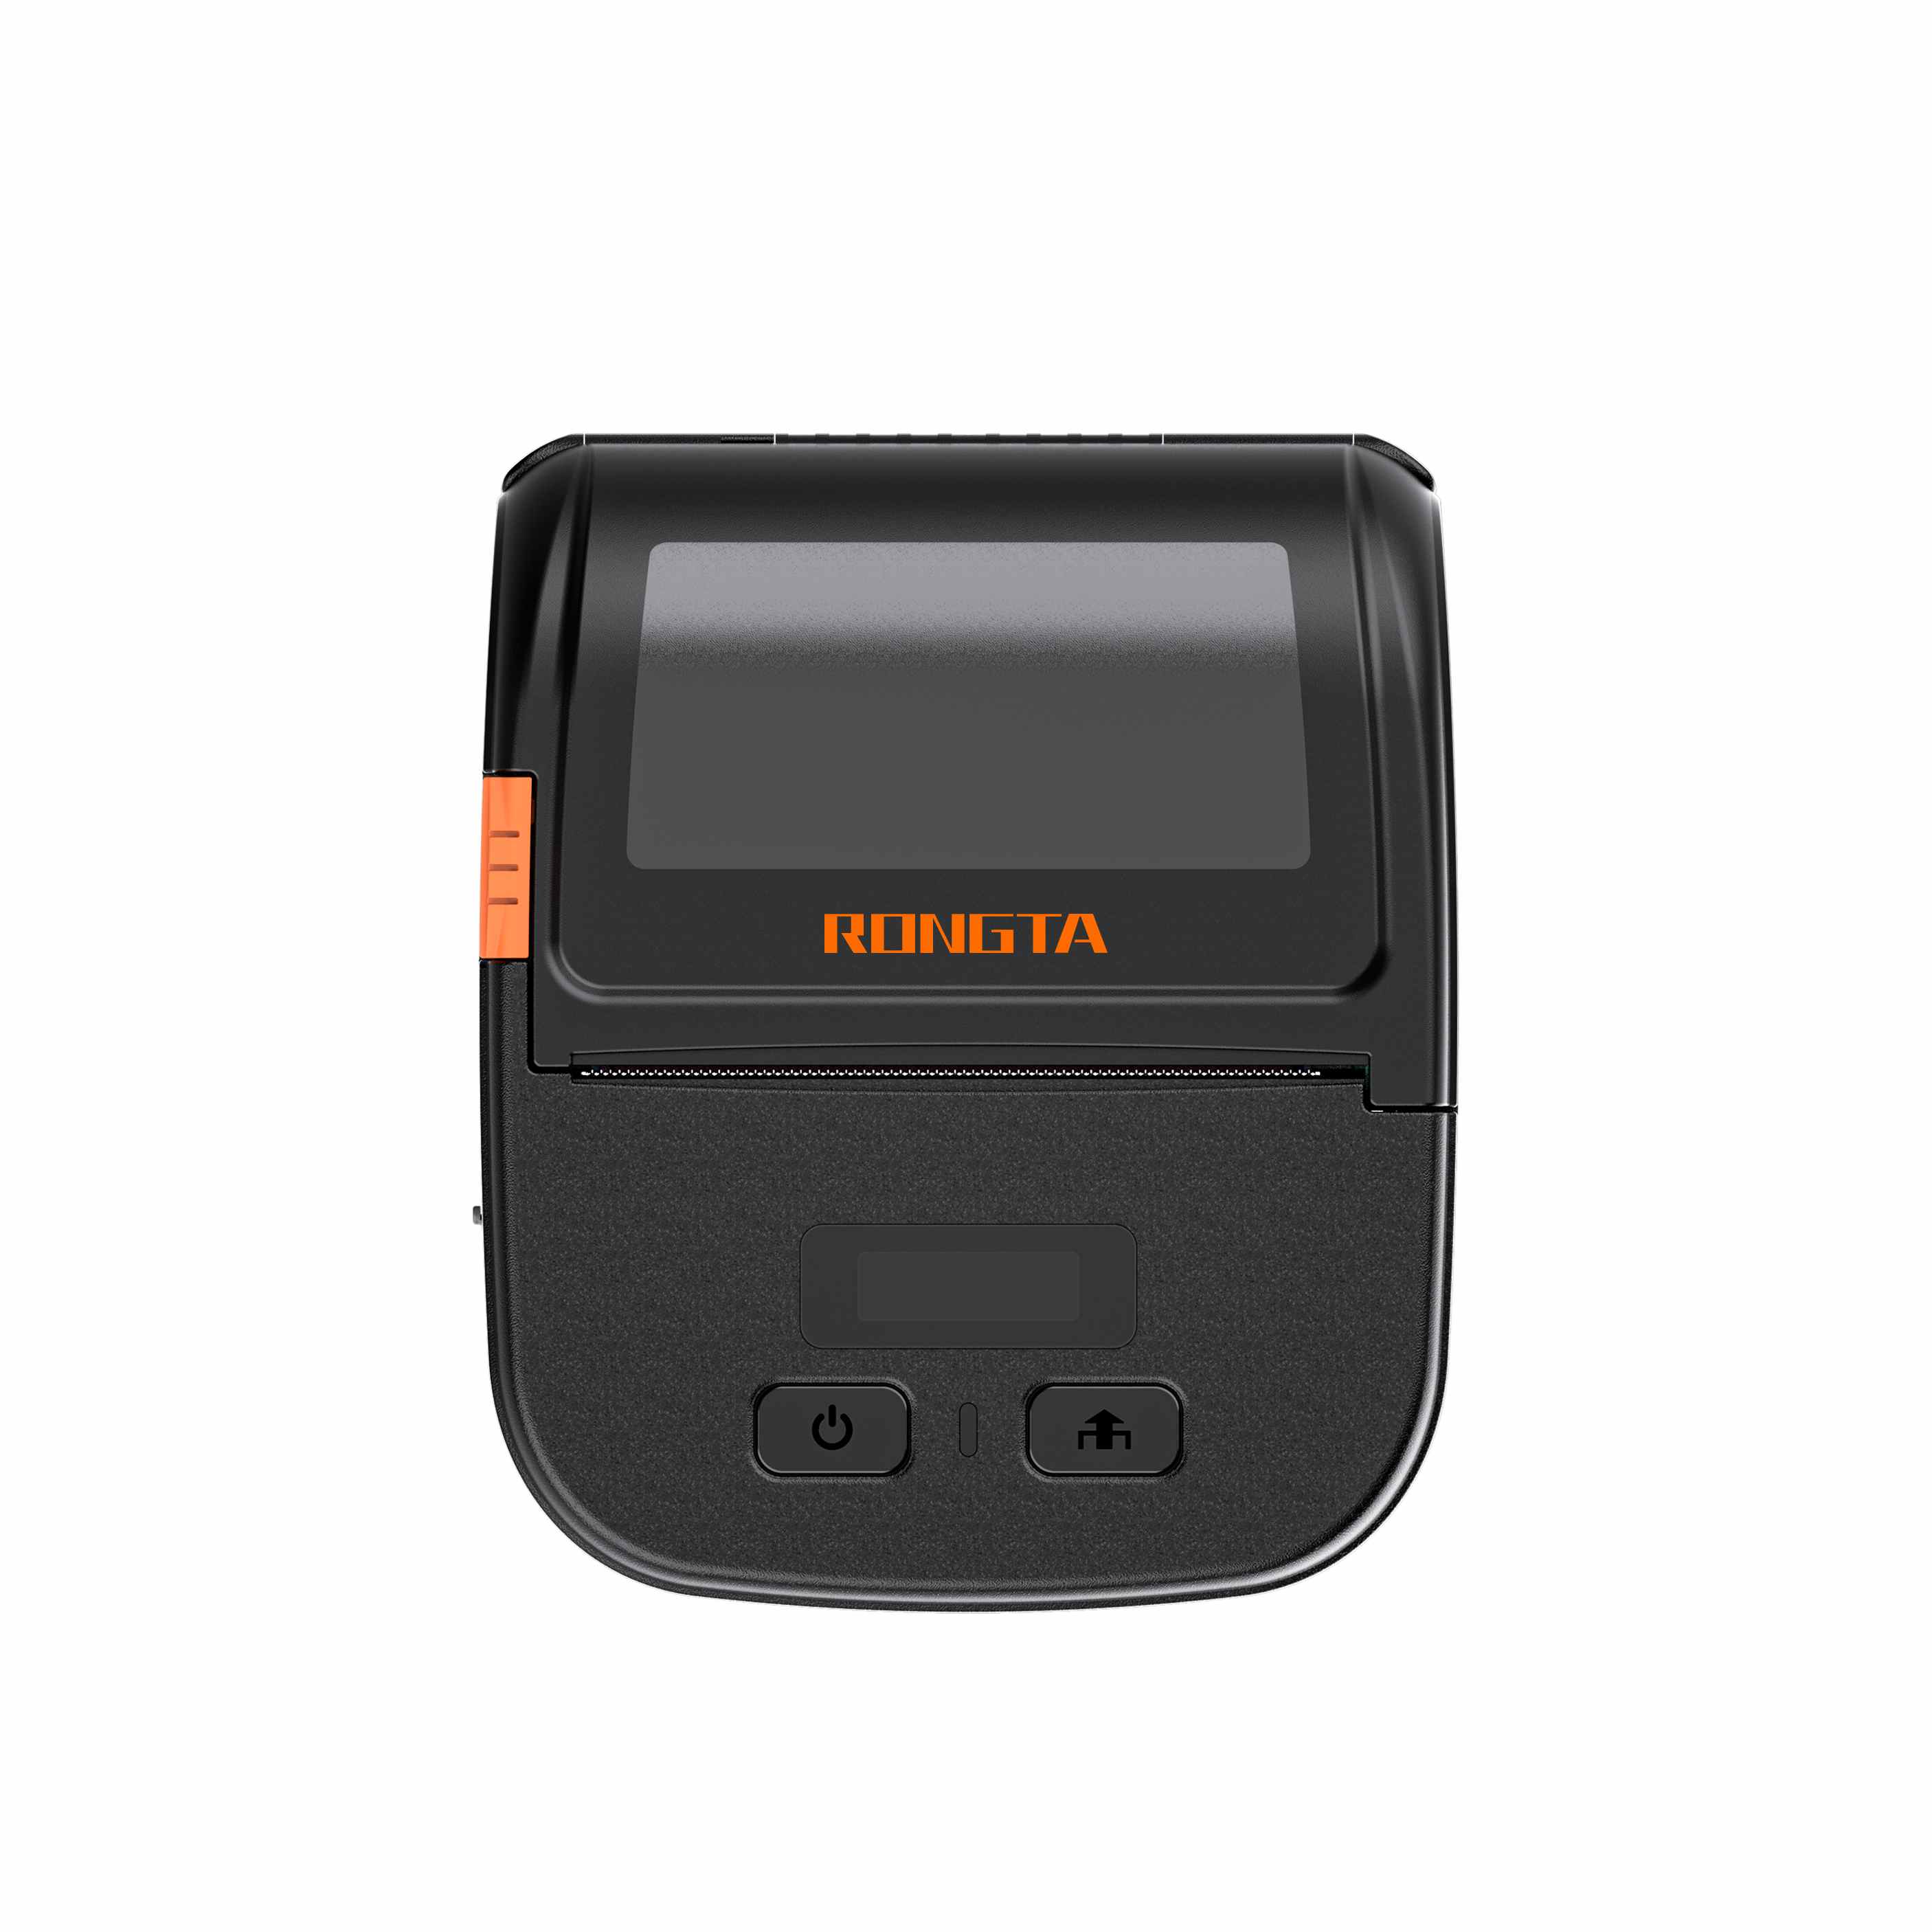 RPP30 3" Portable Label Printer
 ACE M1 2" Portable Label Printer
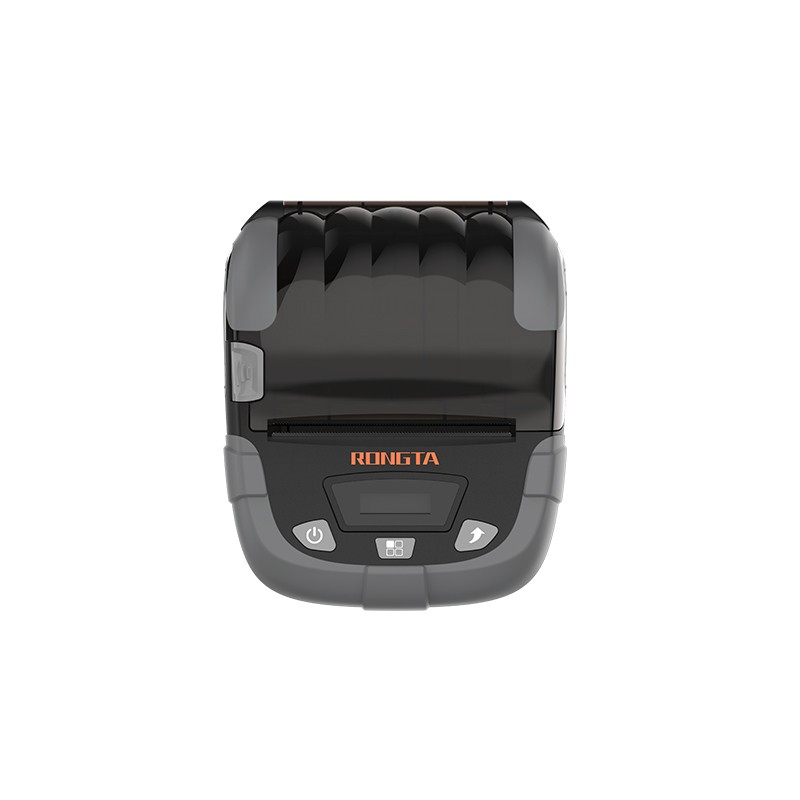 RPP320N 3" Portable Label Printer
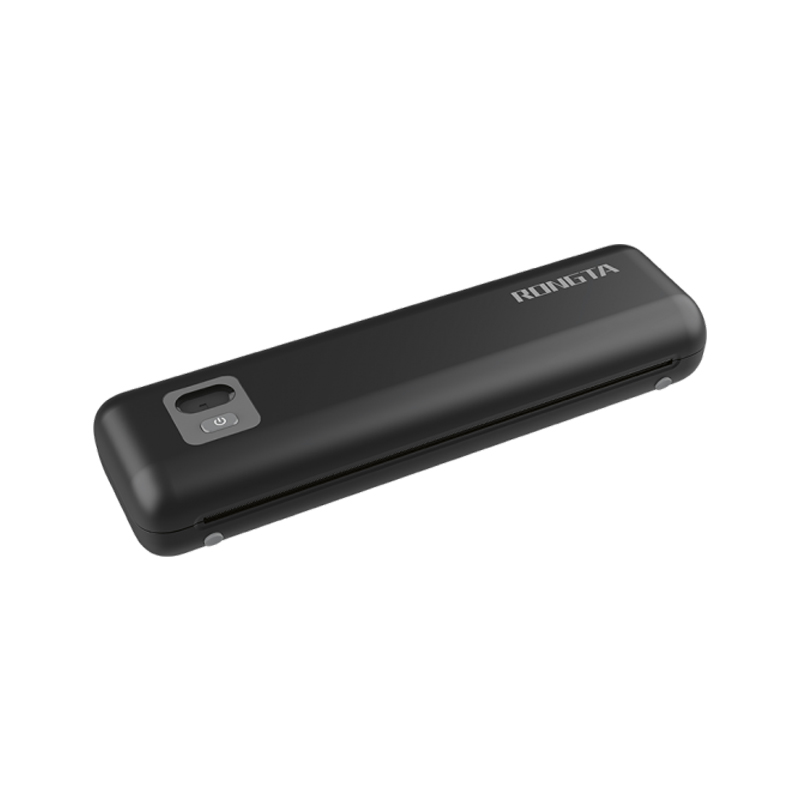 F82A A4 Front-Out Paper Tray Thermal Printer
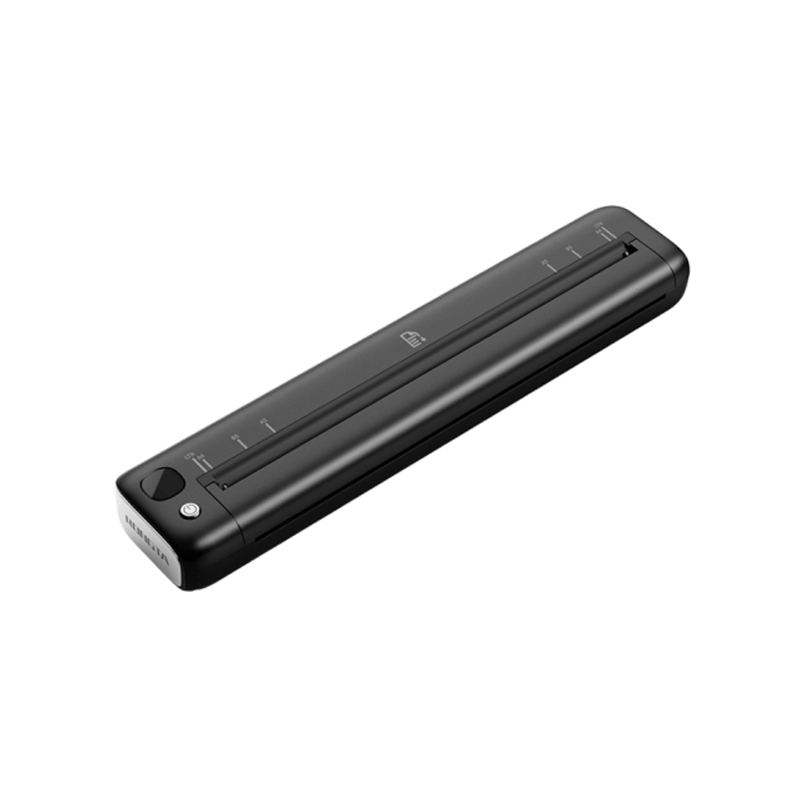 F81A Portable A4 Thermal Printer
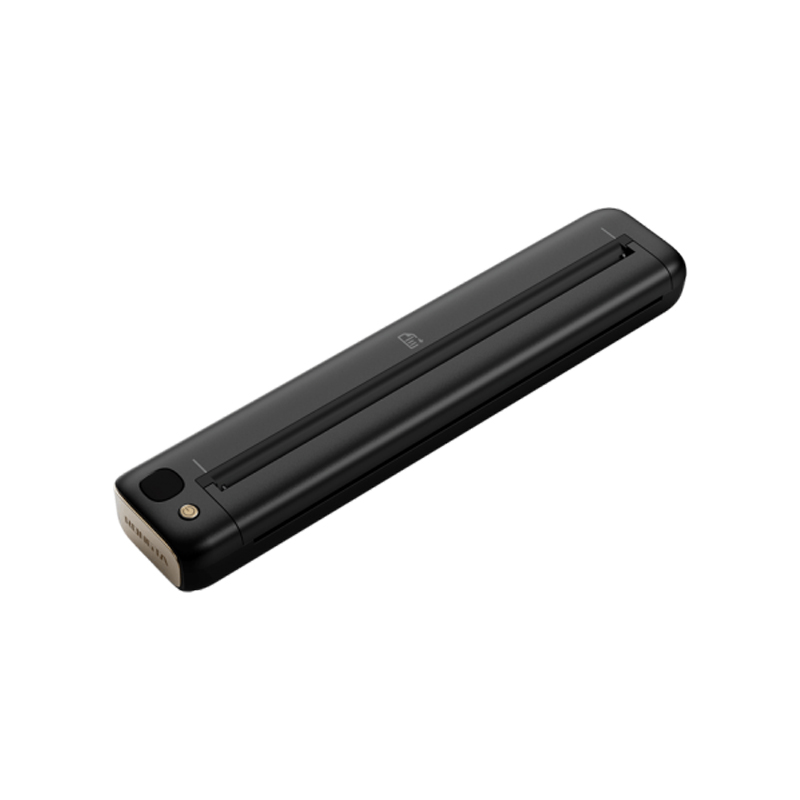 F81S Portable A4 Tattoo Printer
 Z1 Children's Educational Photo Printer
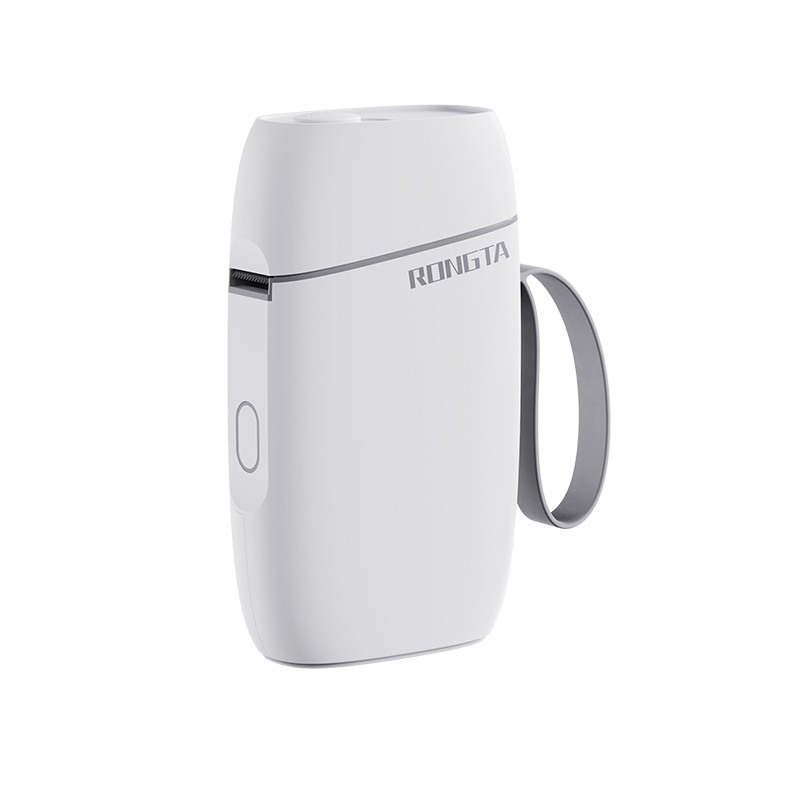 R5 Mini Label Printer
 RP07 58mm Embedded Printer
 RP203 58mm Embedded Printer
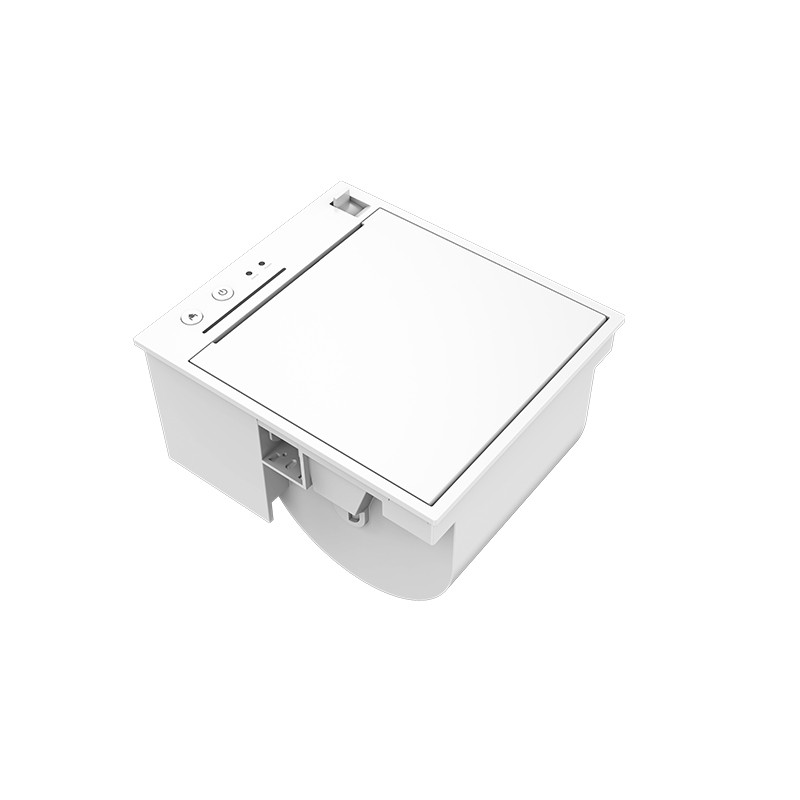 PM315 Embedded Thermal Printer
 PM201 48mm Printing Module
 PM628 58mm printing module
 PM532A Printing Module
 PM532B printer module
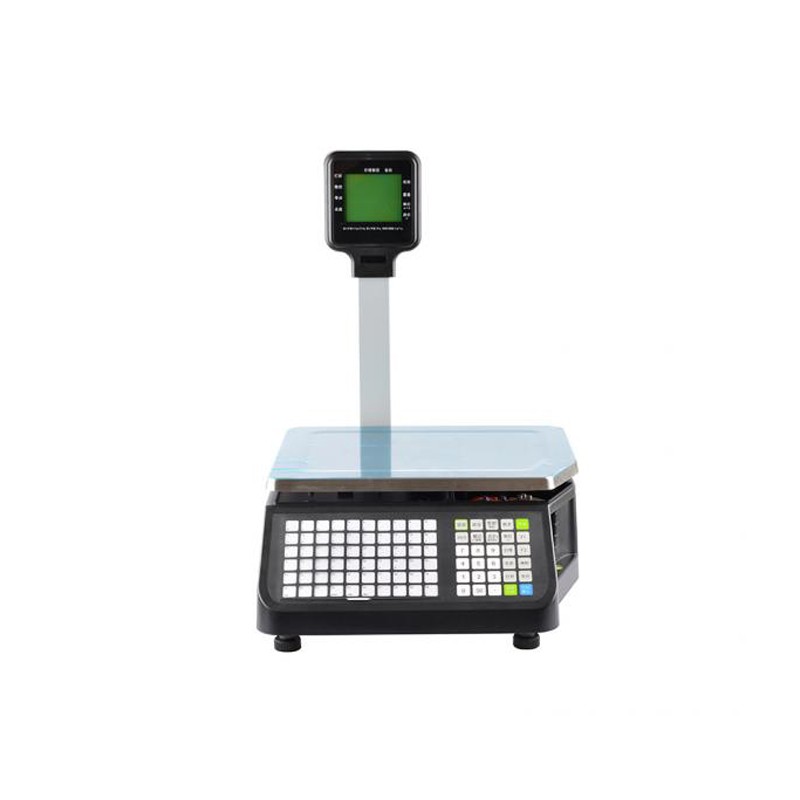 LS015/LS015A Barcode Scale
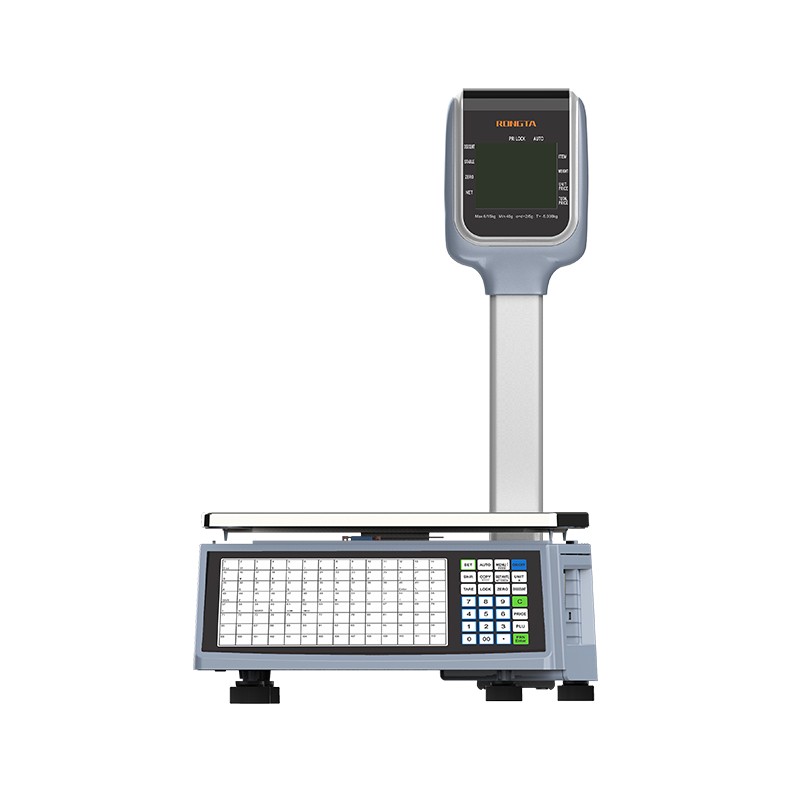 RLS1815D/RLS1830D Barcode Scale
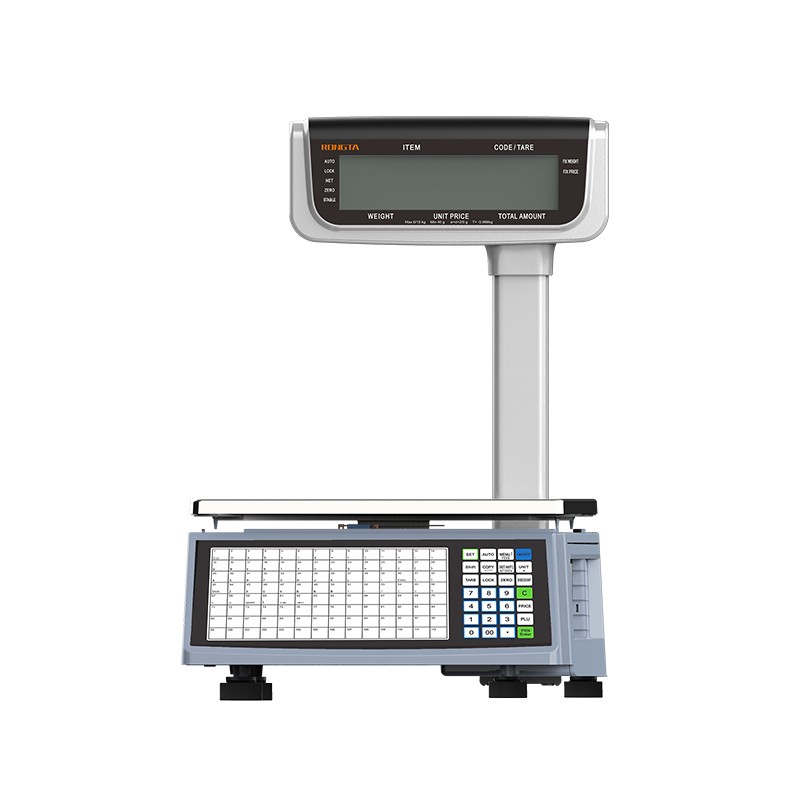 RLS1815C/RLS1830C Barcode Scale
 AURORA S2L-S Labelless Scale
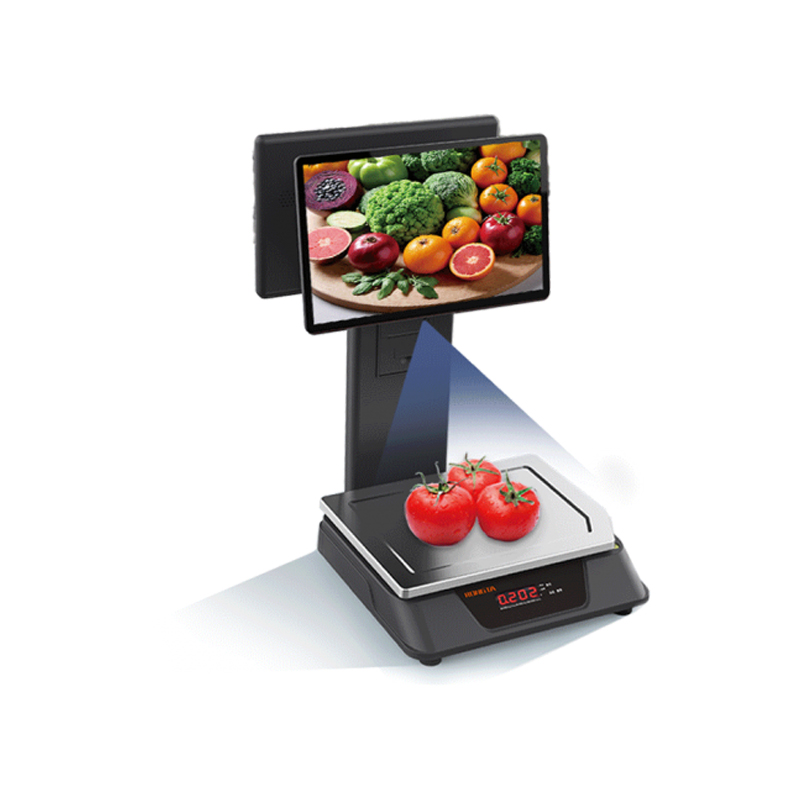 AURORA E1 PRO-AI Cash Register Scale
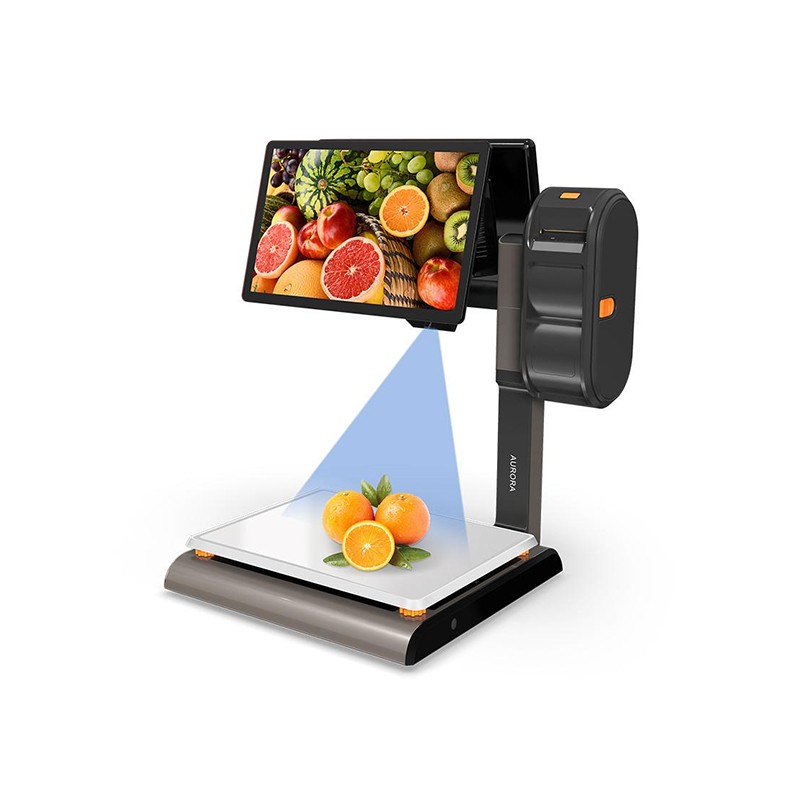 AURORA S2L-AI Label Scale
 DP01-AI Smart Tag Cashier Dual-Use Scale
 C3 Weighing Scale
 C1 weighing scale
 C11 Weighing Scale
 retail
 FOOD
FOOD Medical
 Mobile office/home
 asset Management
 logistics
 Driver download
 User Manual
 Tool Download
 Tag software
 Product Video
 Development Documentation
 Frequently Asked Questions
 User Guide
 Company News
 Exhibition Updates
 Industry Insights
 Product Update
 General situation
 Development history
 Honors and Qualifications
 R&D strength
 Team activities
 Social responsibility


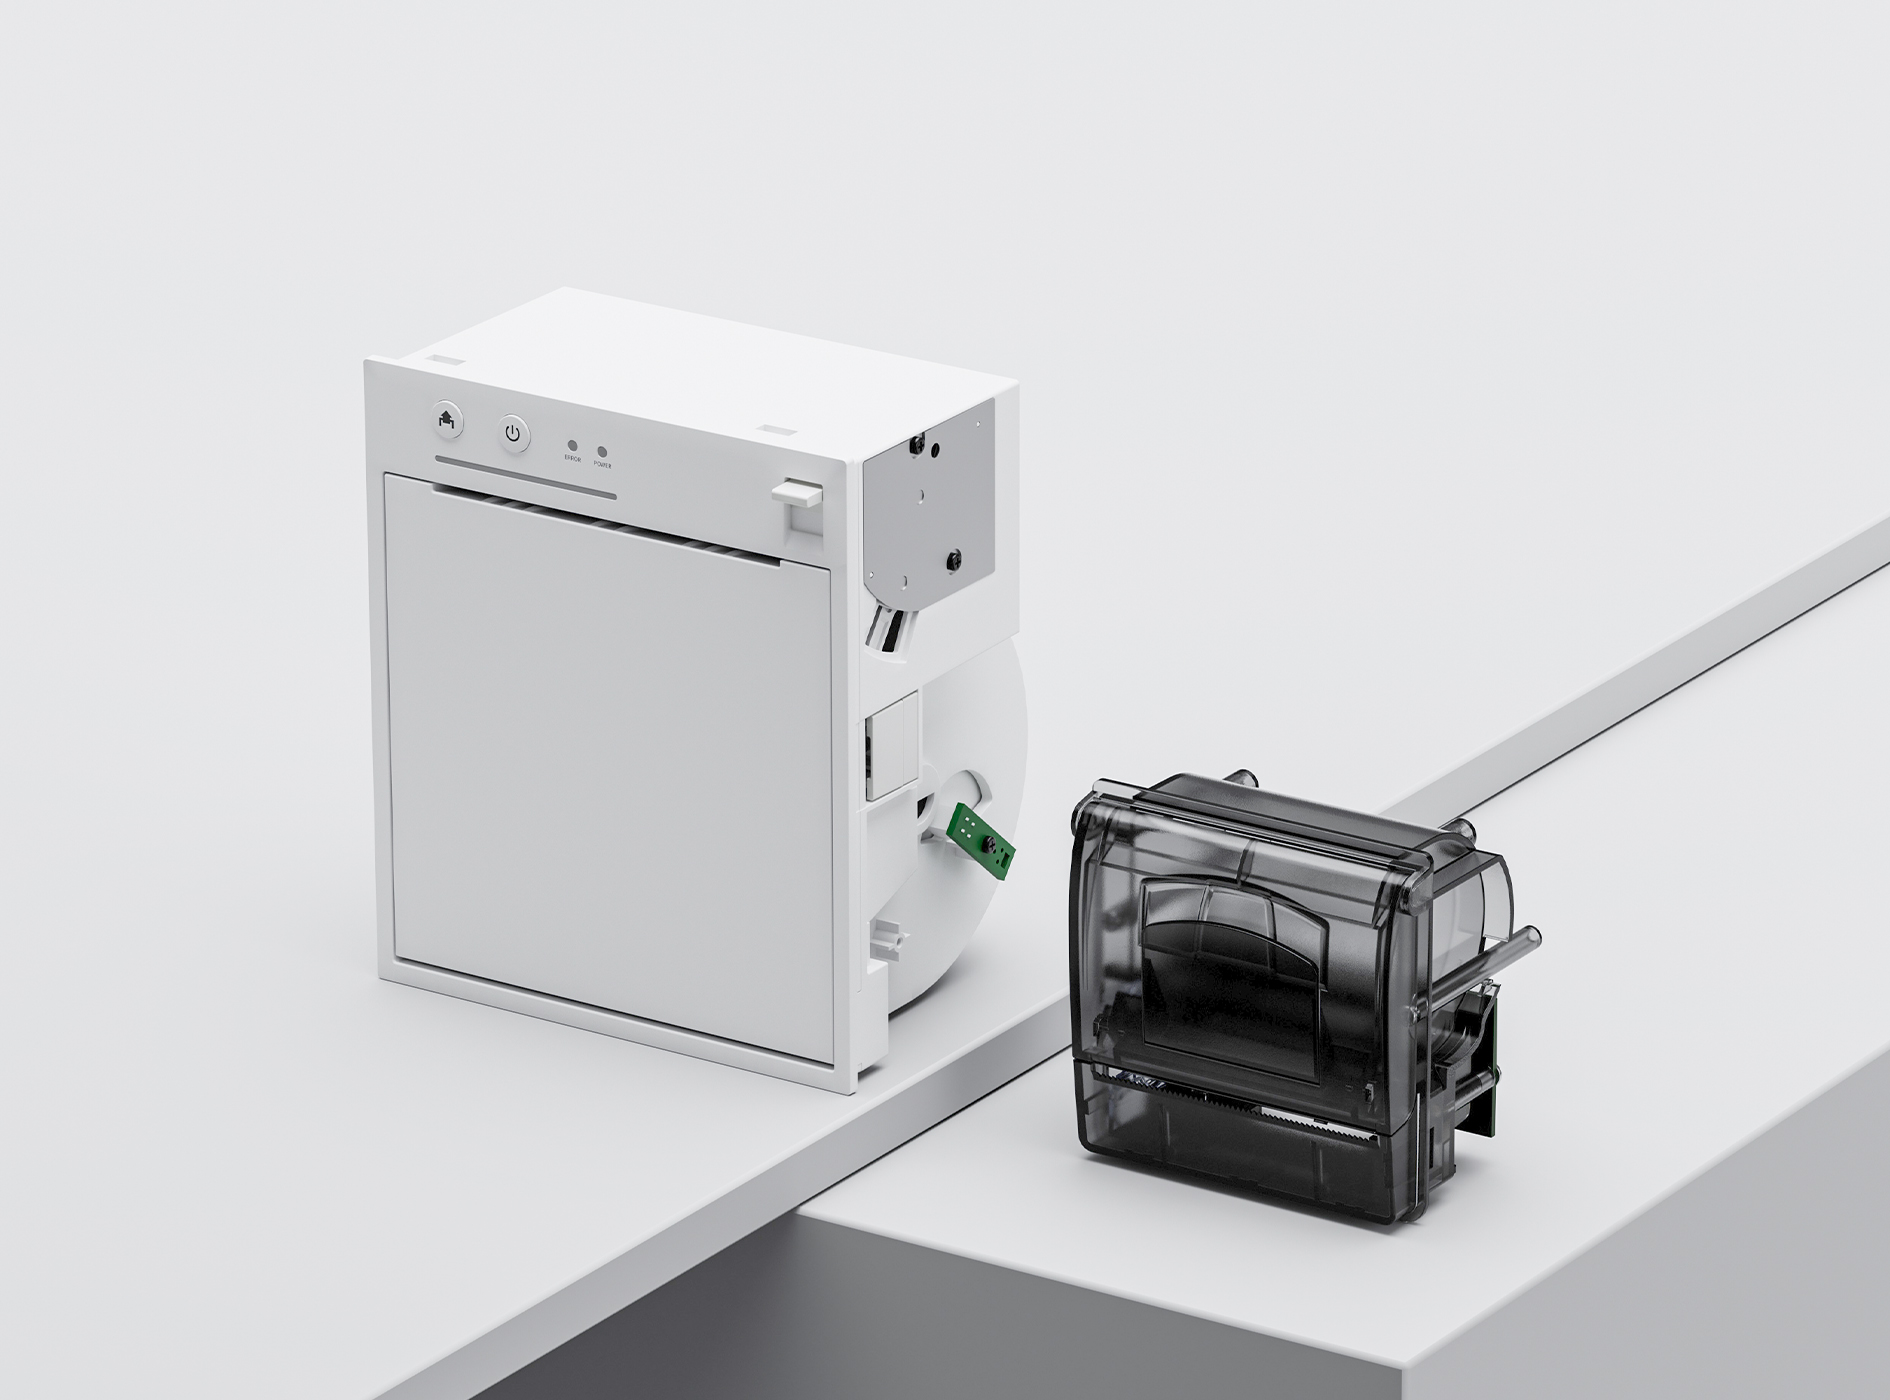
RP310D Label Printer FAQ
Common problems with RP310D thermal label printersInstruction Manual
I. Button/Indicator Light User Manual
1.1 Button Function Description
① Print self-test page: With the power off, press and hold the paper feed button + power button to automatically print the self-test page;
② Paper learning: With the machine powered on, press and hold the paper feed button until you hear two beeps, then release the button to automatically perform paper learning and calibration.
③ Restore factory settings: With the cover open, press and hold the paper feed button for 10 seconds and then release the button to complete the factory reset.
④ Print blank paper: In standby mode, briefly press the paper feed button to automatically feed a blank label;
1.2 Indicator Light Description
① Indicator light stays on: Normal standby mode;
②Indicator light flashing: Printer error message, buzzer alarm;
Two consecutive beeps: The movement is reporting an error.
Three consecutive beeps indicate a paper shortage error.
Five consecutive beeps: Overheating error;
Six consecutive beeps: Error message indicating lid opening error;
Seven consecutive beeps: Label error reported;
?
II. Common Problems and Solutions
2.1 Paper feeding abnormality (paper does not reach the seam label, more blank paper is fed)
Solution:
① Open the cover and check if the optocoupler is in the correct position;When printing labels, align the small triangle on the optocoupler slider with the small triangle on the bracket, as shown in the image below.
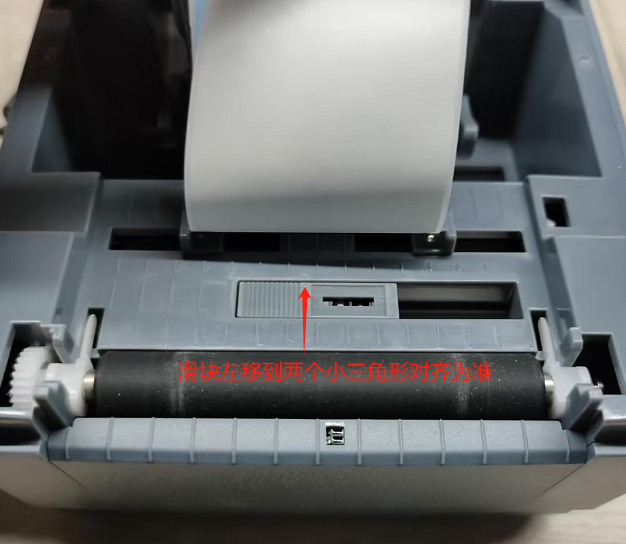
②After optical coupler alignment,Press and hold the paper feed button until two beeps sound, then release the button to perform paper learning and calibration.
?
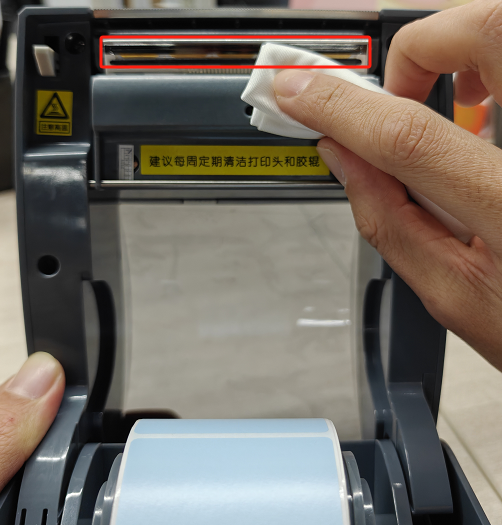
2.2 The print is unclear (the print is blurry with white lines).
Solution:
Turn off the printer first.Clean the print head with a cotton cloth or cotton swab dipped in alcohol. After the alcohol dries, turn the machine back on and print a test print.
?
2.3 Printer Error Handling
① Two consecutive beeps: Mechanism error message:
Solution:If the printer's internal components are physically damaged or there is a paper jam, you need to contact after-sales service for factory inspection.
②continuousThree beeps:Out of paper error report;
Solution:Check if the paper is installed correctly. If the problem persists, the optocoupler may be faulty and you will need to contact after-sales service for factory testing.
?
③ Continuous beep-beep 5voice:Overheating error;
Solution:When the print head is overloaded, you need to wait for about 5 minutes until the print head temperature cools down before you can continue printing.
If the printer continues to display errors after being left to stand, you need to contact after-sales service for factory testing.
④ Continuous beep-beep 6voice:Error message when opening lid;
Solution:Check that the top cover is properly and tightly closed;
If the axis detection switch falls off or malfunctions, you need to contact after-sales service for factory testing.
⑤ Continuous beep-beep7 voices:Seam label error;
Solution:Open the cover and check if the optocoupler position is correct.precise;After the optical coupler is aligned, press and hold the paper feed button until you hear two beeps, then release the button to perform paper learning calibration.
?
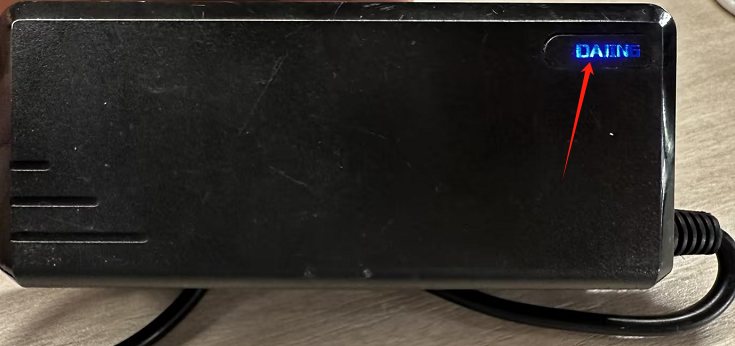
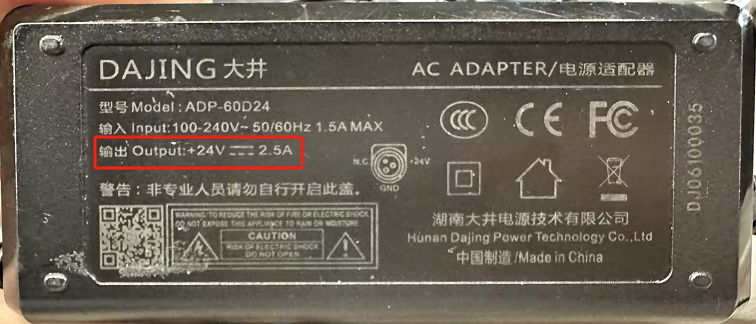
2.4 The printer cannot be turned on (the indicator light on the buttons is not lit).
Solution:
① Check if the power adapter is properly connected;
② Check if the power adapter is working properly; a constantly lit power indicator light indicates normal operation.
③To ensure proper operation, check the DC output specifications (24.0V === 2.5A) on the back of the power adapter.
If the above methods fail to resolve the issue, please contact our after-sales technical support hotline: 400-800-0596.
?
III. After-sales contact information
3.1Technical support hotline:
Hotline: 400-800-0596, after dialing the 400 number, dial 2 for label printer service support;
Working hours: 9:00 AM - 8:30 PM (until 6:00 PM on weekends/holidays);
3.2 After-sales repair method:
Recipient: After-sales Service Department
Telephone: 15359340780
Address: Rongda Science and Technology Park, No. 88 Tonghui South Road, Tongan Industrial Concentration Zone, Xiamen City, Fujian Province
Return Repair Instructions: When returning the device for repair, please include the return address, contact information, a list of all items packed in the box, and a detailed description of the malfunction in the package. This will help improve the efficiency of the return process. Thank you for your support! If no information is provided, the device will be returned according to the sender's information.