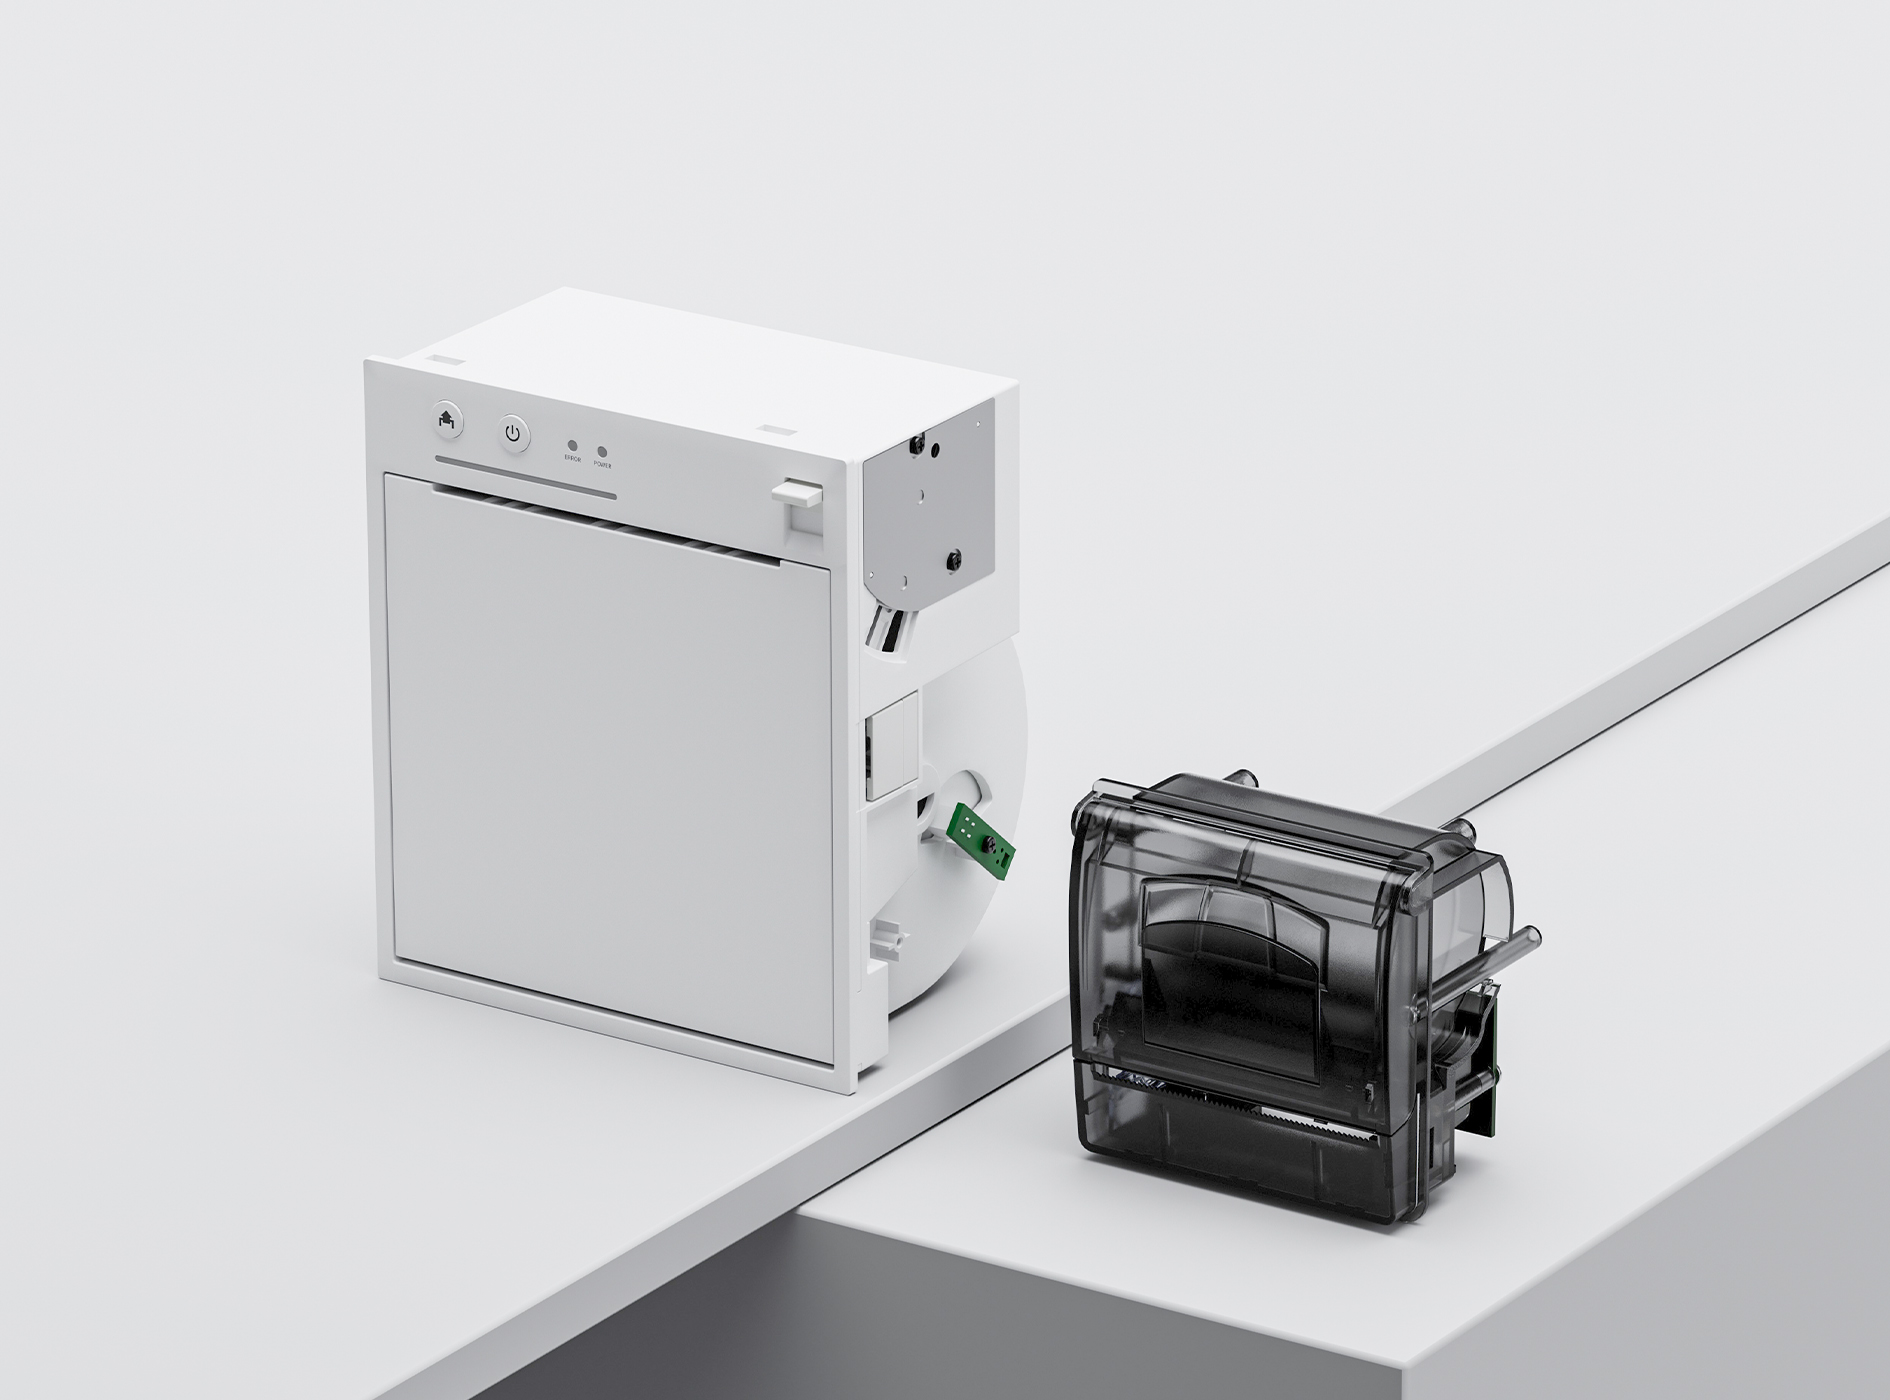
 80mm Receipt Printer
 ACE H2 Receipt Printer
 RP337 Receipt Printer
 RP336S Dual-Color Receipt Printer
 RP350 Receipt Printer
 RP582 Receipt Printer
 RP581 Receipt Printer
 ACE G1Y Receipt Printer
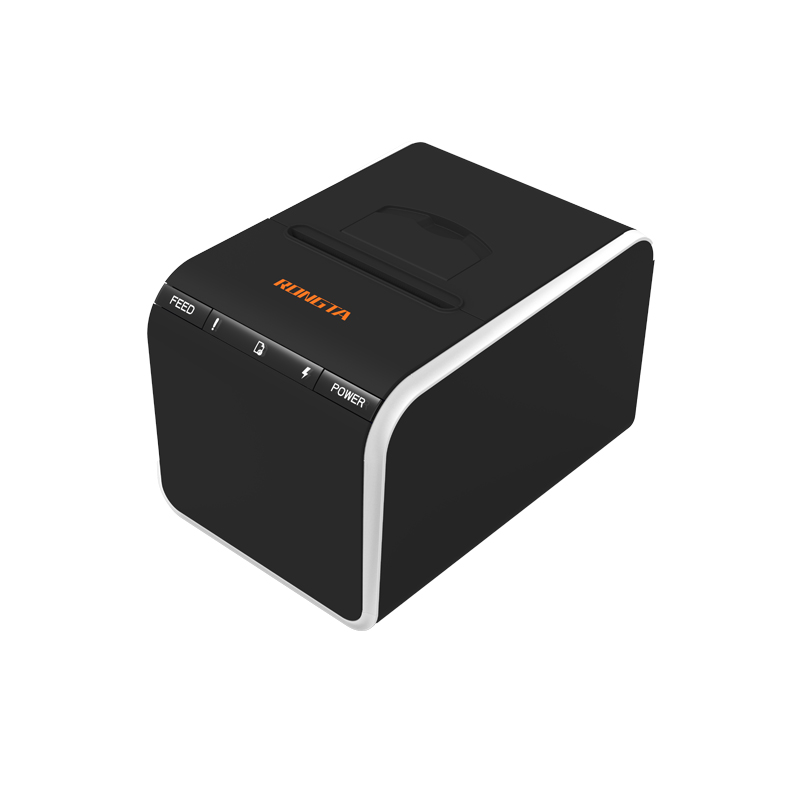 ACE G1YP Cloud Printer
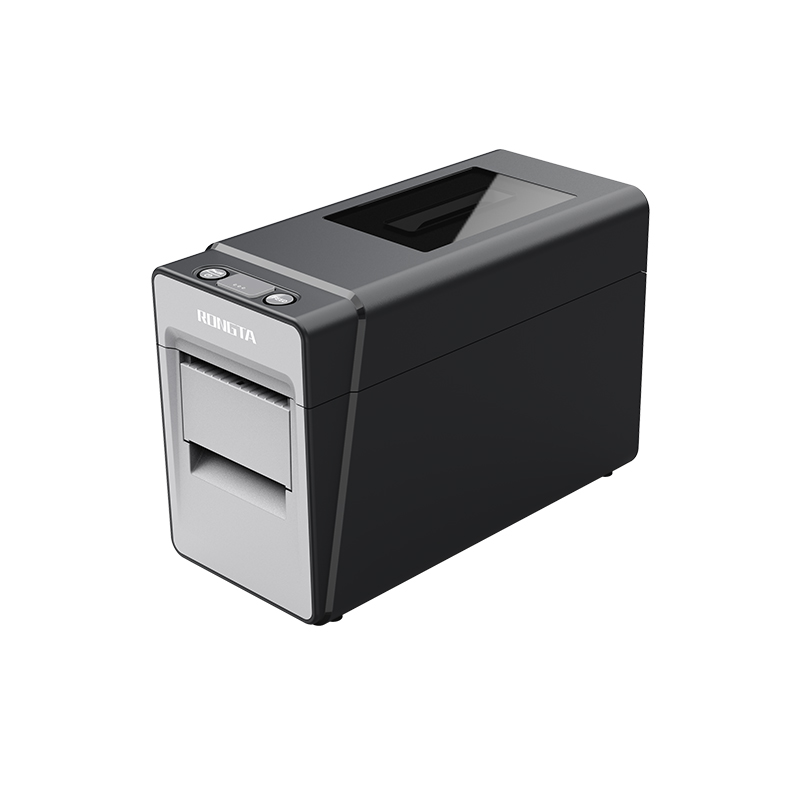 RP216 2'' Dual-color High-definition Label Printer
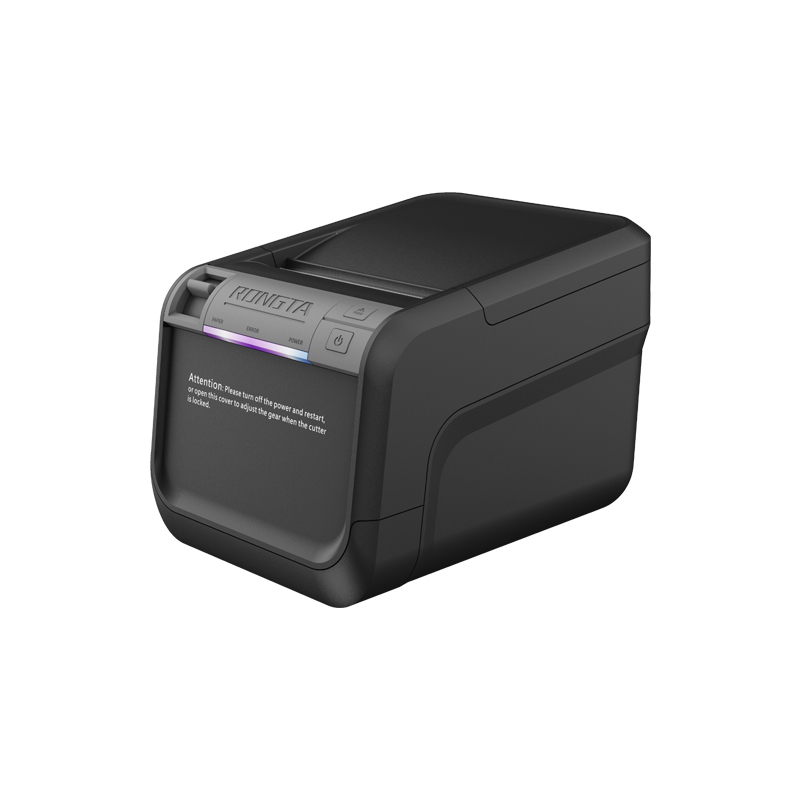 ACE V1S 3'' Backless Label Printer
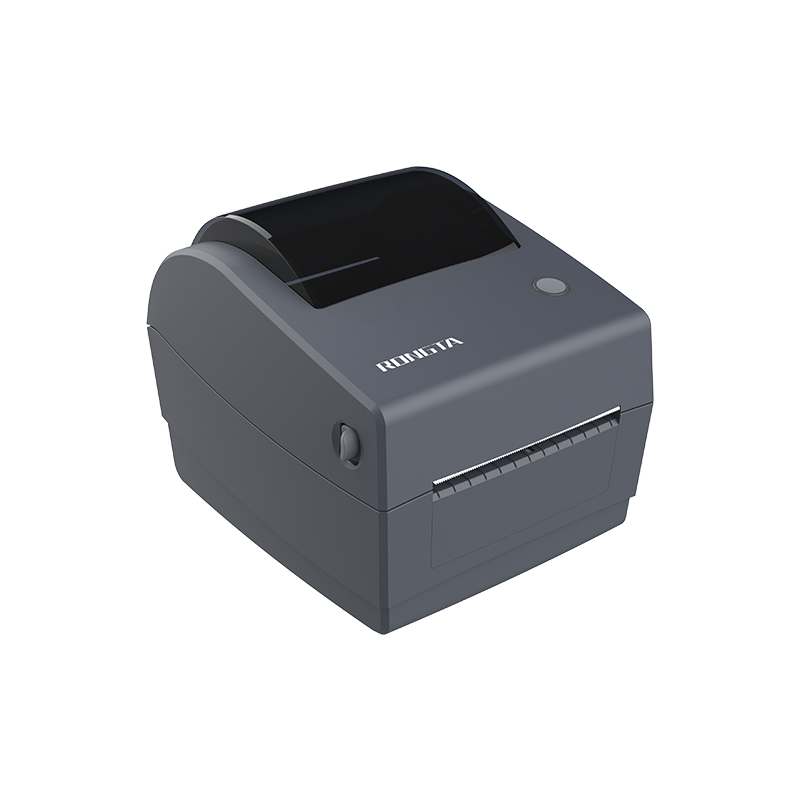 RP310D 3'' Dual-color Label Printer
 RP410N 4'' Thermal Label Printer
 RP425 4'' Electronic Waybill Printer
 RP422 4'' Electronic Waybill Printer
 RP421A 4'' Electronic Waybill Printer
 RP420 4'' Electronic Waybill Printer
 RI463 Series Barcode Printers
 RP400A 4'' Thermal Transfer Tape Cutter Printer
 RP400H 4'' Thermal Transfer Tape Cutter Printer
 RPF413 300dpi RFID barcode label printer
 RPP02A Portable Receipt Printer
 RPP02B Thermal Portable Printer
 RPP02C Portable Receipt Printer
 RPP02D Thermal Portable Printer
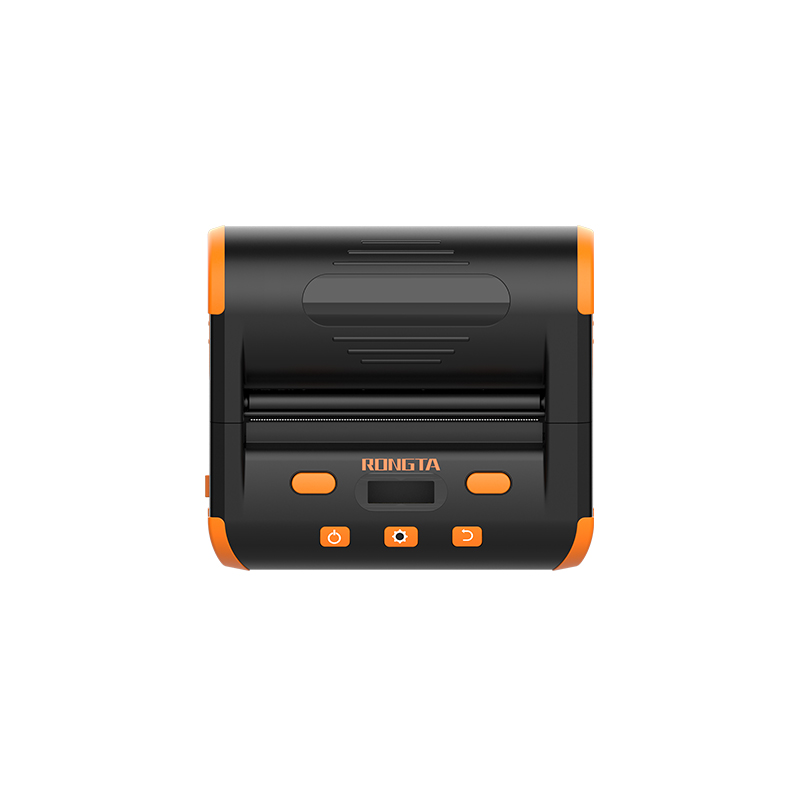 RPP04 4" Portable Label Printer
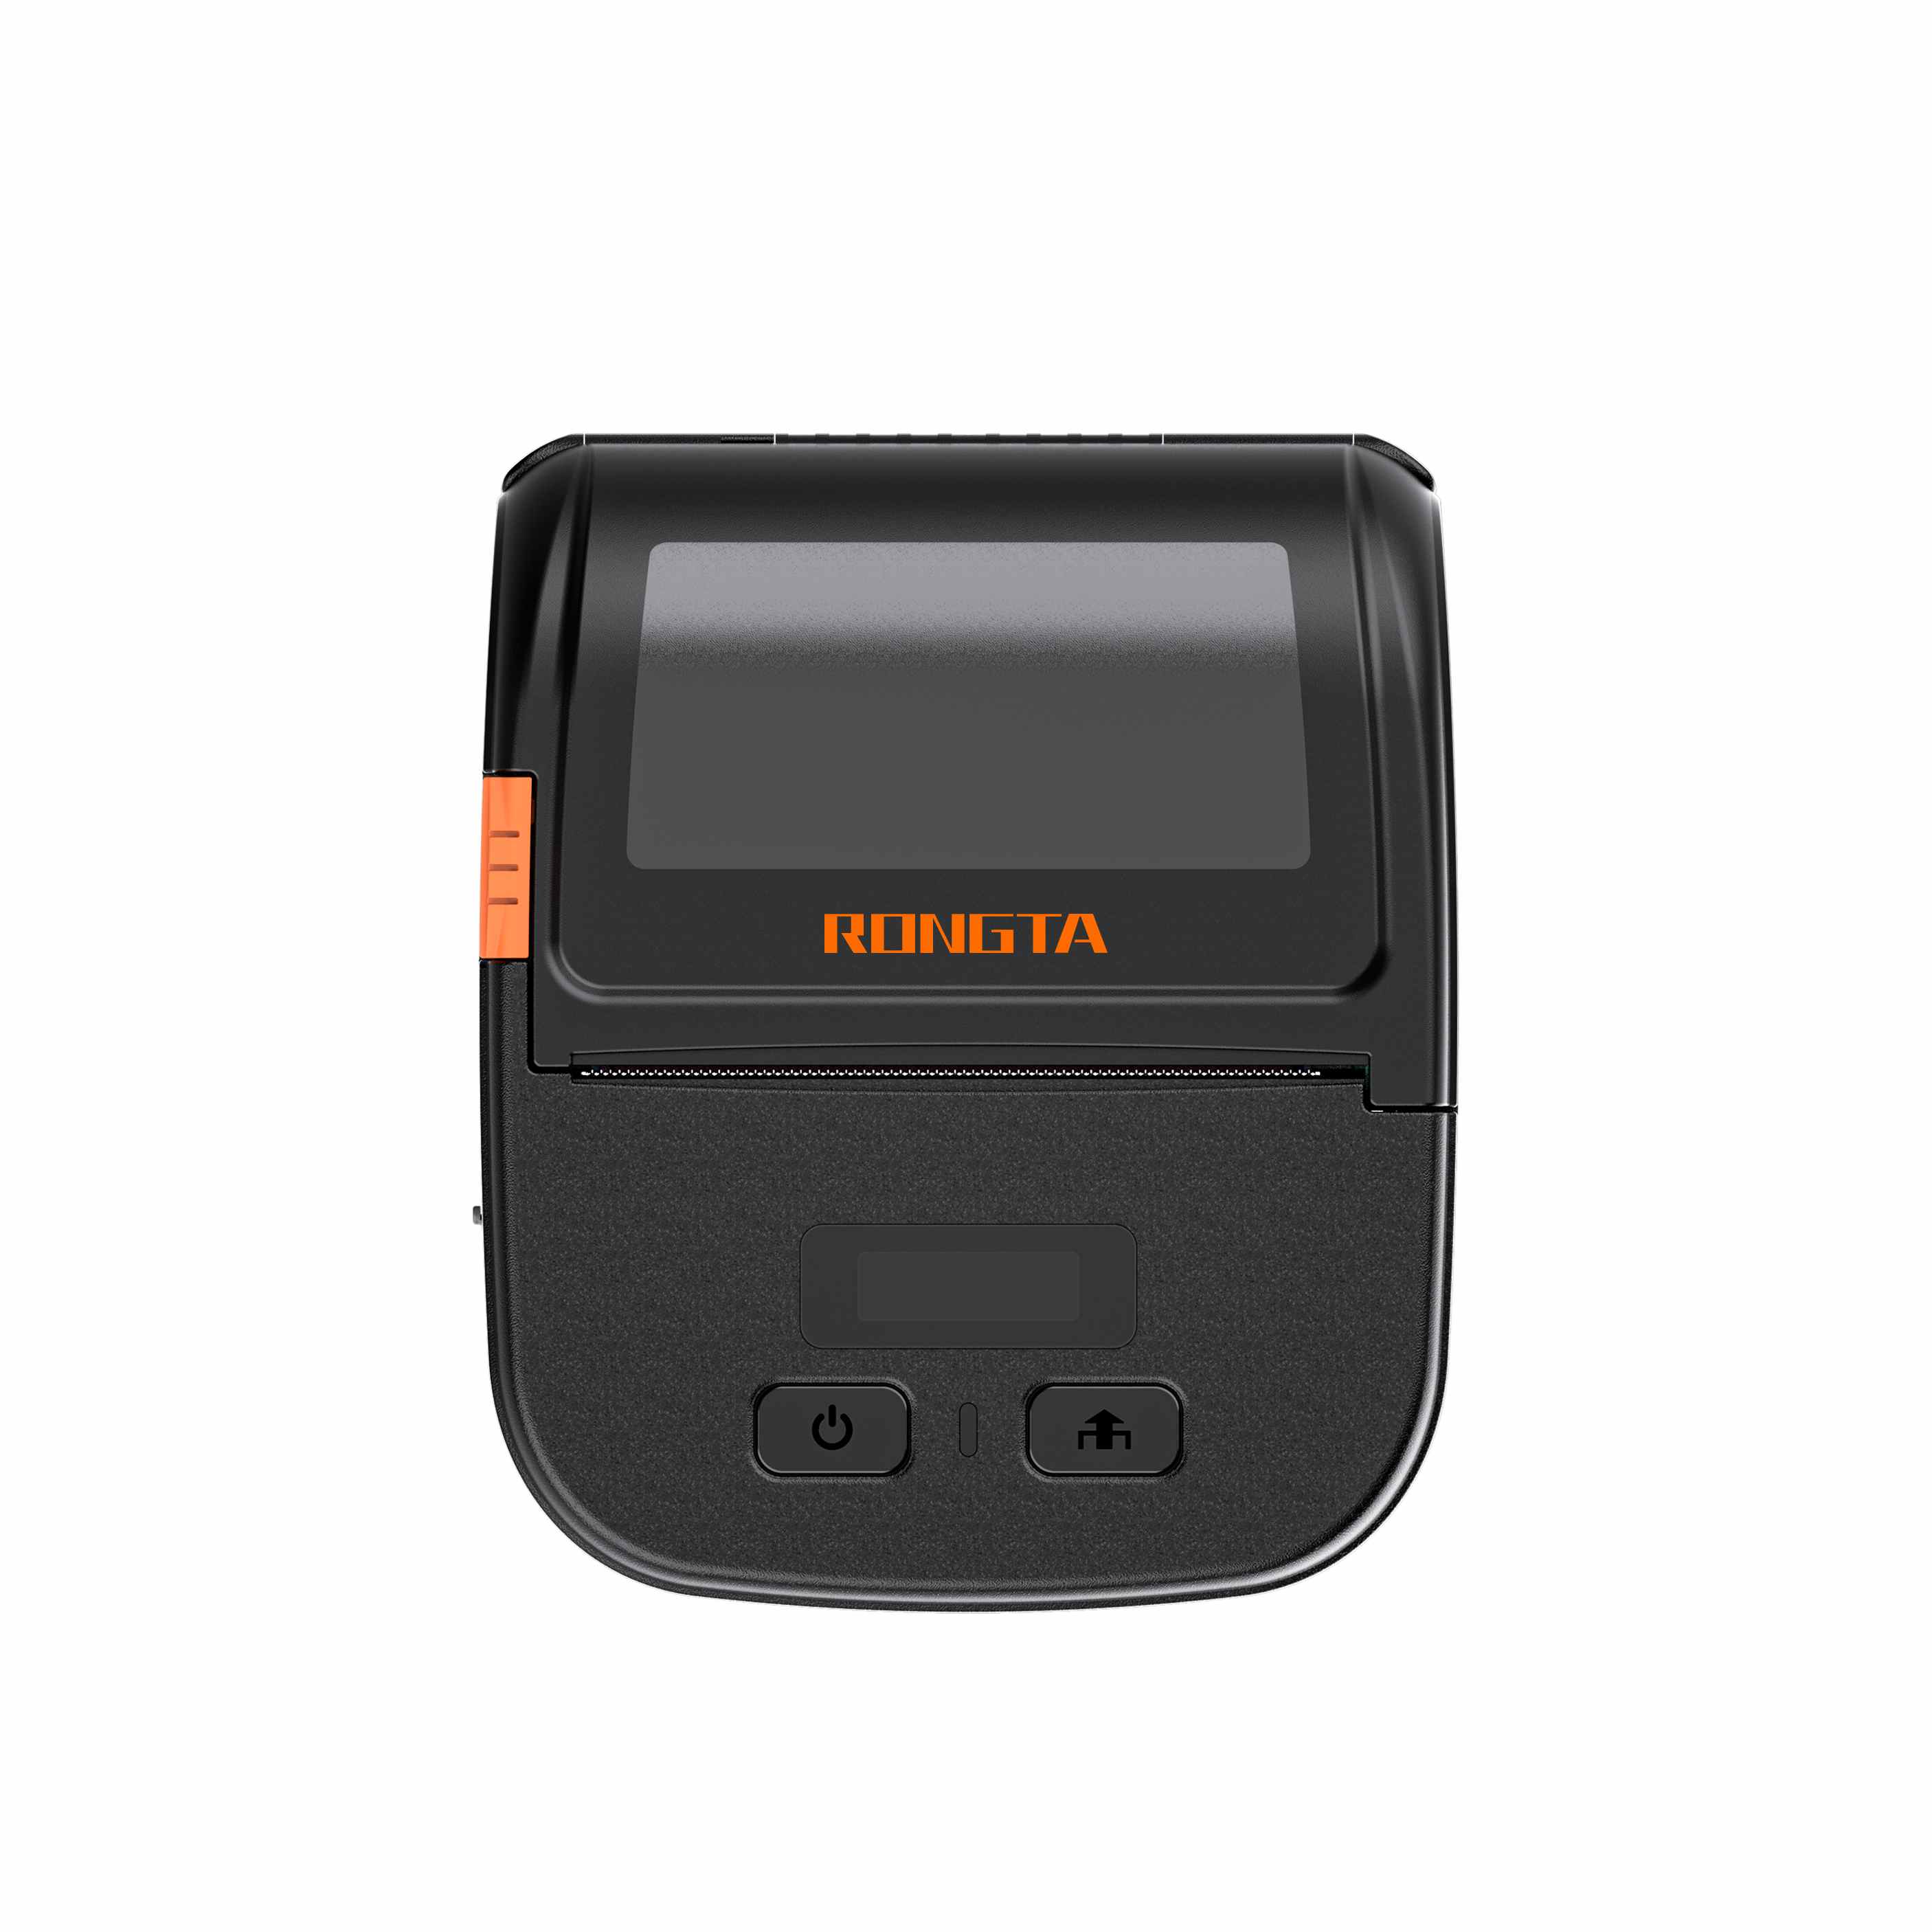 RPP30 3" Portable Label Printer
 ACE M1 2" Portable Label Printer
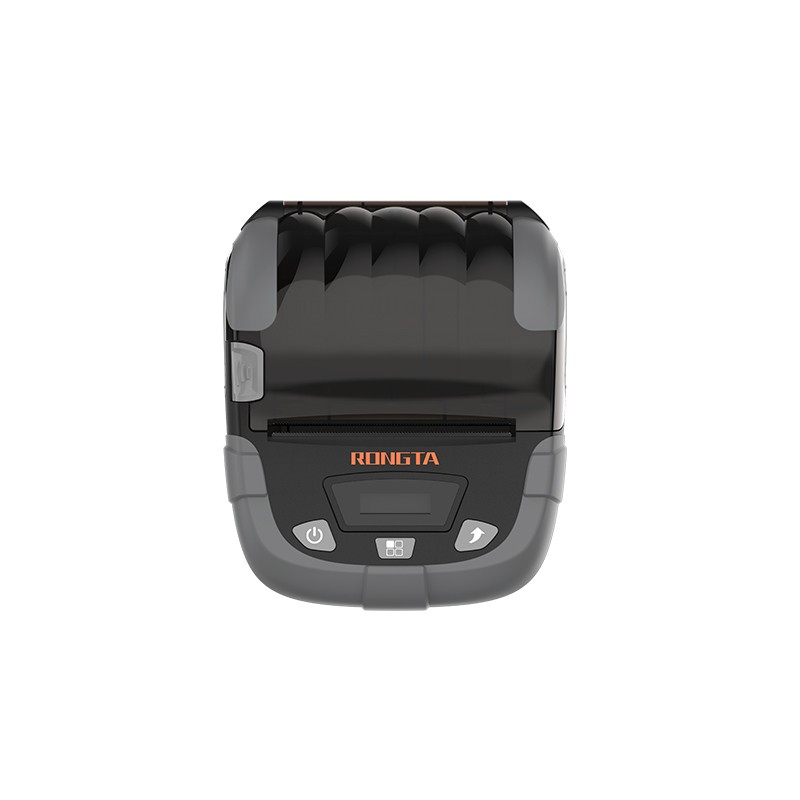 RPP320N 3" Portable Label Printer
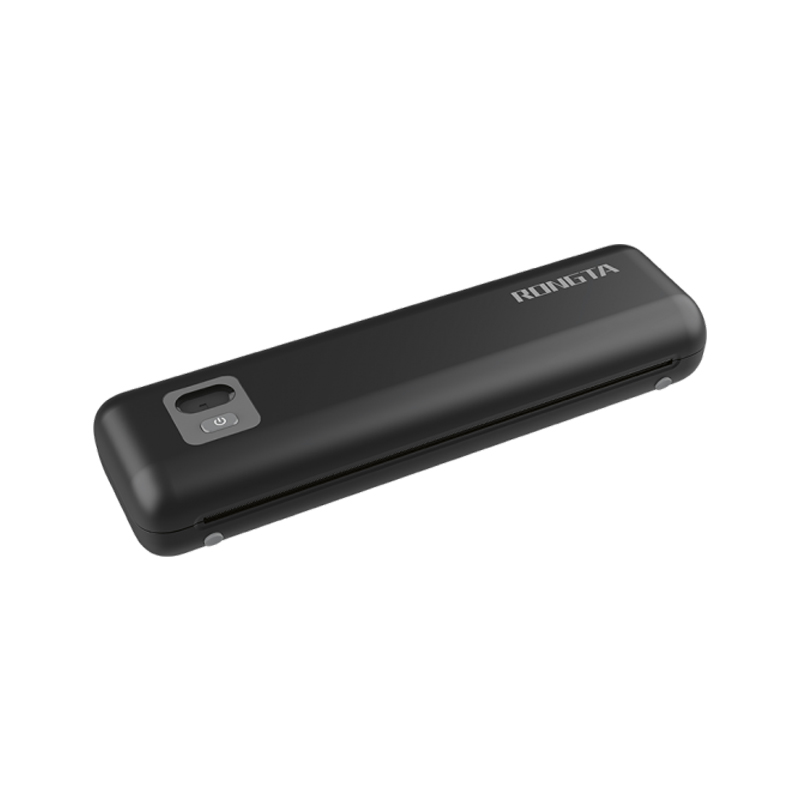 F82A A4 Front-Out Paper Tray Thermal Printer
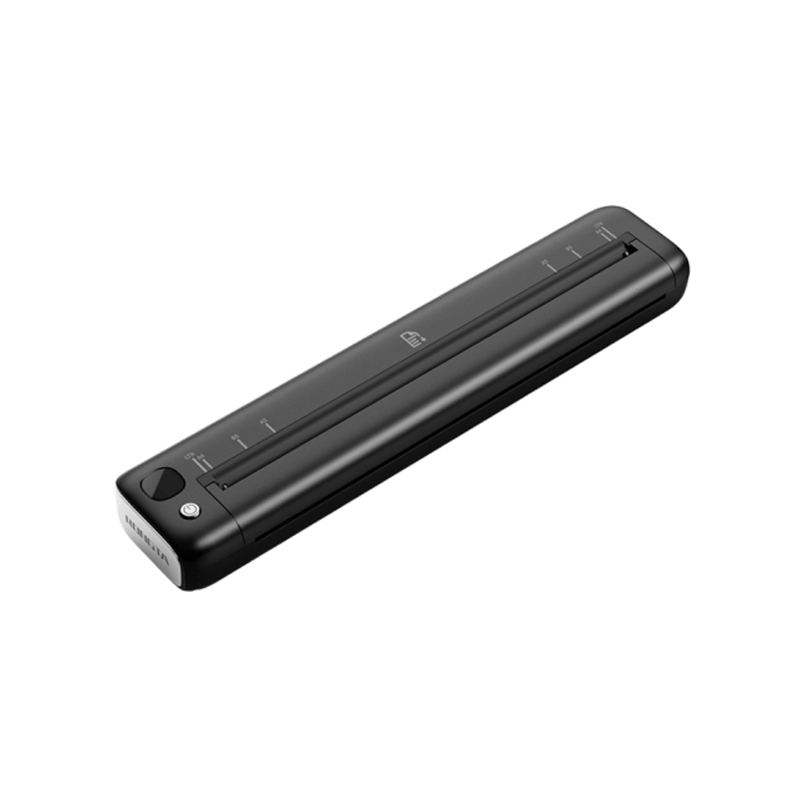 F81A Portable A4 Thermal Printer
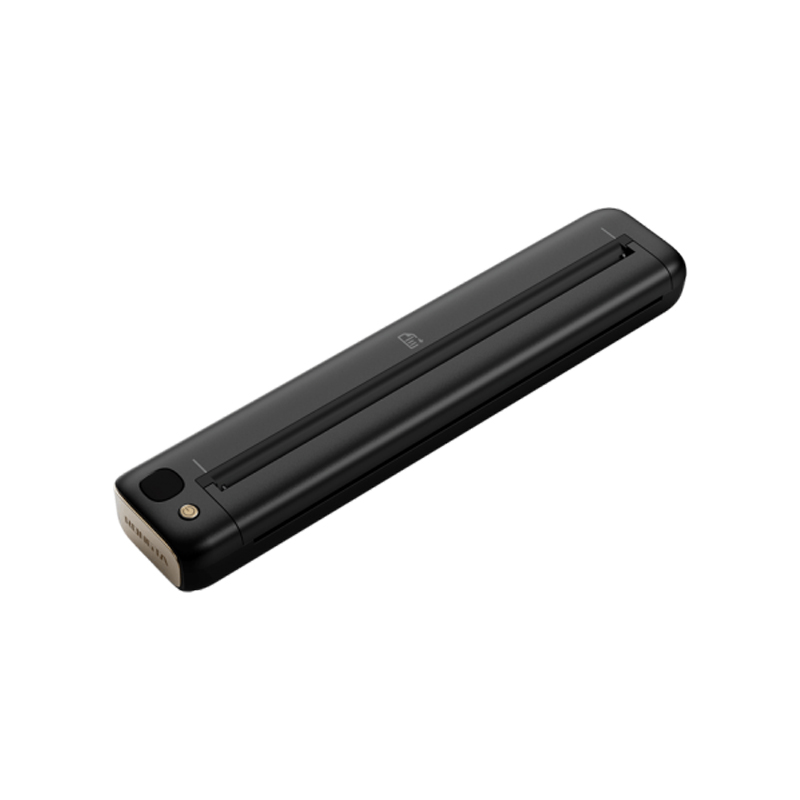 F81S Portable A4 Tattoo Printer
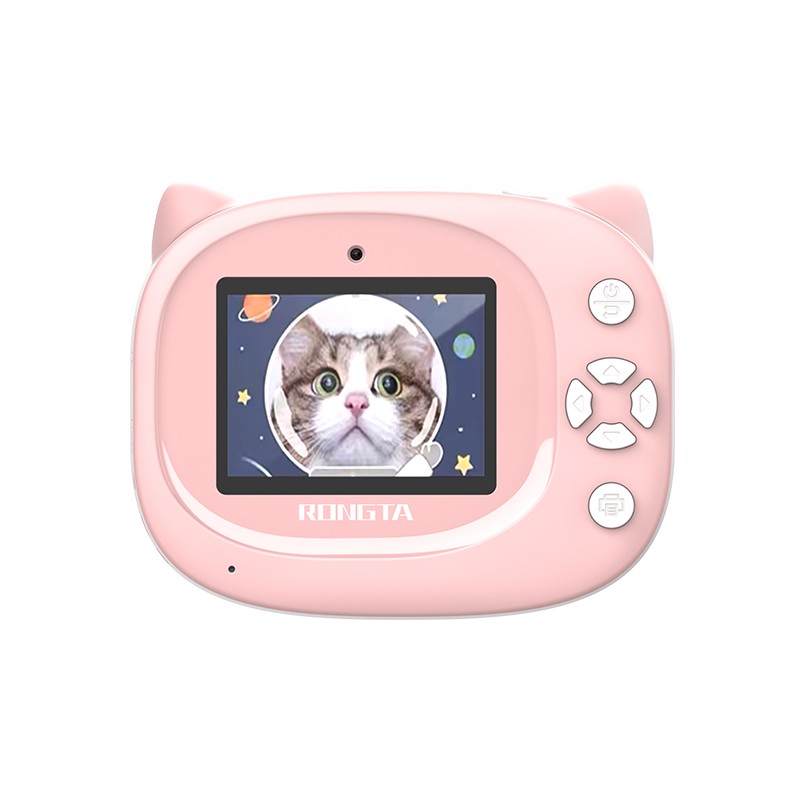 Z1 Children's Educational Photo Printer
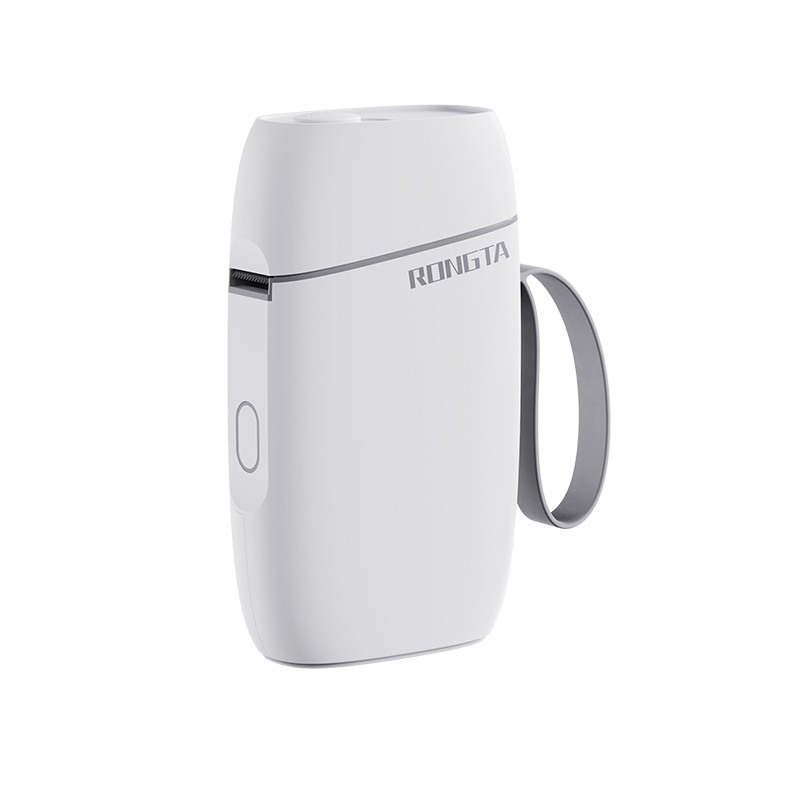 R5 Mini Label Printer
 RP07 58mm Embedded Printer
 RP203 58mm Embedded Printer
 PM315 Embedded Thermal Printer
 PM201 48mm Printing Module
 PM628 58mm printing module
 PM532A Printing Module
 PM532B printer module
 LS015/LS015A Barcode Scale
 RLS1815D/RLS1830D Barcode Scale
 RLS1815C/RLS1830C Barcode Scale
 AURORA S2L-S Labelless Scale
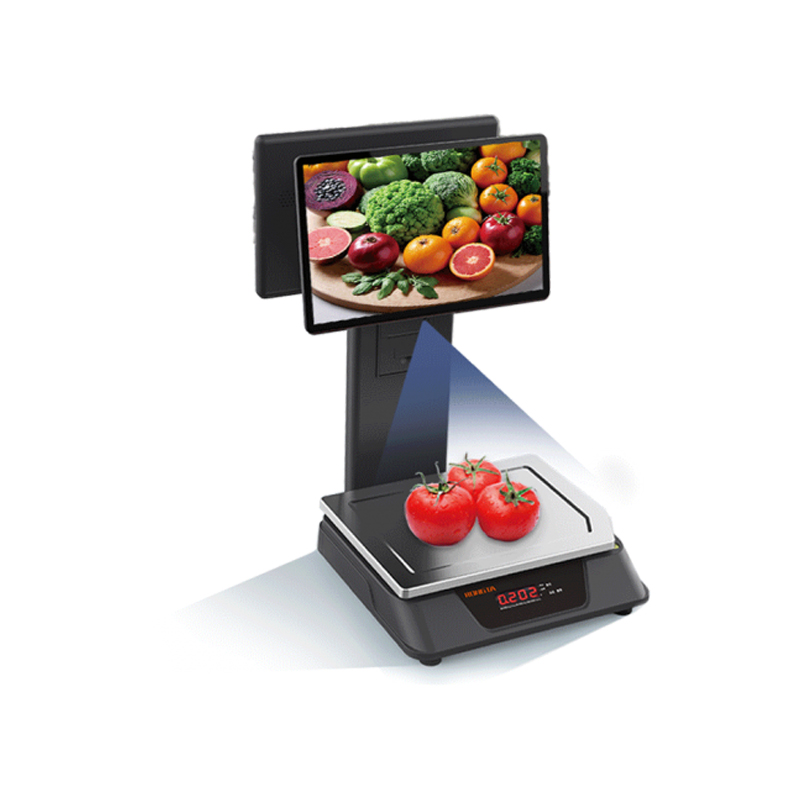 AURORA E1 PRO-AI Cash Register Scale
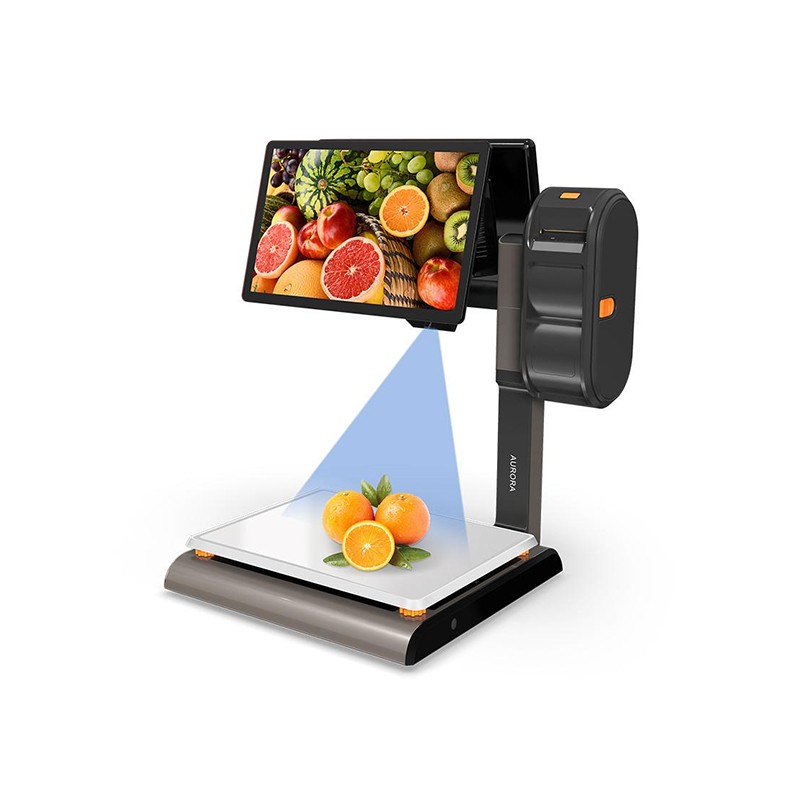 AURORA S2L-AI Label Scale
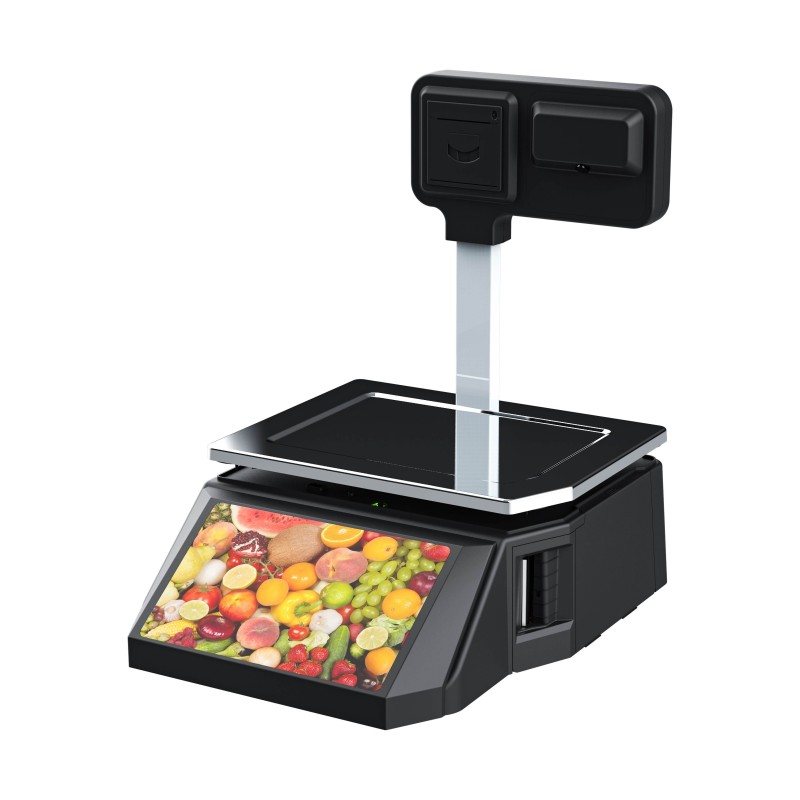 DP01-AI Smart Tag Cashier Dual-Use Scale
 C3 Weighing Scale
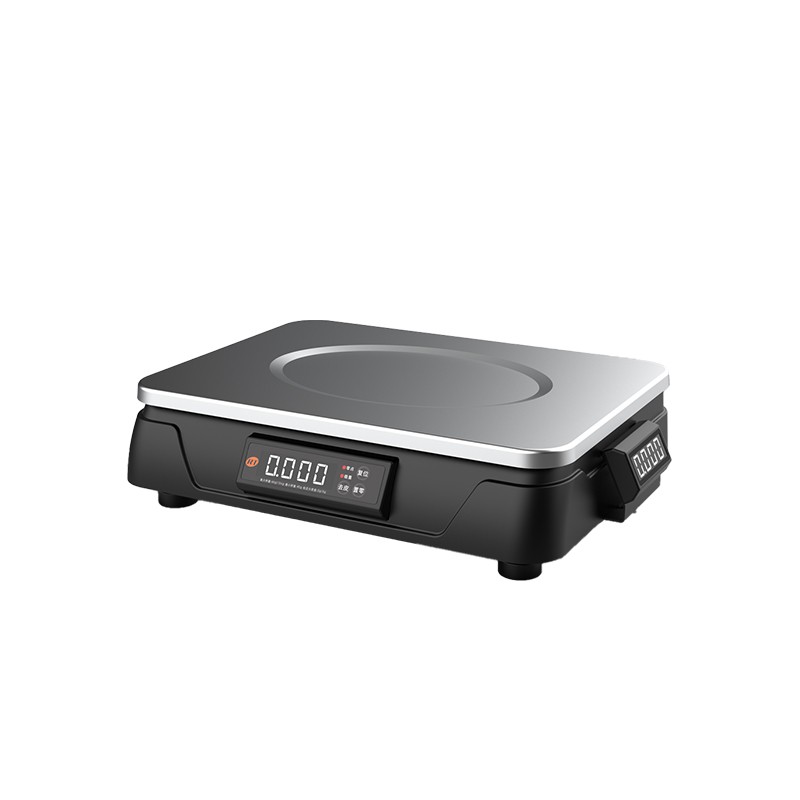 C1 weighing scale
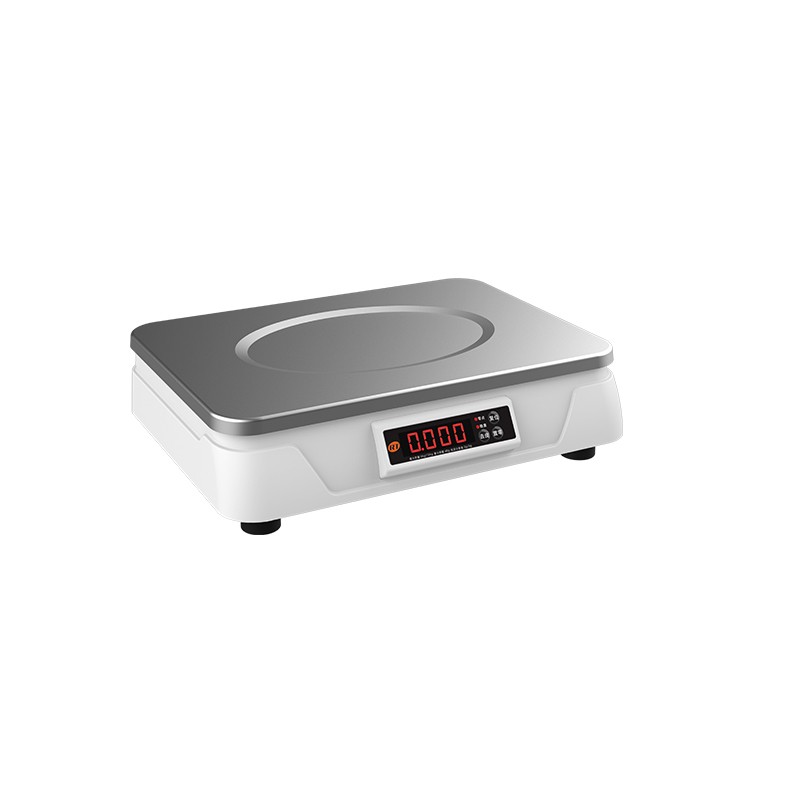 C11 Weighing Scale
 retail
 FOOD
FOOD Medical
 Mobile office/home
 asset Management
 logistics
 Driver download
 User Manual
 Tool Download
 Tag software
 Product Video
 Development Documentation
 Frequently Asked Questions
 User Guide
 Company News
 Exhibition Updates
 Industry Insights
 Product Update
 General situation
 Development history
 Honors and Qualifications
 R&D strength
 Team activities
 Social responsibility


RPP322N-cs
?
SF Express RPP322N-FAQ
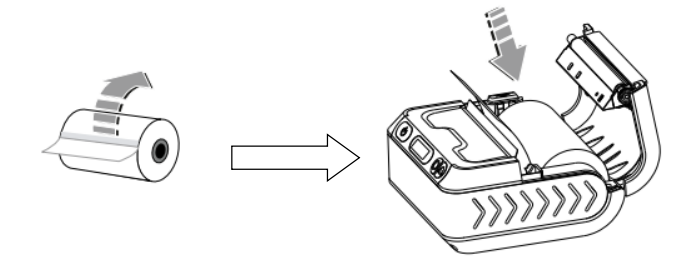
1.1 RPP322N Quick Installation
2. Button and Function Description
?
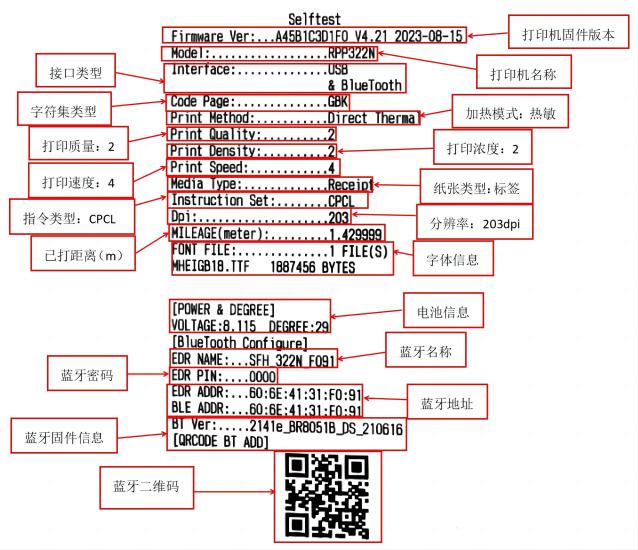
2.2 Self-test page information
3. Common problems and their solutions
3.1 Printer paper feed abnormalities (white paper feed, incorrect paper tear position, etc.)
3.2 Printing errors (blank pages, unclear text, missing content, garbled characters, misalignment)
3.3 Unable to power on
3.4 Printer Malfunction Alarm
3.5 Bluetooth connection failed.
3.6 The printer is not printing.
3.7 Unable to charge
3.8 No button response
4. After-sales service and repair reporting methods
?
1. RPP322N Quick Installation
?
?
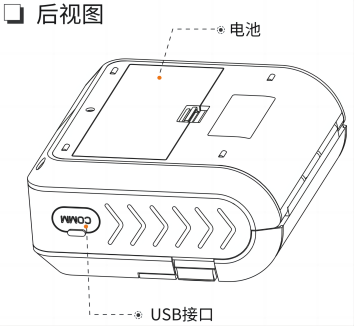
2. Button and Function Description
?
2.1 Buttons and their descriptions
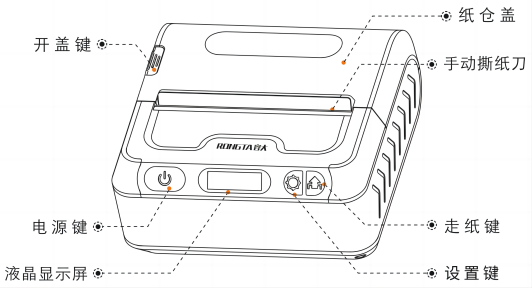
 ?
?

| Power on | Press and hold the printer power button for 3 seconds to turn on the printer. |
| Power off | When the printer is on, press and hold the power button for 3 seconds to turn it off. |
| Paper feed | A short press of the paper feed button feeds the paper about 10mm, while a long press feeds the entire sheet of paper. |
| Automatic sleep | When the printer is powered on10If there is no key press or data transmission within a few seconds, the printer will automatically enter sleep mode, and the screen will display as shown in the figure. |
| wake | When the printer is in sleep mode, press the power button., Set button, Paper feed buttonAlternatively, the printer can be woken up once it receives data. |
| Enter settings interface | In non-sleep mode, long press the settings button to enter the settings interface: ① Print self-test page ② Label type settings ③ Label learning ④ Print density settings ⑤ Print quality settings ⑥ Print speed settings ⑦ Buzzer settings ⑧ Paper feed switch settings ⑨ Paper feed with cover closed ⑩ Screen saver time settings?Language settings |
2.1 Self-test page information description
?
??
3. Common problems and their solutions
3.1 Printer paper feed abnormalities (white paper feed, incorrect paper tear position, etc.)
?
3.2 Printing errors (blank pages, unclear text, missing content, garbled characters, misalignment)
| Problems | Possible reasons | Solution |
| Print blank | 1. Paper is loaded backwards; 2. Non-thermal paper is being used; 3. Battery power is too low. | 1. Please install the paper correctly, then click "Install paper"Check the correct installation method;" |
| Unclear printing | 1. Dirty printhead; 2. Low battery; 3. Paper problem. | 1. Clean the printhead with a lint-free cloth, then click "Clean the print head1. Check the video; 2. Replace the battery or charge it; 3. Increase the printer's density and print quality. |
| Missing print content | 1. Dirty printhead; 2. Damaged printhead; 3. Software settings issue. | 1. Clean the printhead with a lint-free cloth, then click "Clean the print head"View the video; 2. Please contact after-sales service to replace the printhead, repair method"Click here to jump3. Please check the software settings. |
| Garbled characters in printing | 1. Software settings error; 2. Printer character set error; 3. Printer command error. | 1. Check software settings; the default printing command is CPCL. 2. 3. Use a tool to restore factory settings; click "..."Factory reset"View video;" |
| Print offset | 1. The paper size set in the software does not match the actual paper size. 2. The paper is not loaded correctly. | 1. Please check if the paper size settings in the software match the paper roll size in the printer. 2. You need to use a limit block to secure the paper roll. Click "..."Installation of different paper sizes"View video;" |
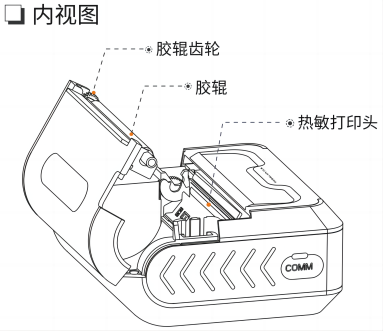
3.2.1 Correctly install the paper
?

3.2.2 Video on cleaning the printhead
?
3.2.3 Factory Reset Video
?
3.2.4 Installation video for different paper sizes
?
3.3 Printer fails to power on
| Problems | Possible reasons | Solution |
| The screen is not lit, but other functions are normal. | 1. Screen damage; 2. Battery power too low. | 1. Please contact after-sales service to replace the printhead. Repair method:Click here to jump2. Please replace the battery or recharge it; |
| The printer is not responding at all. | 1. Battery power is too low; 2. Printer is damaged. | 1. Please replace the battery or recharge it; 2. Please contact after-sales service to replace the printhead. Repair method:Click here to jump”; |
?
3.4 Printing error alarm
| LCD screen display | Solution |
| Please fill the printer paper. | Replace with a new paper roll. |
| Please close the paper tray lid. | Close the paper tray cover. |
| No sewing label detected | ① Install label paper or express waybill paper; ② Relearn the label, click "Tag learning"View video." |
| Low battery, please charge. | ① Please check the battery level; ② Check if the battery is malfunctioning. |
| Please relearn. | After reinstalling the paper and confirming correct installation, re-learn the labeling process by clicking "".Tag learning"View video." |
| printer overheating | Turn off the printer and let it sit for a while before using it. |
?
3.5 Bluetooth connection failed.
?
As shown in the image below, the printer's Bluetooth name is displayed on the LCD screen, and the default password is [password information missing].0000For detailed connection instructions, please refer to the video below:
?
?
3.6 The printer is not printing.
| Problems | Possible reasons | Solution |
| The self-test page can be printed. | Software settings issue | Please check your software settings. |
| The self-test page also cannot be printed. | 1. Battery power is too low; 2. Printer is damaged. | 1. Please replace the battery or recharge it; 2. Please contact after-sales service to replace the printhead. Repair method:Click here to jump”; |
| To print a self-test page: ① Press and hold the printer settings button to enter the settings menu; ② Select "Print Self-Test Page"; ③ Press the paper feed button once, and the printer will print the self-test page. Click "..."Video of printing self-test page"Jump; | ||
?
3.7 Unable to charge
| Problems | Possible reasons | Solution |
| Unable to charge | 1. The battery contacts are dirty. 2. One of the following is damaged: battery, USB cable, or printer.
| 1. Please clean the battery. For your safety, please wear insulated gloves during operation; 2. Replace parts or check the printer for abnormalities. Repair method:Click here to jump”; |
?
3.8 No button response
| Problems | Possible reasons | Solution |
| One or all of the printer's buttons are unresponsive. | 1. Printer program stuck; 2. Keypad damaged. | 1. Use the tool to restore factory settings, click "Factory reset"View video; 2. Needs to be sent back for repair, repair method"Click here to jump”; |
?
4. After-sales service and warranty methods
4.1After-sales service hotline: If the equipment malfunction cannot be resolved using the above methods, please call the after-sales service hotline for consultation.400-800-0596。
?
4.2Equipment repair by mail: If the problem cannot be resolved online or the hardware is damaged, the person responsible for the equipment can contact Fengsheng.To report a repair request from Fengyuan (New Materials E+ → My → Asset Repair → Select the asset to be repaired → Click "Report Repair"), the system will automatically issue a call approximately 5 minutes after successful submission. The equipment can then be shipped out. The repair status can be viewed in the asset repair processing interface.
?