 80mm Receipt Printer
 ACE H2 Receipt Printer
 RP337 Receipt Printer
 RP336S Dual-Color Receipt Printer
 RP350 Receipt Printer
 RP582 Receipt Printer
 RP581 Receipt Printer
 ACE G1Y Receipt Printer
 ACE G1YP Cloud Printer
 RP216 2'' Dual-color High-definition Label Printer
 ACE V1S 3'' Backless Label Printer
 RP310D 3'' Dual-color Label Printer
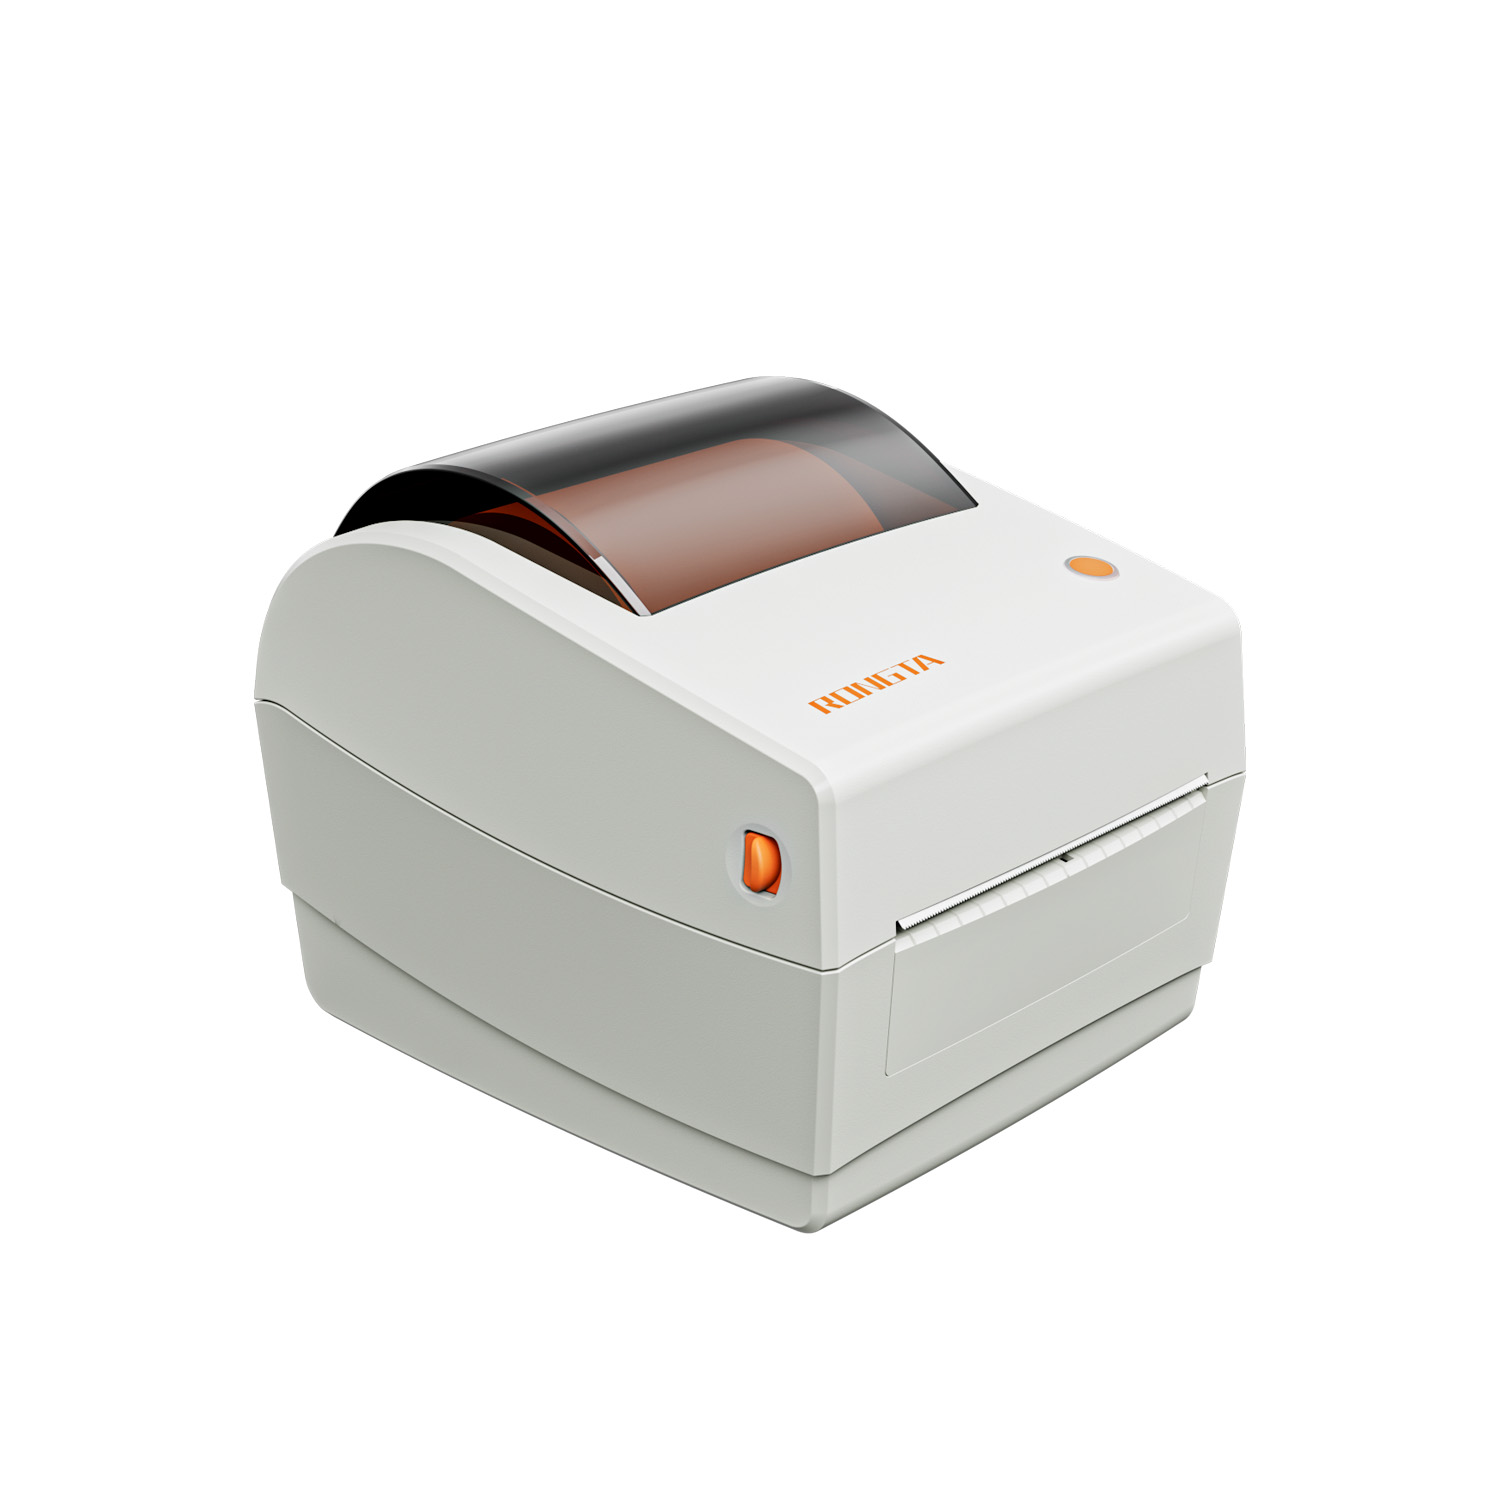 RP410N 4'' Thermal Label Printer
 RP425 4'' Electronic Waybill Printer
 RP422 4'' Electronic Waybill Printer
 RP421A 4'' Electronic Waybill Printer
 RP420 4'' Electronic Waybill Printer
 RI463 Series Barcode Printers
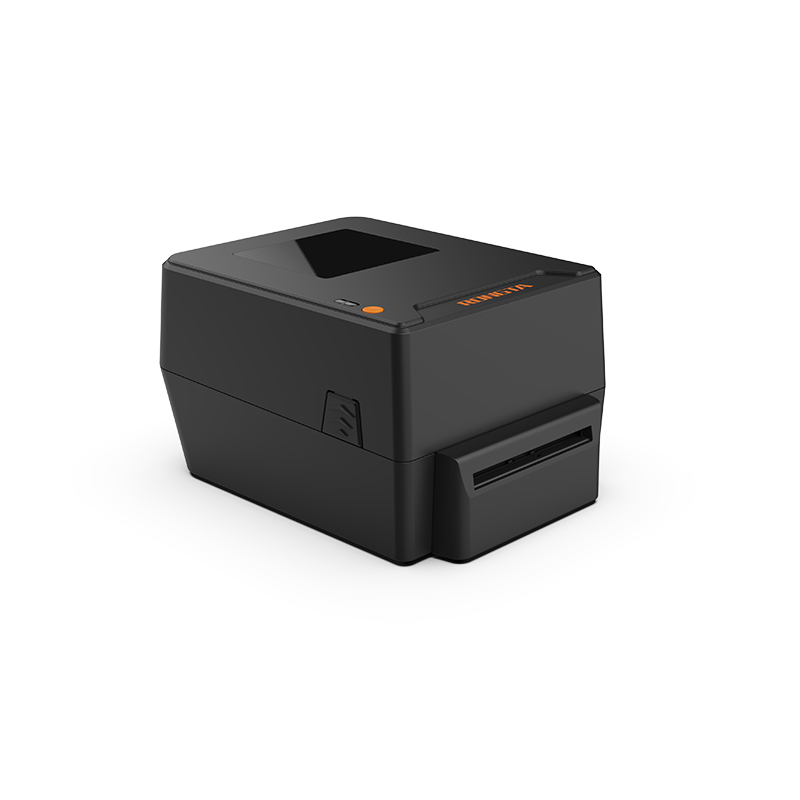 RP400A 4'' Thermal Transfer Tape Cutter Printer
 RP400H 4'' Thermal Transfer Tape Cutter Printer
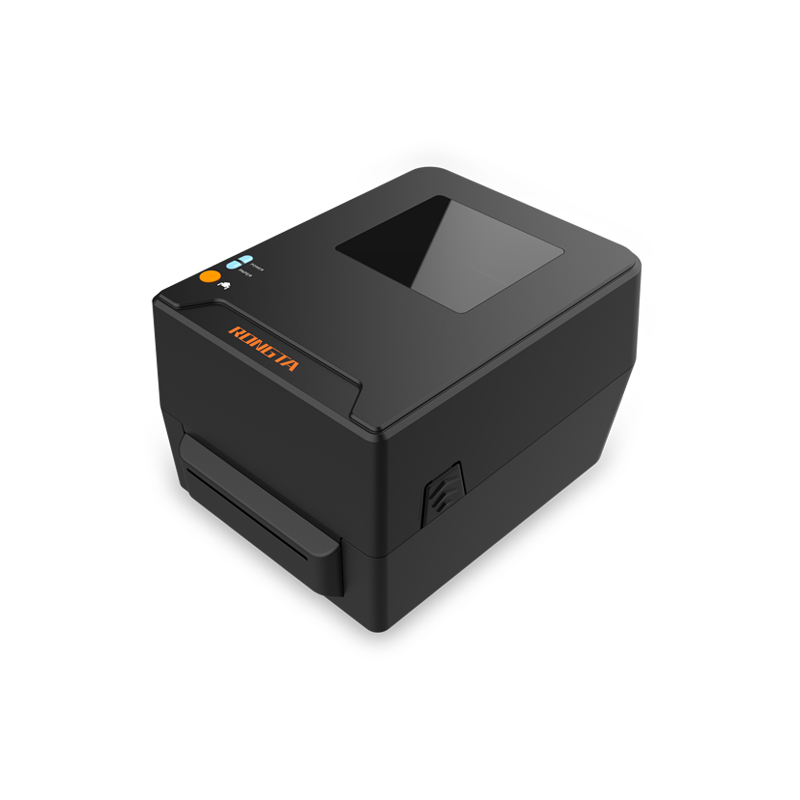 RPF413 300dpi RFID barcode label printer
 RPP02A Portable Receipt Printer
 RPP02B Thermal Portable Printer
 RPP02C Portable Receipt Printer
 RPP02D Thermal Portable Printer
 RPP04 4" Portable Label Printer
 RPP30 3" Portable Label Printer
 ACE M1 2" Portable Label Printer
 RPP320N 3" Portable Label Printer
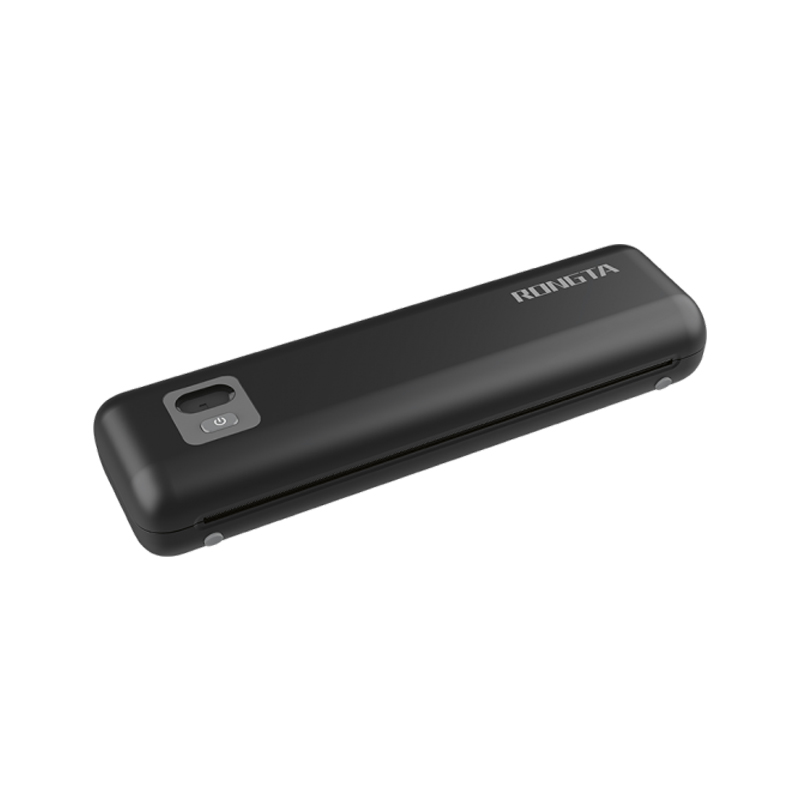 F82A A4 Front-Out Paper Tray Thermal Printer
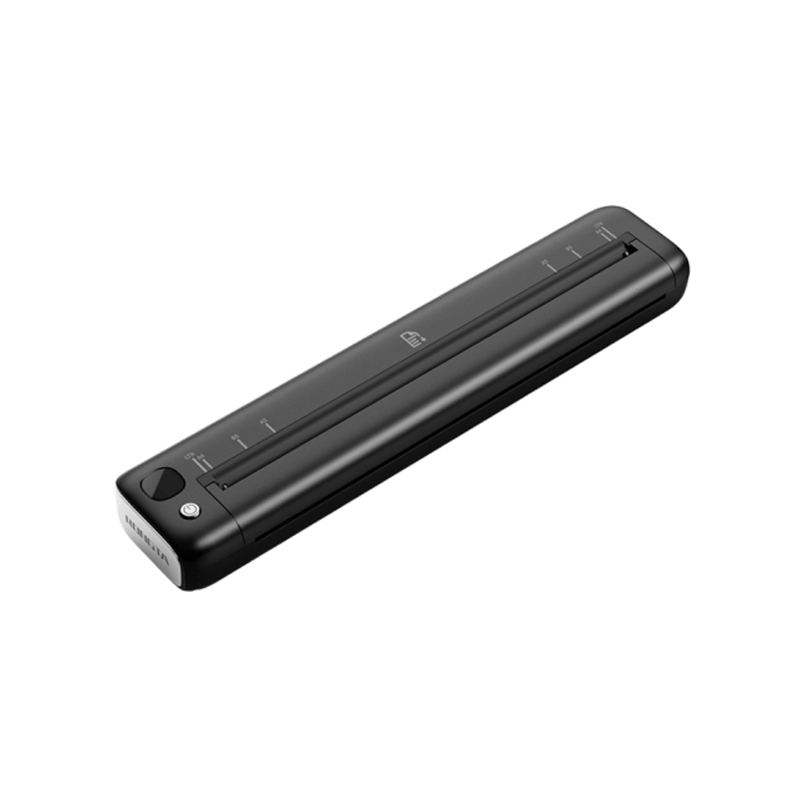 F81A Portable A4 Thermal Printer
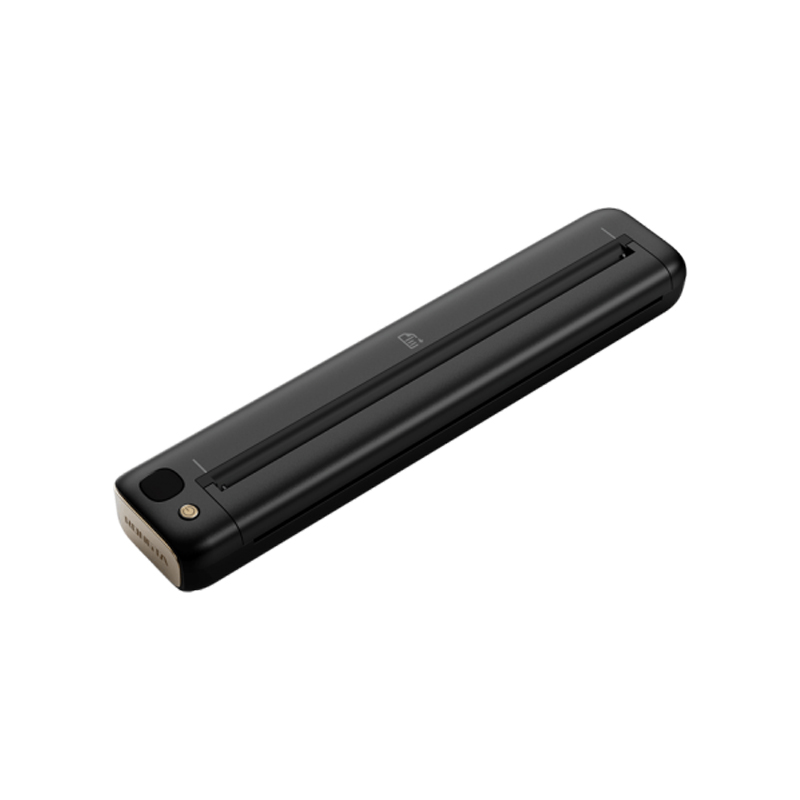 F81S Portable A4 Tattoo Printer
 Z1 Children's Educational Photo Printer
 R5 Mini Label Printer
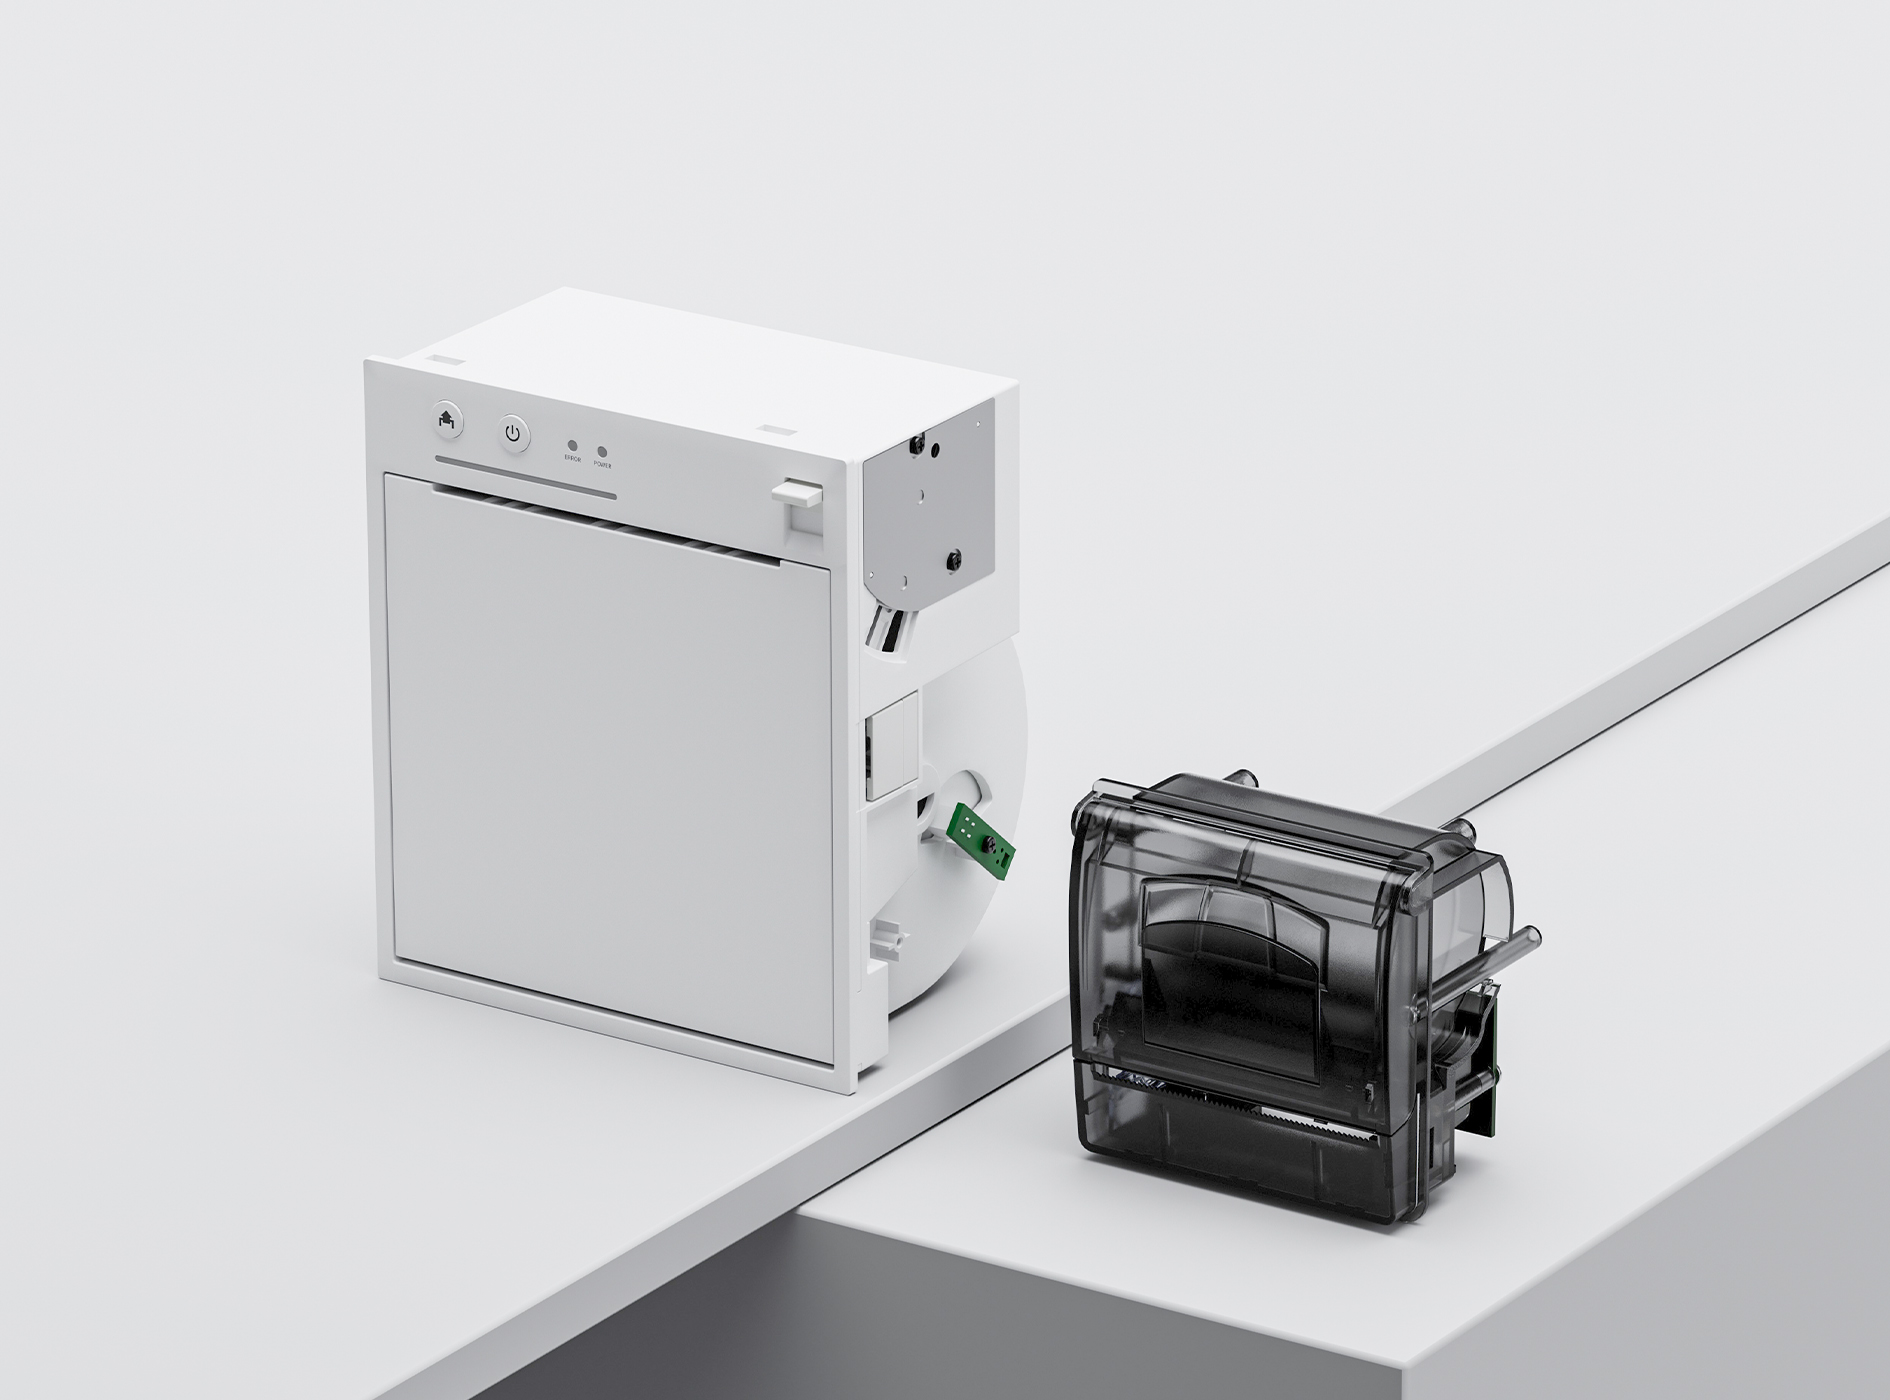
 RP07 58mm Embedded Printer
 RP203 58mm Embedded Printer
 PM315 Embedded Thermal Printer
 PM201 48mm Printing Module
 PM628 58mm printing module
 PM532A Printing Module
 PM532B printer module
 LS015/LS015A Barcode Scale
 RLS1815D/RLS1830D Barcode Scale
 RLS1815C/RLS1830C Barcode Scale
 AURORA S2L-S Labelless Scale
 AURORA E1 PRO-AI Cash Register Scale
 AURORA S2L-AI Label Scale
 DP01-AI Smart Tag Cashier Dual-Use Scale
 C3 Weighing Scale
 C1 weighing scale
 C11 Weighing Scale
 retail
 FOOD
FOOD Medical
 Mobile office/home
 asset Management
 logistics
 Driver download
 User Manual
 Tool Download
 Tag software
 Product Video
 Development Documentation
 Frequently Asked Questions
 User Guide
 Company News
 Exhibition Updates
 Industry Insights
 Product Update
 General situation
 Development history
 Honors and Qualifications
 R&D strength
 Team activities
 Social responsibility


Service Support
Rongda RP400 Thermal Transfer Label Printer LED Indicator Lights and Button Function Description
2026-01-13
RongdaRP400 Thermal Transfer Label PrinterLED indicator lights and button function descriptions
This printer has one button and one indicator light. Pressing the button or using the power switch in conjunction with the indicator light will activate multiple functions of the printer, such as: paper feed, pause printing, print self-test page, and initialize the printer. Please see the description below.
1. LED indicator lights
The LED indicator light is matched with the buzzer, as shown below:

2. General button functions
1) Paper feed
When the printer is ready (LED is fixed in blue), press a button and the label will move to the front of the next label.
2) Printing paused
If the printer is printing, pressing the FEED button once will pause printing. Simply press the button again to resume printing.
3. Power-on function
This printer has three power-on functions that can be used to configure or test the printer hardware. These functions are activated by pressing and releasing the power button while the printer is powered on.
Please follow these steps to enable the power-on function:

3.1 Carbon ribbon detection
This setting is used during printing to determine if the ribbon is installed, depleted, and functioning properly. This function requires thermal printing to be enabled.
3.2 Print the self-test page
This function displays the printer's internal parameters after the printer is turned on, allowing users to view the machine's settings and determine if the machine is functioning correctly.
Please follow these steps to calibrate the sensor on the label:
1) Please confirm that the label paper has been installed properly.
2) Turn off the printer.
3) Press and hold the paper feed button while turning on the printer.
4) Release the paper feed button when the printer feeds paper and prints content.
5) The printed content is the self-test page style.
Self-test page style
Before connecting the printer to the computer, it can print out a self-test value, which you can use to confirm whether the printer is functioning properly. The printed self-test value can be used to check the print quality of the print head and understand the internal settings of the printer.
3.3 Printer Initialization
The printer initialization function clears the downloaded files in the memory (DRAM) and restores the printer parameters to their factory settings.
Please follow these steps to initialize the function:
1. Turn off the power.
2. Open the printhead cover, press and hold the FEED button on the printer, then turn on the printer power and hold the FEED button for 10 seconds.
3. When all the printer indicator lights are off, release the FEED button. The printer will then restart, indicating that the printer initialization process is complete.
After initialization, the printer configuration will revert to the default settings as follows:
The printhead pressure is adjustable, located only below the ribbon recovery shaft at the top of the printhead. There are two adjustable levels. It is essential to ensure that the two levels are the same, otherwise the printing effect will be severely affected.