 80mm Receipt Printer
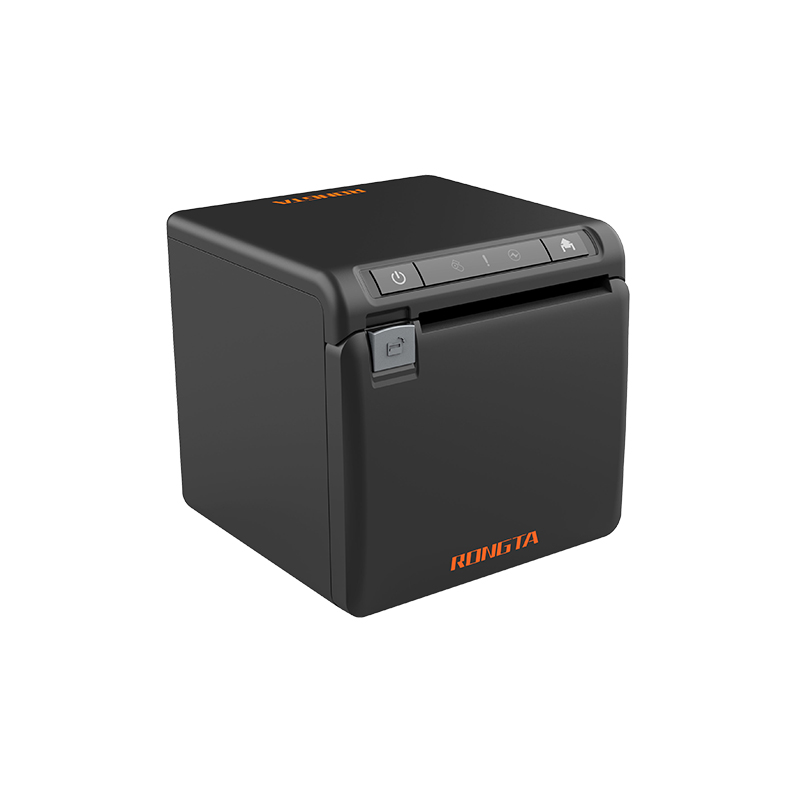 ACE H2 Receipt Printer
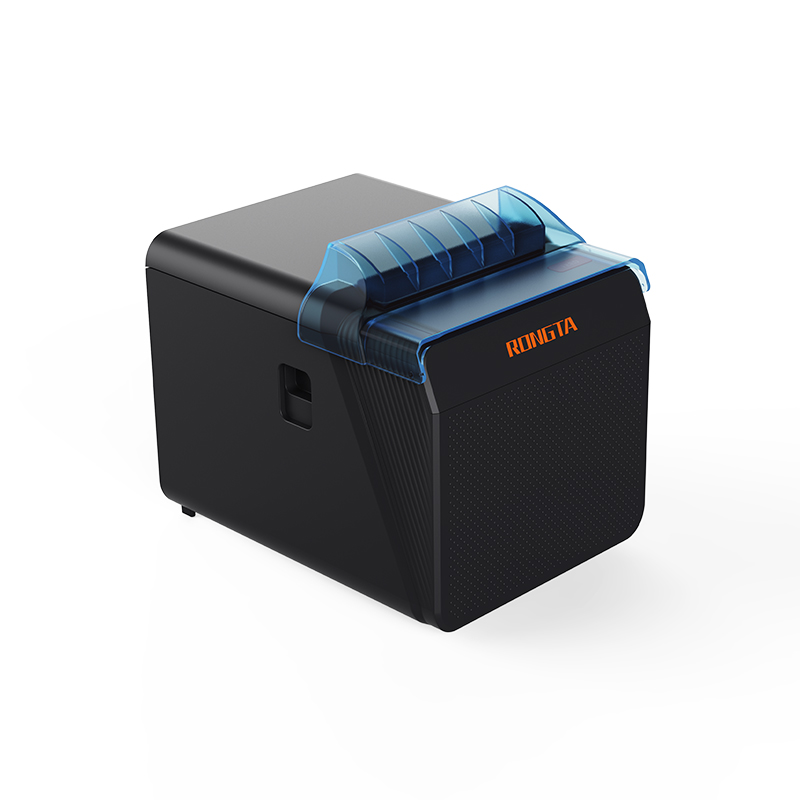 RP337 Receipt Printer
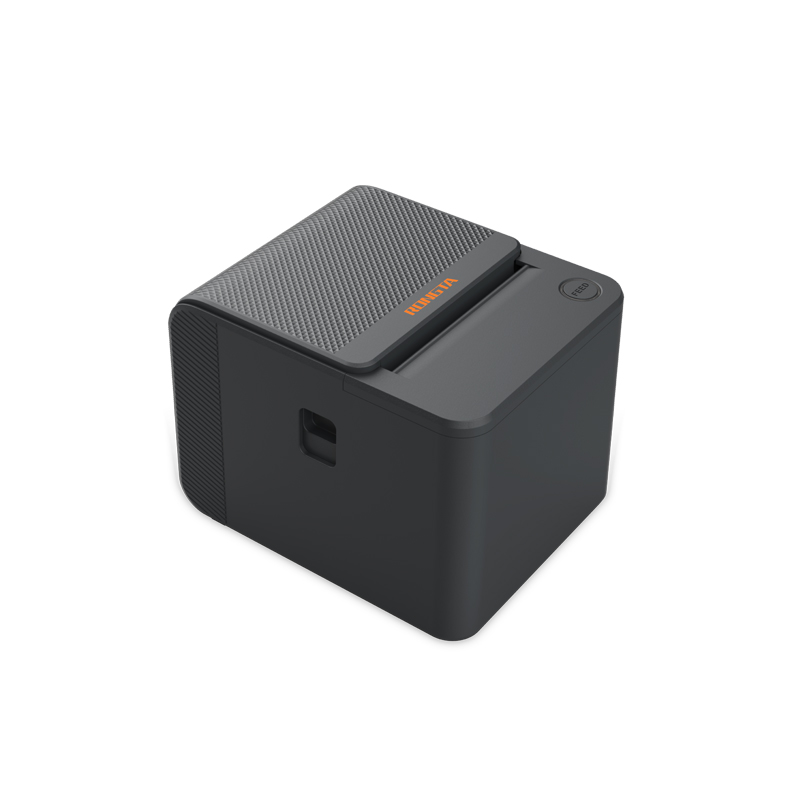 RP336S Dual-Color Receipt Printer
 RP350 Receipt Printer
 RP582 Receipt Printer
 RP581 Receipt Printer
 ACE G1Y Receipt Printer
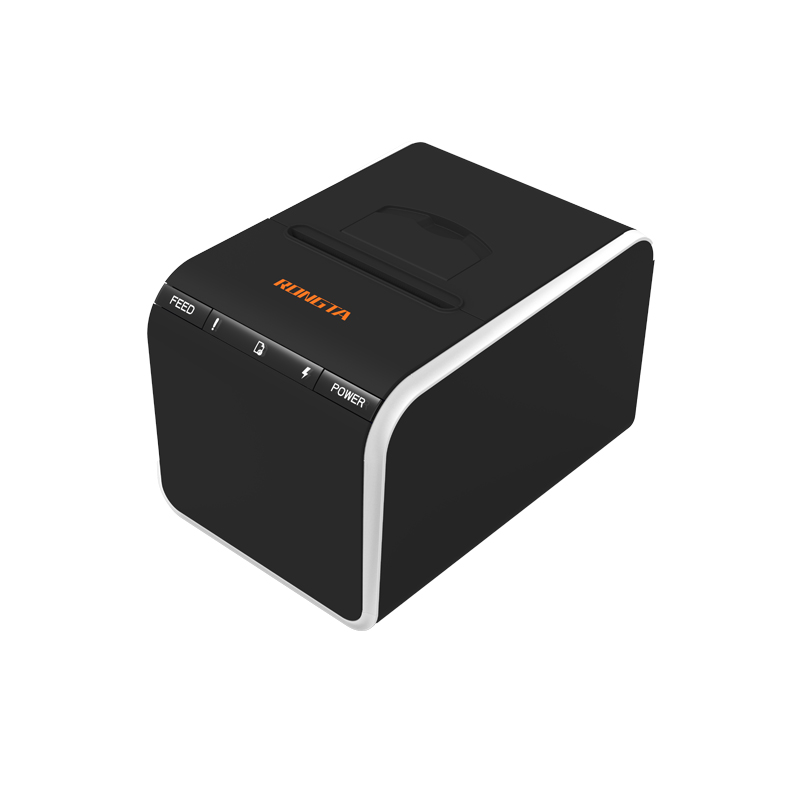 ACE G1YP Cloud Printer
 RP216 2'' Dual-color High-definition Label Printer
 ACE V1S 3'' Backless Label Printer
 RP310D 3'' Dual-color Label Printer
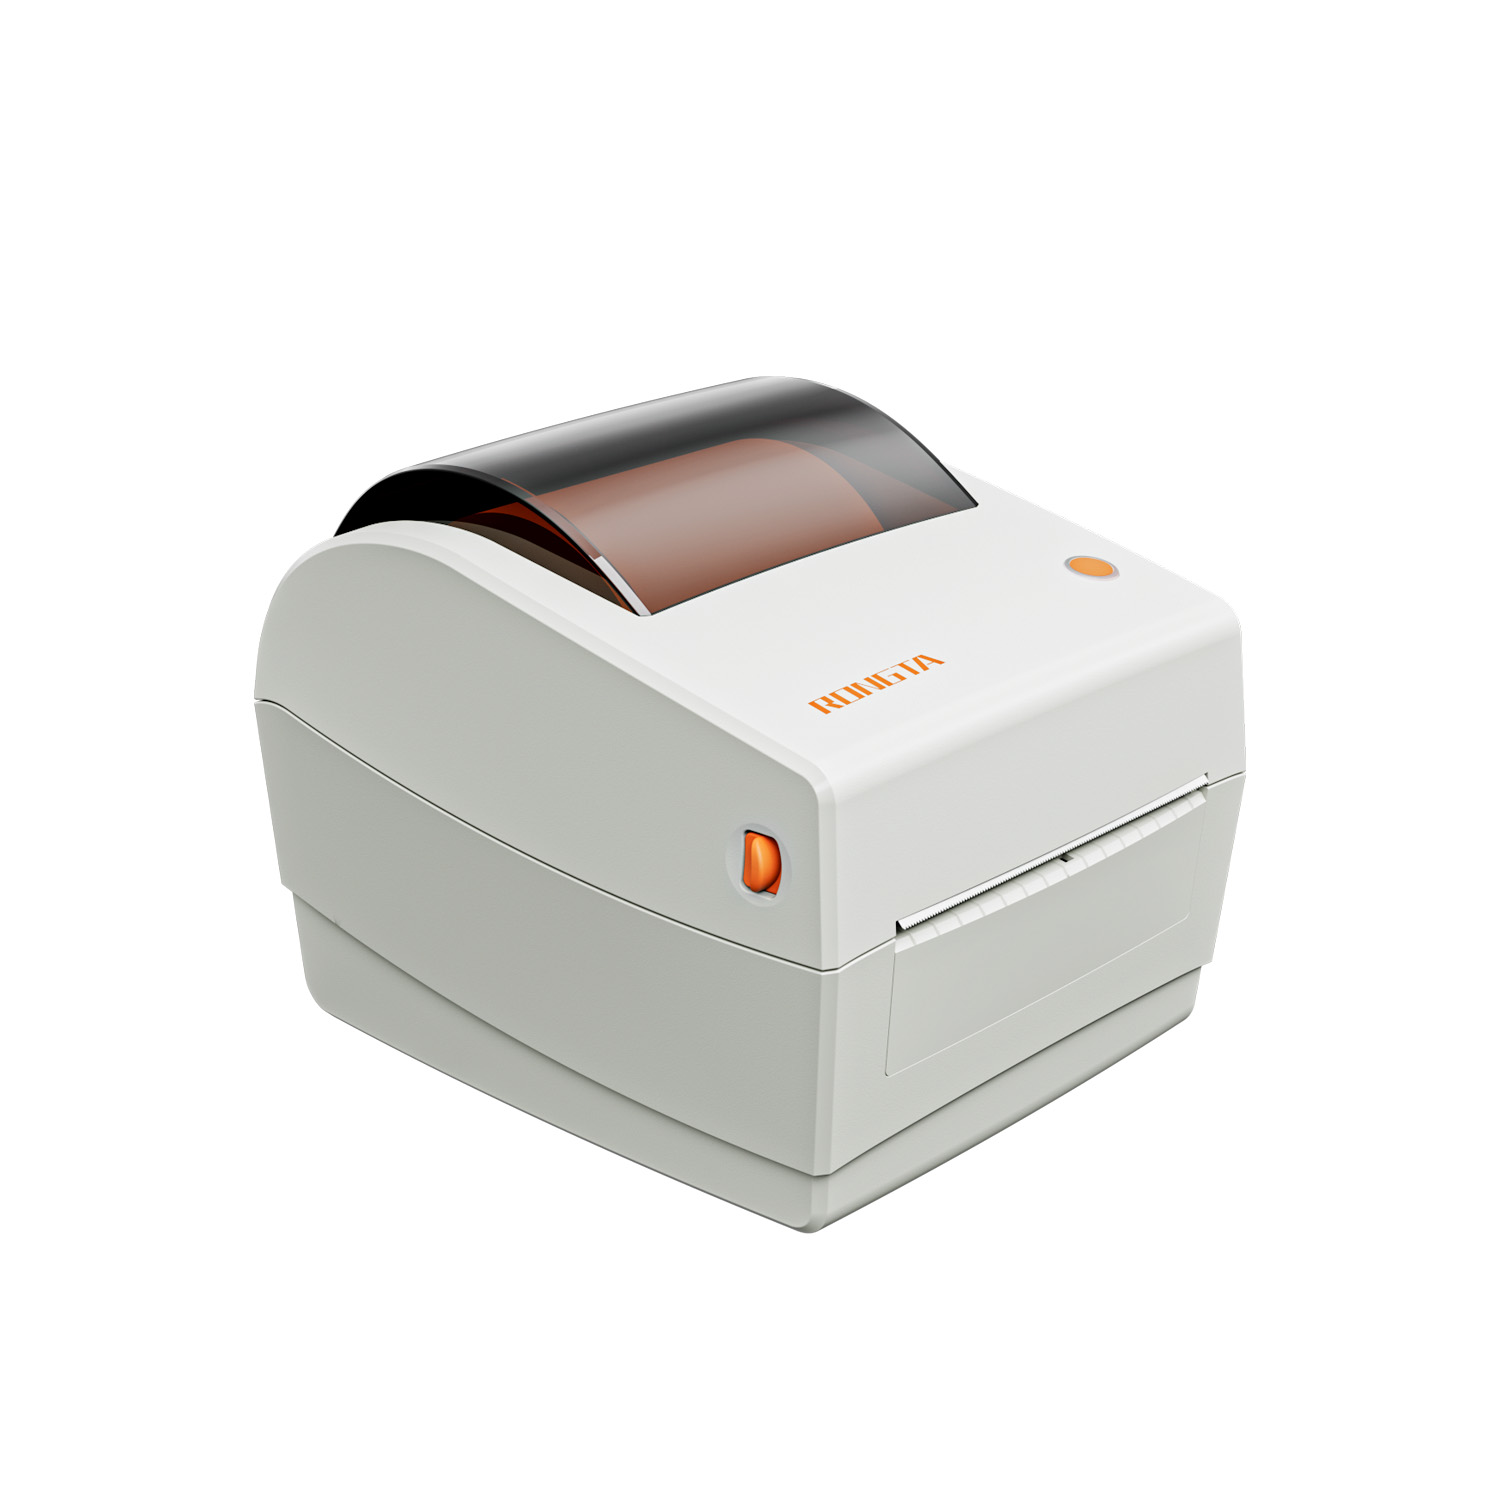 RP410N 4'' Thermal Label Printer
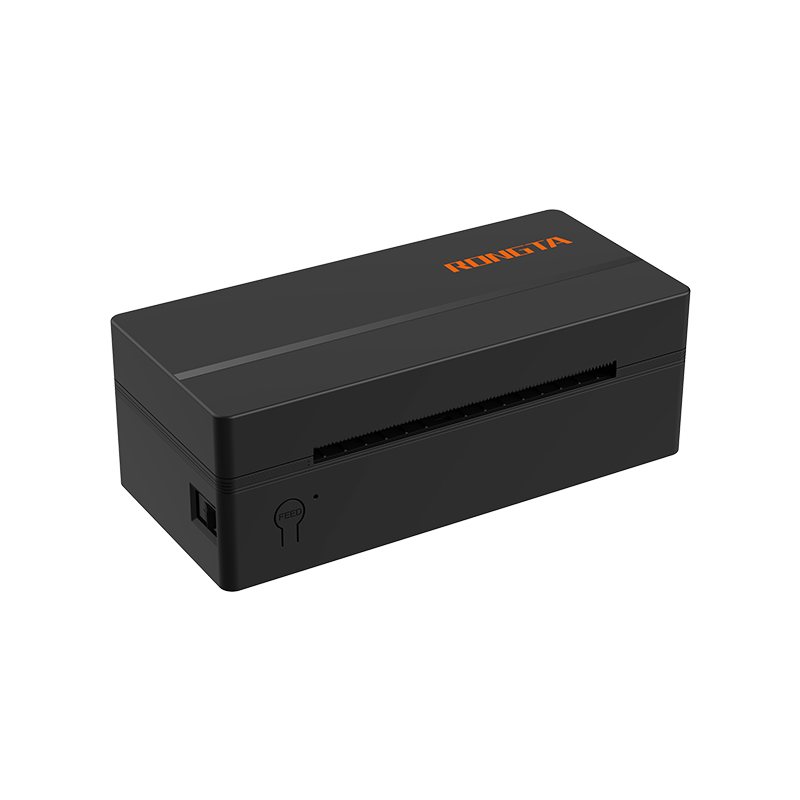 RP425 4'' Electronic Waybill Printer
 RP422 4'' Electronic Waybill Printer
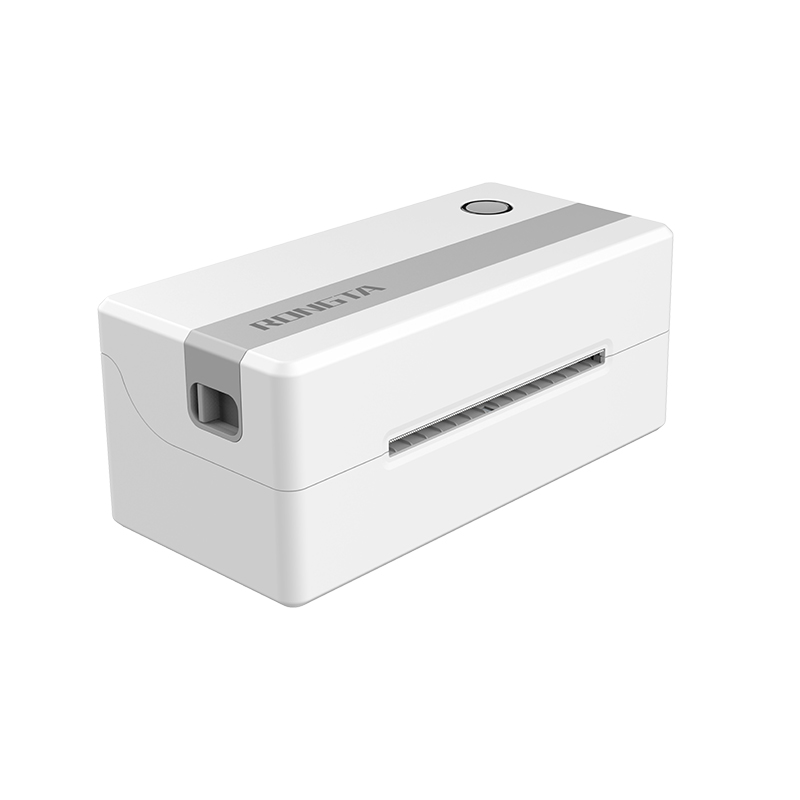 RP421A 4'' Electronic Waybill Printer
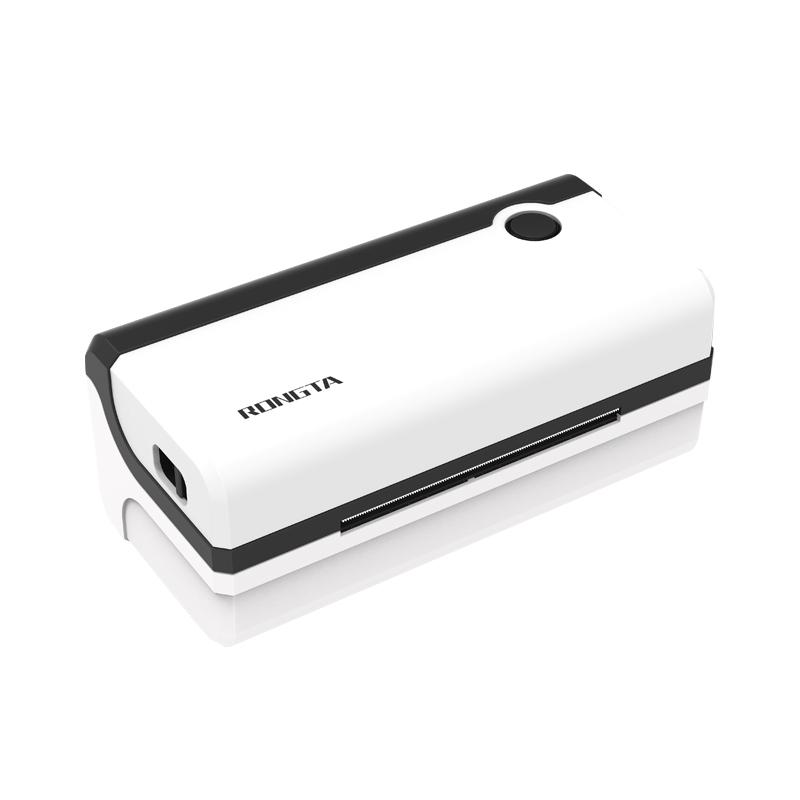 RP420 4'' Electronic Waybill Printer
 RI463 Series Barcode Printers
 RP400A 4'' Thermal Transfer Tape Cutter Printer
 RP400H 4'' Thermal Transfer Tape Cutter Printer
 RPF413 300dpi RFID barcode label printer
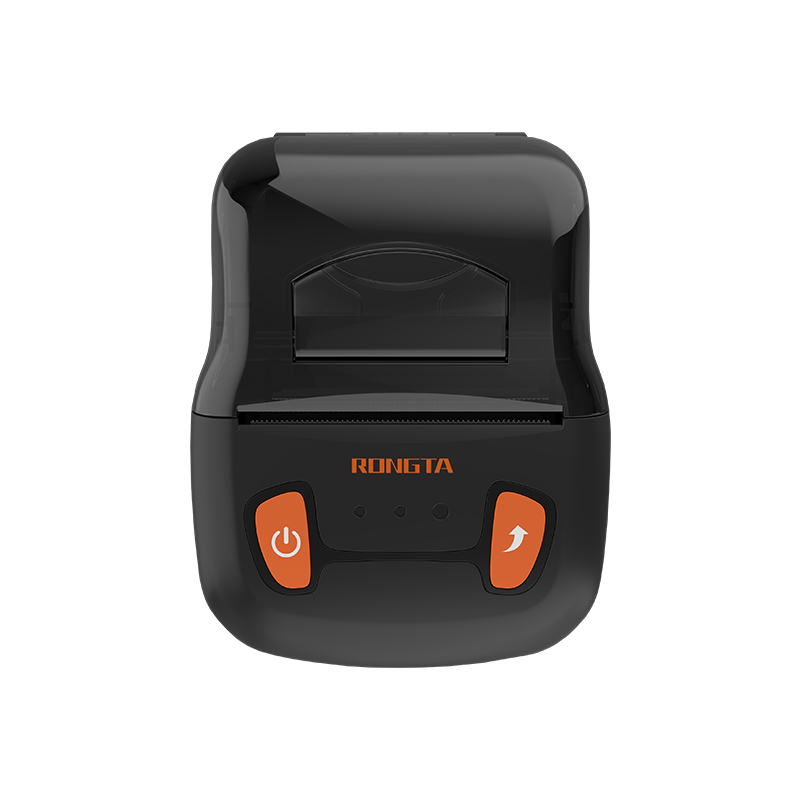 RPP02A Portable Receipt Printer
 RPP02B Thermal Portable Printer
 RPP02C Portable Receipt Printer
 RPP02D Thermal Portable Printer
 RPP04 4" Portable Label Printer
 RPP30 3" Portable Label Printer
 ACE M1 2" Portable Label Printer
 RPP320N 3" Portable Label Printer
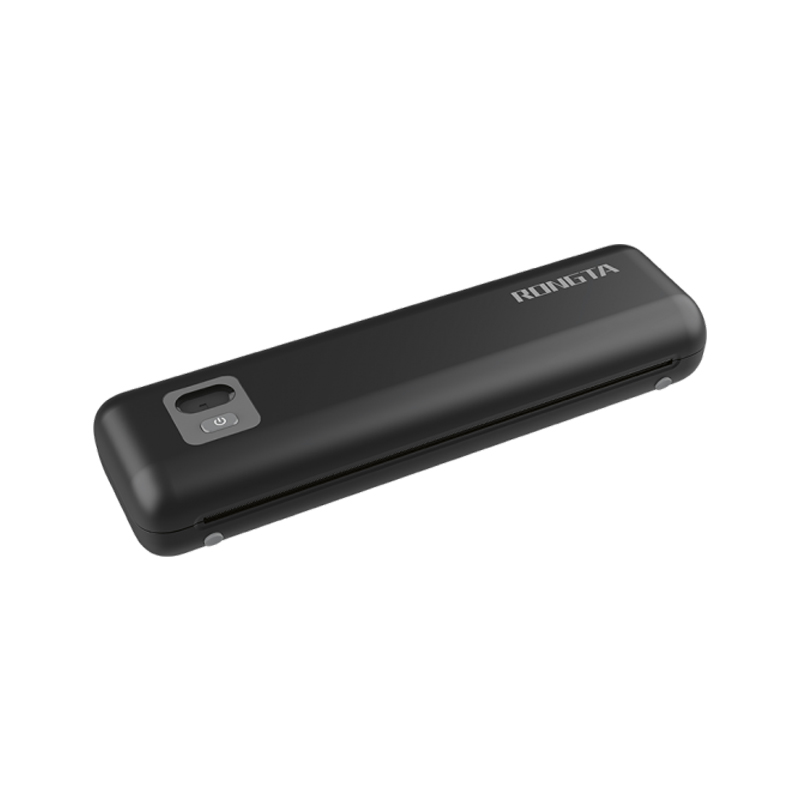 F82A A4 Front-Out Paper Tray Thermal Printer
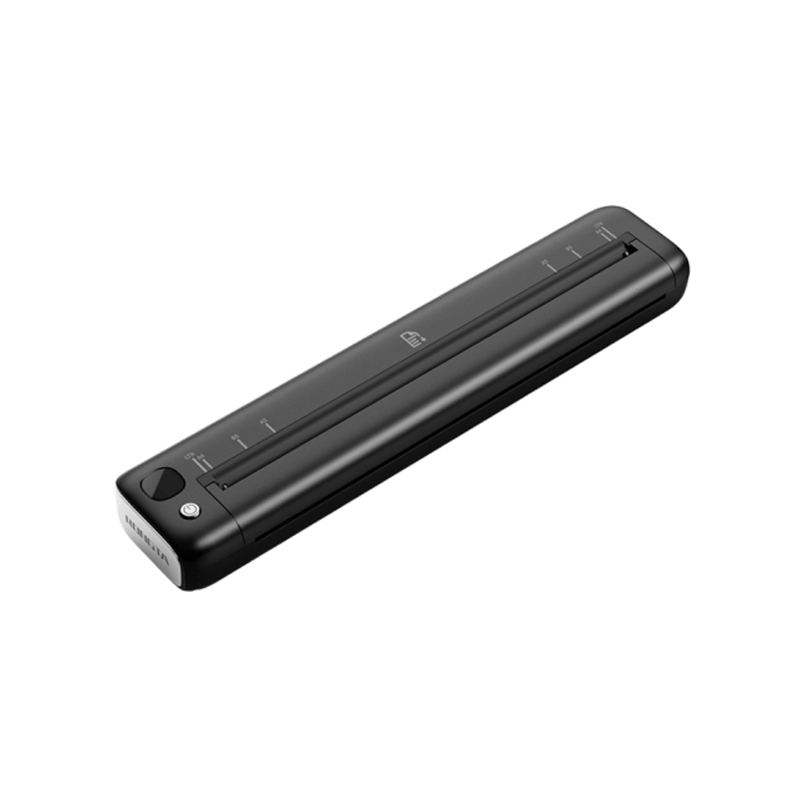 F81A Portable A4 Thermal Printer
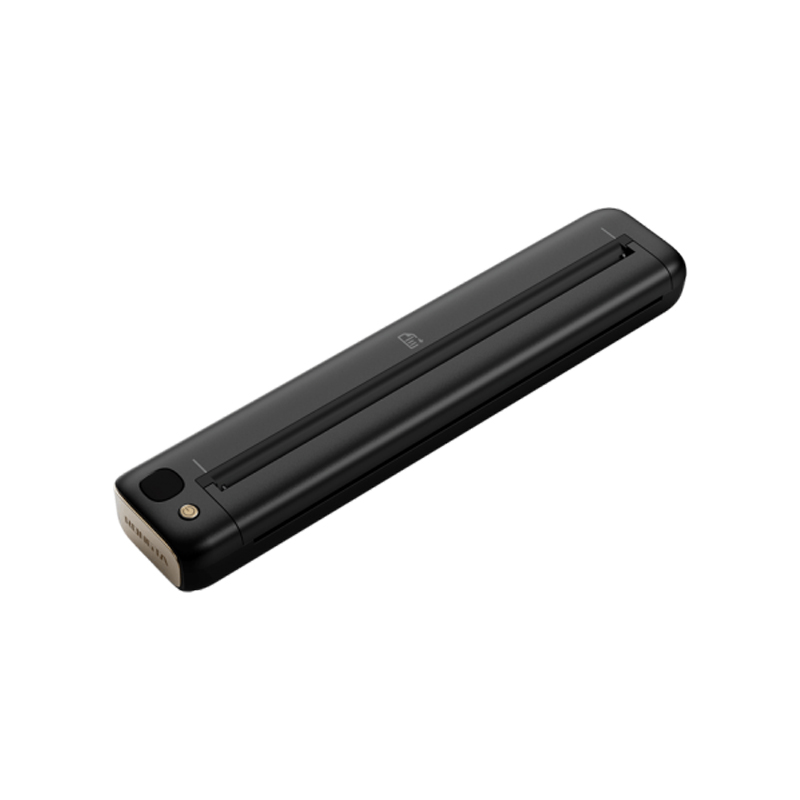 F81S Portable A4 Tattoo Printer
 Z1 Children's Educational Photo Printer
 R5 Mini Label Printer
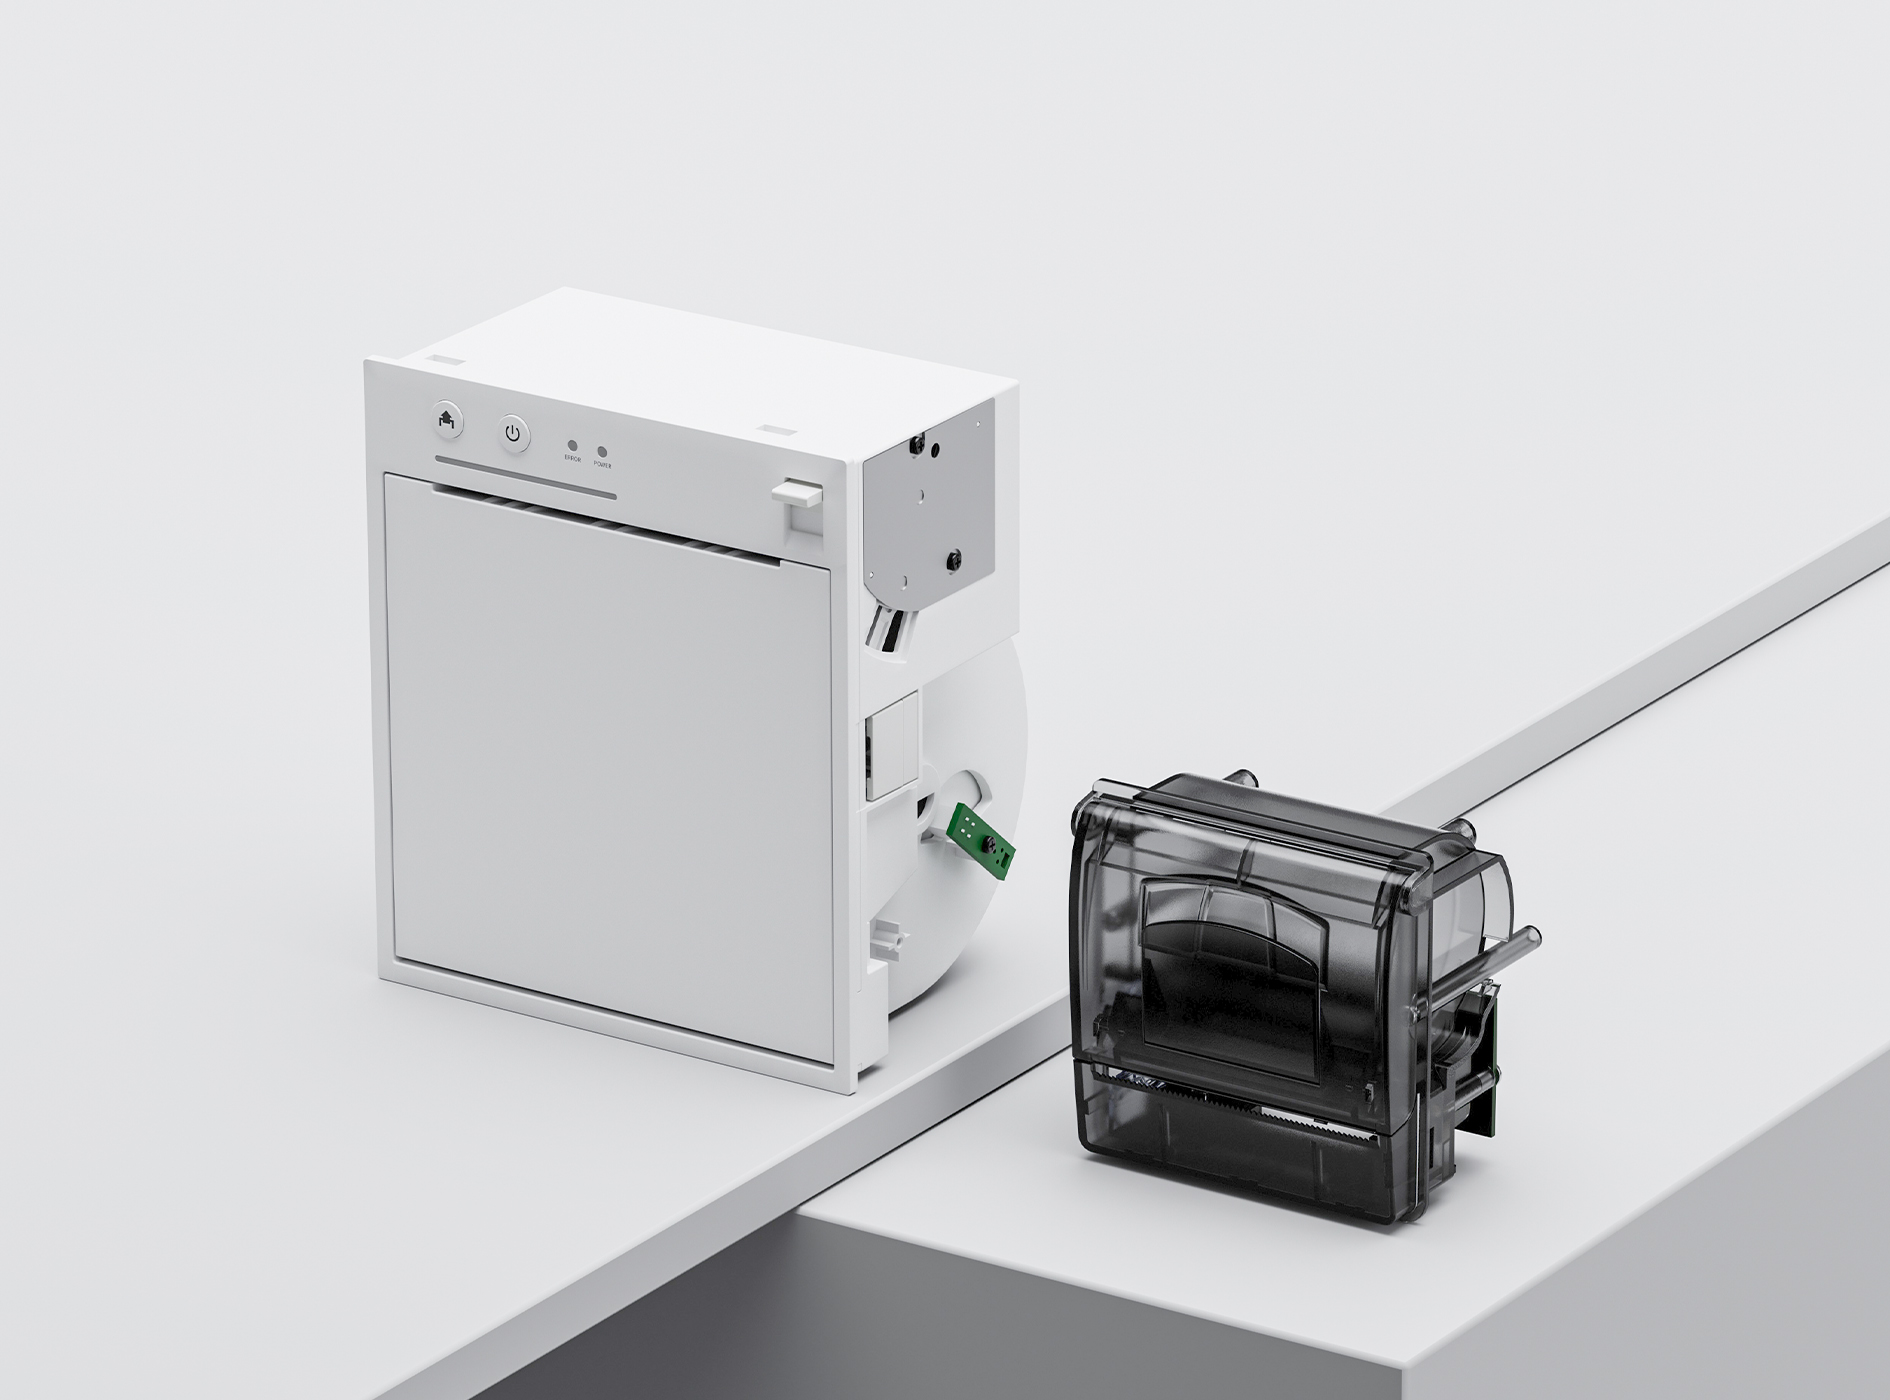
 RP07 58mm Embedded Printer
 RP203 58mm Embedded Printer
 PM315 Embedded Thermal Printer
 PM201 48mm Printing Module
 PM628 58mm printing module
 PM532A Printing Module
 PM532B printer module
 LS015/LS015A Barcode Scale
 RLS1815D/RLS1830D Barcode Scale
 RLS1815C/RLS1830C Barcode Scale
 AURORA S2L-S Labelless Scale
 AURORA E1 PRO-AI Cash Register Scale
 AURORA S2L-AI Label Scale
 DP01-AI Smart Tag Cashier Dual-Use Scale
 C3 Weighing Scale
 C1 weighing scale
 C11 Weighing Scale
 retail
 FOOD
FOOD Medical
 Mobile office/home
 asset Management
 logistics
 Driver download
 User Manual
 Tool Download
 Tag software
 Product Video
 Development Documentation
 Frequently Asked Questions
 User Guide
 Company News
 Exhibition Updates
 Industry Insights
 Product Update
 General situation
 Development history
 Honors and Qualifications
 R&D strength
 Team activities
 Social responsibility


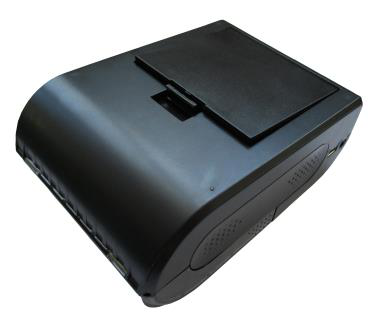
Detailed instructions and usage guide for the RPP02N portable receipt printer
RPP02N Portable Receipt PrinterUsage instructions and explanations
I. Preparations before use
1. Battery installation
1) Pull the belt buckle upwards to open the battery cover and the battery compartment cover.
2) As shown in the picture, put the battery into the battery compartment, being careful not to reverse the positive and negative terminals of the battery;
3) Then close the battery compartment cover.
2. Install the printing paper roll
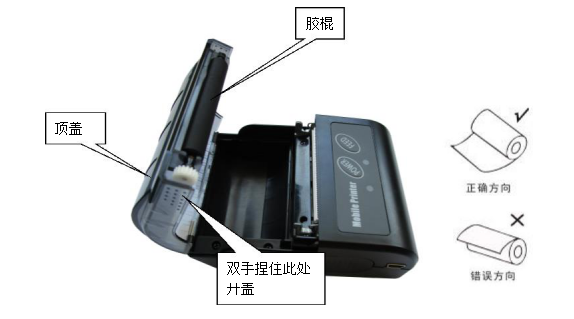
How to use
1) Hold the top cover with both hands and open the paper tray cover with a little force;
2) As shown in the picture, put the paper roll into the paper tray, paying attention to the paper orientation. If it is put in backwards, it will not be able to print.
3) Pull out part of the paper roll as shown in the picture, making sure to pull the paper roll out of the paper tray;
4) After straightening the paper roll, close the top cover.
II. Basic Functions of RPP02N
1) Power on
With the printer off, press the power button [POWER] for 2 seconds to turn on the printer and enter working mode. The power indicator light (red light) will illuminate.
2) Power off
With the printer powered on, press and hold the power button [POWER] for 2 seconds to power off the printer and turn off all indicator lights.
3) Self-inspection
After receiving the printer, users can perform a self-test at any time to check the printer's current settings and status.
The self-test method is as follows: Turn off the printer (if the printer is on), then press and hold the paper feed button [FEED], and then press the power button [POWER] to turn it on. The printer will then print a self-test page, which contains the current status of the printer, printer settings, and printing examples.
4) Paper feed (manual paper feed)
When the printer is in normal working condition, press the paper feed button [FEED] and the printer will start feeding paper.
5) Charging
After a period of use, the printer battery will eventually run out of power. When the printer battery is almost depleted, the user needs to charge it. If the printer automatically shuts down during printing, the user must charge it if they wish to continue using it.
The charging method is as follows: Plug the charger's AC plug into a 220V, 50HZ power outlet, and then plug the charging plug into the printer's charging outlet. The printer will start charging. During the charging process, the paper feed indicator light (blue light) will flash if the printer is powered on, until the battery is fully charged and the charging indicator light stays on.The printer can be used normally while charging.
III. Printer Connection and Printing
1. Serial port connection
The printer's optional accessories include a DB-9 serial cable (the other end connects to the printer via a MINIDIN connector).
2. USB connection
The printer comes with a USB cable as an optional accessory. Connect it to your computer's USB port and install the driver.
3. Bluetooth pairing and printing
Before a portable micro printer can be used, it needs to be paired with the main device that drives it. The pairing process is initiated by the main device.
The typical pairing method is as follows:
1) Turn on the printer
2) The main device searches for external Bluetooth devices.
3) If there are multiple external Bluetooth devices, select the printer with the corresponding BDA address (see the self-test page for details).
4) Enter the password "0000" or "000000"
5) Complete the pairing.
For detailed pairing instructions, please refer to the Bluetooth function description of the main device. The portable mini printer must be powered on during pairing.
Note: When pairing, please do not turn on multiple printers at the same time, otherwise it may be impossible to determine which printer was successfully paired.
After successful pairing, other host computers can still pair with the printer. Each printer can pair with up to 8 host computers. If more host computers pair with the printer, the host computer that was paired with the printer earliest will be automatically removed from the pairing list. If this host computer needs to drive the printer to print, it needs to be paired again.
Print using Bluetooth interface
For host computers with virtual Bluetooth serial ports (such as smartphones, POCKETPCs, Palm devices, laptops, etc.), after successful pairing, print data can be sent to the portable mini printer via the virtual Bluetooth serial port for printing. If the host computer does not have a virtual Bluetooth serial port, please consult the host computer supplier to drive the portable mini printer.
IV. Indicator Lights and Buzzer Signals
The printer has a buzzer and two indicator lights to indicate the printer's status to the user. The indicator lights show the current status of the printer, and the buzzer indicates changes in the printer's status. The two indicator lights are the power indicator and the paper feed indicator.
| Paper feed indicator (blue)) | Power indicator light (redcolor) | Printer status | buzzer |
| blinking | longBright | Charging | ? |
| longBright | longBright | Charging complete | ? |
| none | longBright | Power on | A chirp |
| blinking | blinking | Paper shortage | ? |